How to cut plasterboard
Whether you are a professional tradesperson, or simply want to carry out a bit of DIY, cutting into plasterboardand drywall can be incredibly easy if you follow the right instructions, and have the correct tools to carry it out.
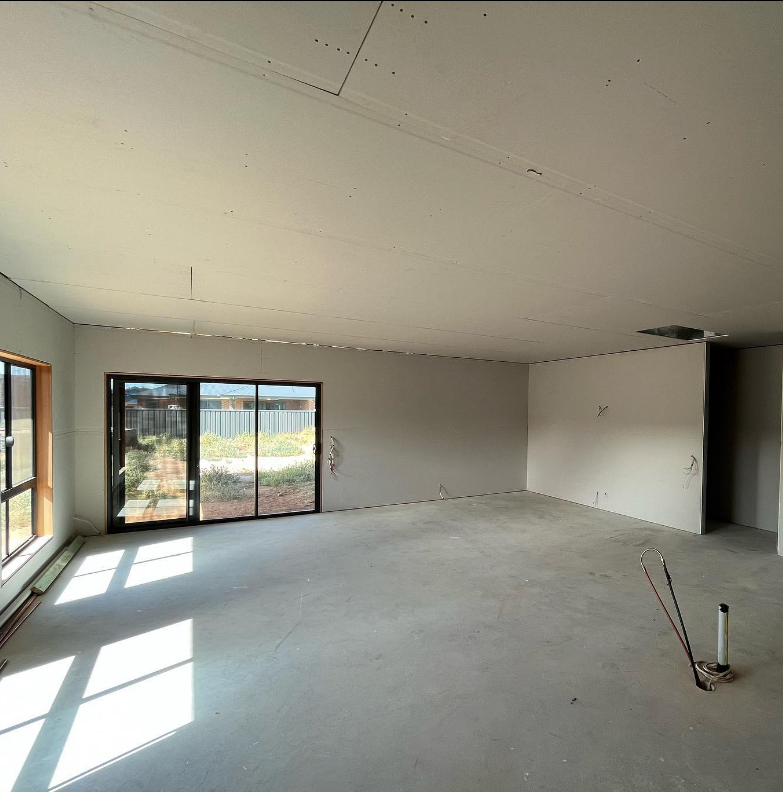
@mcinnes_building_services
How much plasterboard do I need?
To calculate
the number of plasterboards needed to cover your wall or ceiling, multiply the
height and breadth of the boards together, then divide the result by the square
metres you wish to fill.
For example,
if your ceiling is 5 metres by 10 metres, the total space you must cover is 50
square metres.
What tools do I need to cut into plasterboard?
Cutting plasterboard is relatively straight forward and only requires a small selection of basic tools. You will need:
- Stanley knife
- Spirit level – a straight edge tool will also work but a long spirit level should do
the trick
You can also use these optional tools:- Jab saw or multi tool
- Handsaw
- Rasp
- Circular
saw
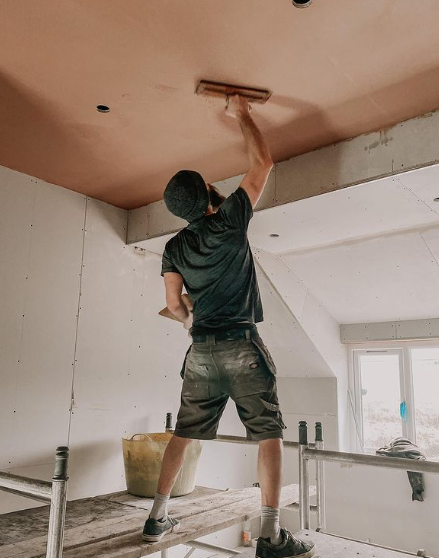
@ourcornish_home
How to fit plasterboard
- Each board should be placed such that
the edges are in the centre of the uprights and noggins.
Plasterboard must, however, fit tightly up to the borders of doorways and neighbouring walls.
- Then begin at the doorway and make
your way to the farthest wall.
Measure from the edge of a stud to the centre of
the noggin while making a cut board. Mark up the board with your tape measure
while it is flat.
- Place your spirit level or straight
edge on the markings. With the stanley knife, score a line along the target
cut, then stand the board up and tap it on the back to begin the split.
- Fold the split edge back on itself,
then use your knife to cut down the remaining paper. You should have a lovely
clean edge at the end. If your cut is somewhat longer than you expected, use a
plaster rasp to trim the board to size.
- Place the board against the studwork
and check that it is in the proper place. Drive a few of screws into the
board's edges where you can see a noggin or upright - just enough to keep the
board in place.
- Mark lines down and across the board
at the centre of the studs and noggins with a spirit level or straight edge.
This will allow you to attach the plasterboard without damaging the wood
underneath it.
- Screws should be placed at 100-200mm
intervals along the lines drawn in step 6. Drive them in just enough to shatter
the paper's surface. Excessive force will crush the plaster and impede a solid
repair.
- Your end boards will very certainly
need to be trimmed to length. To guarantee a snug fit, measure from the
farthest edge to the centre of the noggin, then mark up, score, and split the
board as indicated in steps 2-3.
- Steps 5-7 outline how to fit the
remaining boards. Try to keep the factory edges close when inserting end
boards; this will reduce the requirement for filling in the following step of
the project.
- If a board extends into an opening,
it’s best to cut it in situ. Before scoring and dividing the board vertically,
use the studwork as a guide to make the horizontal saw cut. Surform the edges
to finish them.
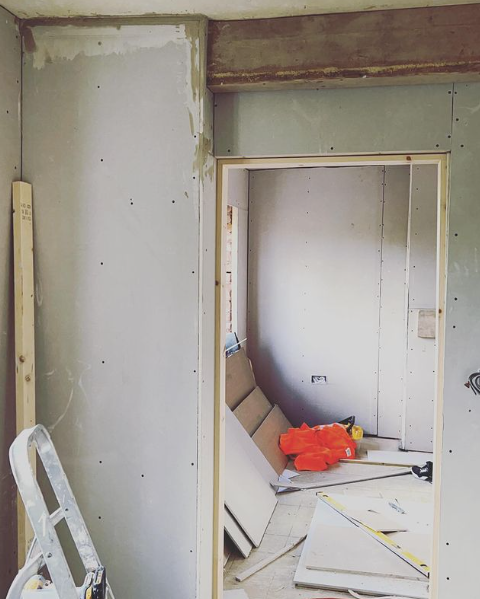
@olive_home_designs
How to attach plasterboard to brick
It can be easy to stick plasterboard directly to a brick wall using adhesive. But always remember that plasterboard adhesive sets quickly, so it’s a good idea to do just one area at a time.
If your walls are uneven, install timber studs and nail the plasterboard to the studs. Attach a framework of timber studs before dry lining if your wall is highly uneven or in bad condition.- Using a marker spray, mark the
position of the adhesive dabs 400mm apart (or as directed by the glue
manufacturer.)
- Prepare your plasterboard adhesive
per the manufacturer's directions. Because it dries quickly, only mix enough
for one wall.
- Using a builder’s float and pointing
hawk, put dabs of adhesive on the walls. The dabs should be around 250mm x 50mm
in size and no thicker than 25mm.
Lines of dabs should go from top to bottom of the wall, but do not bridge the seams between sheets of plasterboard.
- Lift your plasterboard into place so
that it’s in line with the chalk lines on the wall and ceiling.
- Tap the board flush on the wall with
a hefty batten. This will require a lengthy piece of 50x100mm lumber.
- Using a spirit level, ensure that the
board is upright. If not, reposition the board before the adhesive dries.
- Check that the board fits snugly
against the ceiling. If it doesn't, use a board lifter to raise it. Rep with
the last sheets of plasterboard.
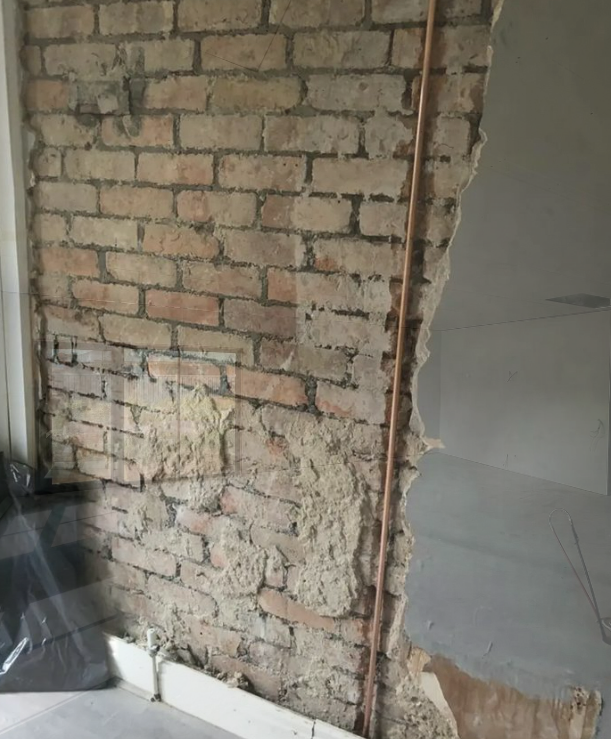
@thepinkplasterer
Cutting plasterboard to size for walls and ceilings
To cut through plasterboard, you will need to cut through the gypsum core and two layers of lining. So, the first step to any plasterboard cutting application is to measure out and mark the cuts you want to make. Make sure your lines are straight by using your spirit level.
Once framing work is complete, you are ready to fix your plasterboard. To cut large sheets of plasterboard after framing work, the easiest method is simply by using a Stanley knife. The steps are as follows:Step 1: Mark up
Mark out where you want to make the cut
Step 2: Scoring
Score a line about 3mm deep on the face side of the board using your Stanley knife
Step 3: Snap the board
Lift the sheet off the ground and snap/bend the board back along the score line – it should only now be held together by the back lining
Step 4: Final cut
Cut the back face of the plasterboard sheet with your knife.
And there you have it, as simple as that! If you wish to smooth out the edge of your cut, you can use a rasp to do so, although this isn’t essential and is completely down to personal preference.
@taymakeitsmooth
Can you tile straight onto plasterboard?
It is feasible to tile directly onto fresh plasterboard, whether it be a stud wall or dot and dab, but you must be careful of weight. A naked plasterboard can support up to 32kg per square metre, however a board with plaster skimming can only support 20kg per square metre. If you would like to tile straight onto plasterboard, you can follow these steps:
- Prepare the plasterboard for tiling.
To do this, it should be at least 12.5mm thick when affixed to battening or a
wood frame and placed according to the manufacturer's guidelines. Plasterboard
should be securely secured, dry, and firm, with no protruding fasteners.
- The layout should be dry tiled. To
establish how you want to position the tiles, perform a dry test by laying them
on the wall without any adhesive—either the centre of a tile or the connection
between two tiles should be positioned in the middle of the wall. Choose a plan
that minimises the need for tile cutting. Make a gauge rod out of a straight
piece of wood. Mark out the width of the tiles and the lumber, leaving a gap of
at least 2mm between each tile. At the lowest point of the wall, draw a line
along the top of the tile. This is where the tiles, such as the work surface,
skirting board, and so on, are installed. Nail a batten below this line and use
a spirit level to ensure its level. Mark the middle point of the wall's width
and draw a vertical line through it. Using a spirit level, draw a vertical line
parallel to the specified centre point. Begin tiling from the central point.
- Cut the tiles using a slide cutter or
nippers. Use an electric wet cutter to make the work simpler, and to ensure
more exact results, use a cardboard template for complicated cutting.
- With a notched wall trowel held at a
45° angle, apply the glue to the wall. This forms ribs into which the tiles
should be put with a forceful twisting motion. Apply glue sparingly and discard
any adhesive that starts to dry. Moisture-prone areas must have a firm layer of
glue beneath the tiles. Wipe away any adhesive residue from the tile surface
with a moist sponge before the glue dries and allow the glue to cure
completely.
- Allow the joints to dry after cleaning away any debris, glue, or dust from between the tiles. Mix the grout according per the package directions. Sweep the mixed grout across the tiles diagonally with a soft rubber grout float set at 45°. Ensure that the grout is completely pressed into the joints. Allow any grout on the surface of the tiles to dry. Wipe across the tiles diagonally with a moist (NOT wet) sponge to remove excess grout. After the tiles have dried, use a dry towel to polish the surface. To remove excess grout within 24 hours of grouting, use washing-up detergent combined with warm water.
@vag_skal
Can you paint straight onto plasterboard?
You can, indeed, paint right on plasterboard. However, you need first apply a mist coat. A mist coat is just a first coat of emulsion paint that has been diluted down. All you need to do initially is cover the joints and any holes left by your fasteners. It is handy and saves time and money to be able to paint straight onto the surface of the new wall. You can also afterwards plaster over painted plasterboard.
How to cut an access hole in plasterboard
If you only need to cut an access hole in plasterboard, for example to cut a hole for a socket, you can use a jab saw, which is a long and narrow tool with a pointed tip, designed for making small cuts in awkward places. Simply use it as you would a regular hand saw once you have ‘jabbed’ it into the drywall.
Ultimately, these are the most popular methods for cutting plasterboard. As you can see, it is relatively straight forward and requires little to no skill. We recommend practicing on a scrap piece of drywall first so you can get used to cutting deep enough into the gypsum to allow the boards to ‘snap.’
How to plasterboard a ceiling and wall
Lastly, if you want to learn how to plasterboard a ceiling or a wall, see our second blog, which describes both techniques and even includes a tool list. You can find this blog by clicking here.
@sixties.house.renovation
If you have any questions about cutting plasterboard or need further information about the products we sell at Howarth, please visit your local friendly Howarth branch, or contact our customer services on the number 01472 907051. You can also check out a few of our plasterboard products on our brand page, here.
Recent Posts
-
Forest Garden’s top tips for bringing style to small outdoor spaces
Spring is finally here, and homeowners are keen to transform even the smallest of outside areas
-
5 Creative Gravel Driveway Ideas
Are you looking to update your driveway and give your home an updated and appealing look? Look
