How to lay laminate flooring
Modern laminate flooring is quickly becoming a popular option for homeowners. It's durable and long-lasting, with a wide range of styles and colours to select from. This sort of flooring is simple to maintain and is perfect for locations with a lot of foot activity. Although installing laminate flooring is quite straightforward, being cautious and thorough with your preparation is essential for if you want to avoid complications in the future.
So therefore, we will provide you with as much guidance and information as possible to make the process of laying laminate flooring much easier for you.
Laminate flooring brands and types
At Howarth, we offer a range of laminate flooring brands.
Laminate flooring offers a stylish aesthetic combined with durability and a
long-lasting lifetime, all at an affordable price, and our most popular brand,
Quick-Step, does just that.
Quick-Step flooring is a well-known and popular brand that has been around for
over 25 years, and all Quick-Step laminate flooring has an easy to use click
fitting system, is scratch resistant and is available in a wide range of
different styles, sizes, and colours. Quick-Step offer a variety of different
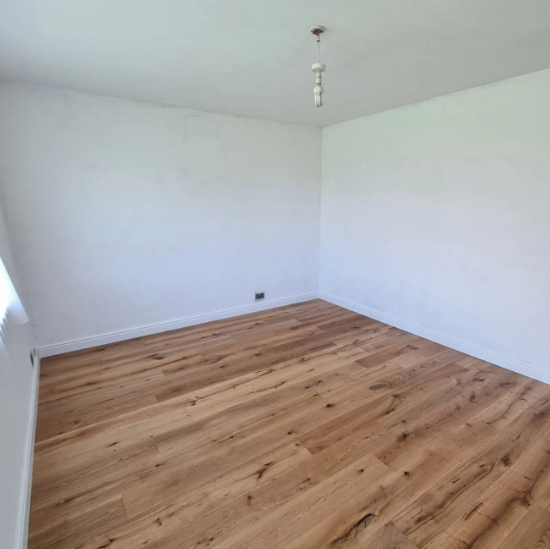
types of oak laminate flooring in different colours, such as classic oak
natural, old oak light grey, desert oak warm natural, and soft oak light etc.
@vertexflooringlimited
Herringbone laminate flooring
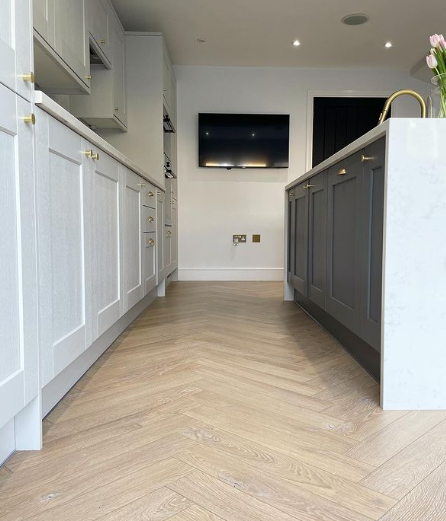
The herringbone pattern is not only
a classic, but it is also one of the most popular. It has a very elegant look that
will complement any hallway or living area. Typically associated with real
wood, the laminate herringbone offers affordability and durability, as well as
a very simple maintenance routine.
If you are interested in laying herringbone laminate flooring, it’s important to
choose the right material first, and then prepare the area by installing a
subfloor.
@homepoppylane
Do I need an underlay for laminate flooring?
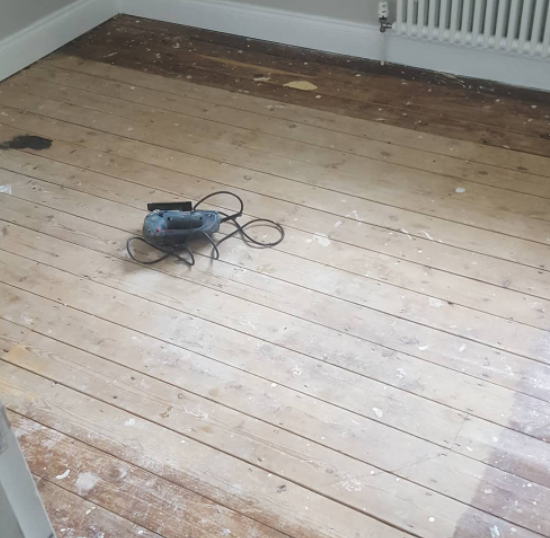
Whether you're installing laminate flooring over concrete or an old wood sub-floor, you'll need a laminate flooring underlay. Noise reduction, thermal insulation, enhanced comfort underfoot, and a longer lifespan for your flooring are all advantages of using underlay.
There are several different underlays suitable for use with laminate flooring.
- Fibreboard underlay is popular for installing over a timber sub-floor because it provides good heat insulation. It's also the greatest option if your sub-floor isn't completely level, because it will conceal any tiny protrusions up to 3mm in height.
- If you're placing on a concrete subfloor, you'll need a damp-proof barrier membrane, such as foam. You can still utilise fibreboard, but a secondary damp-proof layer will be required.
Whatever underlay you choose, be sure to follow the manufacturer’s instructions for laying. Just like flooring, underlay benefits from acclimating to the room.
@dl_flooring_co
How much laminate flooring will I need?
To calculate the number of packs you need, work out the size
of your room in m2 (length x width = m2) and check against the coverage of the
pack. Add an extra 10-15% for cutting and wastage. Laminate
flooring must be able to acclimatize to the room in which it will be installed.
Allow at least 48 hours for the unopened packets to air dry. Avoid stacking the
packs more than three high and, if possible, wedge something between each pack
to allow air to circulate freely around them.
@_oureastwoodbuild
How to lay a laminate floor
You may lay your floorboards in any
direction if you're installing them on concrete or a new sub-floor and laying
towards a light source makes the joins less noticeable. The perspective of the
room will be influenced by whether you lay horizontally or vertically, making
it appear bigger or longer. As a result, it's a good idea to 'plan out' your floorboards
before setting them down, so you can work out how they'll be laid and how wide
the last edge row will be. To allow the wood to expand and contract naturally
over time, a 10-12mm expansion space around the borders is required.
To work out how many rows you need, measure the width of the room, and divide
it by the width of a flooring panel. If the final row's width is less than
60mm, you'll need to cut your initial board lengthwise to make room for the
extra width. The goal is to prevent having excessively thin edge boards. After
that, start
the first row in the corner of the longest wall and work your way back from
there.
It's also important to remember that an expansion gap is always required with
laminate flooring, as laminate can expand in different climates, so its
important to allow the flooring space to do so. To do this, you can install
laminate beading, or floor skirting, which is designed to cover the expansion
gap that is left around the edge of a room.

@onlineflooringstore
What tools do I need to lay laminate flooring?
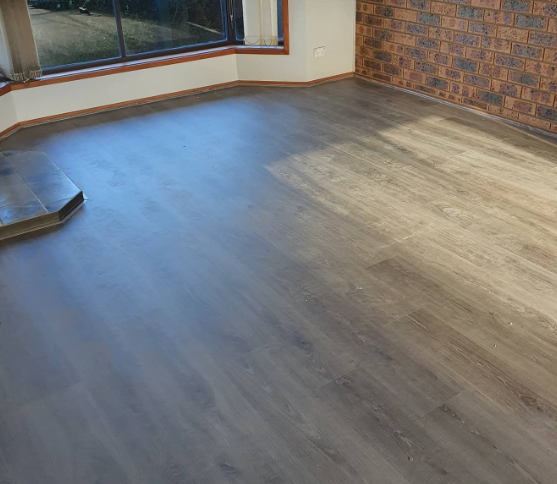
To begin fitting laminate flooring, you will need the following tools:
- Your choice of laminate flooring and underlay
- Stanley knife
- Hammer
- Protective gloves
- Drill
- Tape measure
- Gaffa tape
- Spirit level
- Clamp
- Circular saw or hand saw
- Flat wood drill bit
- Pulling ledge
- Threshold
- Optional – beading/trim
@illawarratimberfloors
How to fit laminate flooring
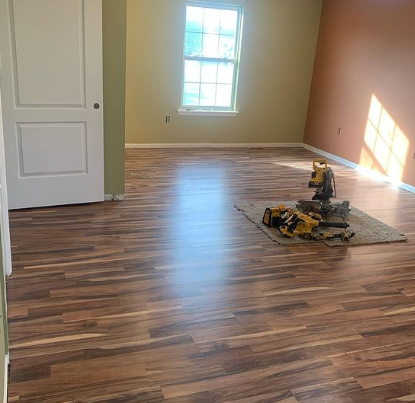
Before you begin fitting your laminate flooring, make sure you have removed any doors before you fit the flooring, as you will need to cut into the architrave.
Step 1 - Line up a floorboard offcut
First begin by lining up a floorboard offcut with the architrave, and then trim the architrave using a panel saw so that the floorboard may fit beneath. Then remove the extra wood with a hammer and chisel.
Step 2 - Prepare floor and underlay
After that, ensure that the floor has been properly prepared, and that the underlay is in place. Begin by laying the first piece of laminate with its tongue edge against the longest wall's corner.
Step 3 - Placing in spacers
Then, between the wall and the board, add 10-12mm spacers to provide the expansion gap. Place a pair of spacers along the length and one across the breadth of the board.
Step 4 - Lining up the boards
Line up the end of the next board with the end of the first and click it into place. You want the first row to be precisely straight, so make sure the alignment is flawless. Maintain the expansion gap by using spacers and repeat this process until you can’t lay any more full boards.
Step 5 - Prepare the last board
The last board will need to be trimmed to suit the space at the end of the row, so next to the row you've just finished, lay a whole board down. Turn the board over so that the groove edge is facing you.
Step 6 - Mark the last board for trimming
On the bottom of the board, measure and mark a cutting line. Then secure the board in a workbench and cut with a jigsaw or panel saw. To finish the first row, place the board in place.
Step 7 - Starting the second row
You can start your second row from the same end as you started your first row if the offcut from the first row is at least 300mm long. Never start a second row with a full length board. You want to make sure that the board joints are staggered throughout all the rows, as this not only looks fantastic, but also improves stability. Remember to use a spacer at the beginning of each row, then continue the process to put down the boards.
Step 8 - Slotting the boards in
Place a spacer against the wall to begin the second row, then insert the tongue edge of a fresh board into the groove edge of the preceding row. From a 20-30 degree angle, slot the board in. Make sure the board's end is flush with the wall spacer.
Step 9 - Laying all the floor
To ensure that the tongue and groove system clicks into place properly, line up the next board and press it into place using the same way. Continue working your way down the row, repeating until you reach the edge row.
It's possible that you'll have to trim the boards to fit the gap in the last row, but this will have been decided when you laid up the plan. In that situation, take a measurement of the distance between the last full row and a spacer. Cut the board to size and lay it down as you normally would and remember to provide space for expansion!
@prettyboyfloydconstruction
How to cut laminate flooring
Although installing laminate flooring
is a doable task for the handy homeowner, trimming and cutting the laminate
boards does require some expertise and practise. It’s good to note that if
you’re wanting to cut laminate flooring and make straight cuts, you'll need a
circular saw, but for a simple job, you might be able to get away with a
handsaw.
If you’re interested in learning how to do it, scroll down to Step 1.
1: Use a circular saw or a handsaw with at least 18 teeth per inch to avoid chipping it
2: Mark the line on the laminate flooring
Make a small mark on the edge of the laminate, so you know where to cut or use a chalk pencil to draw your measurement line across the face of the laminate. You can easily wipe the chalk off the surface after you are done cutting. Make a small mark on the laminate's edge to indicate where to cut or trace your measuring line on the face of the laminate with a chalk pencil. After you've finished cutting, simply wipe the chalk off the surface.
3. Leave the laminate facing right-side-up and cut it with a circular saw or handsaw
Always remember when cutting laminate to always check your measurements multiple times throughout your project because rooms are usually not perfectly square!
@torlys_flooring
If you have any more questions about laminate flooring, or wo uld just like to discuss your options, you can contact our customer services on the number 01472 907051
Recent Posts
-
Forest Garden’s top tips for bringing style to small outdoor spaces
Spring is finally here, and homeowners are keen to transform even the smallest of outside areas
-
5 Creative Gravel Driveway Ideas
Are you looking to update your driveway and give your home an updated and appealing look? Look

