An Ultimate Guide on how to insulate your home
Does your home feel too hot in the summer and too drafty in the winter? It could be that your insulation needs to be re-placed.
It has even been discovered that in a poorly insulated home, a quarter of heat can be lost through the roof. Not only does this mean you are losing heat, but also hard-earned money!
With a few simple steps, we can give you the right information to thoroughly insulate several areas within your home, so you stay warm all winter and make savings on your energy bills.
How to insulate a loft
Insulating your loft may not sound like the most exciting
job, but, about 25% of the heat output in your home will escape if the roof
insulation isn’t up to scratch. Consider the best quality insulation for this
area, so you can escape big energy bills and retain a warmer house.
Insulating a loft will save you money in the long run, as while you will need
to pay for the materials and tools necessary to insulate your loft, doing the
labour yourself can save you a good amount of cash. You are likely to recover
your initial investment with the savings you make on energy bills.
However, insulating your loft is not as simple as going out and buying insulation. There are actually a few different methods of insulating your loft, which include:
- Blanket loft insulation
- Loose-fill loft insulation
- Sheet loft insulation
- Blown-fibre insulation
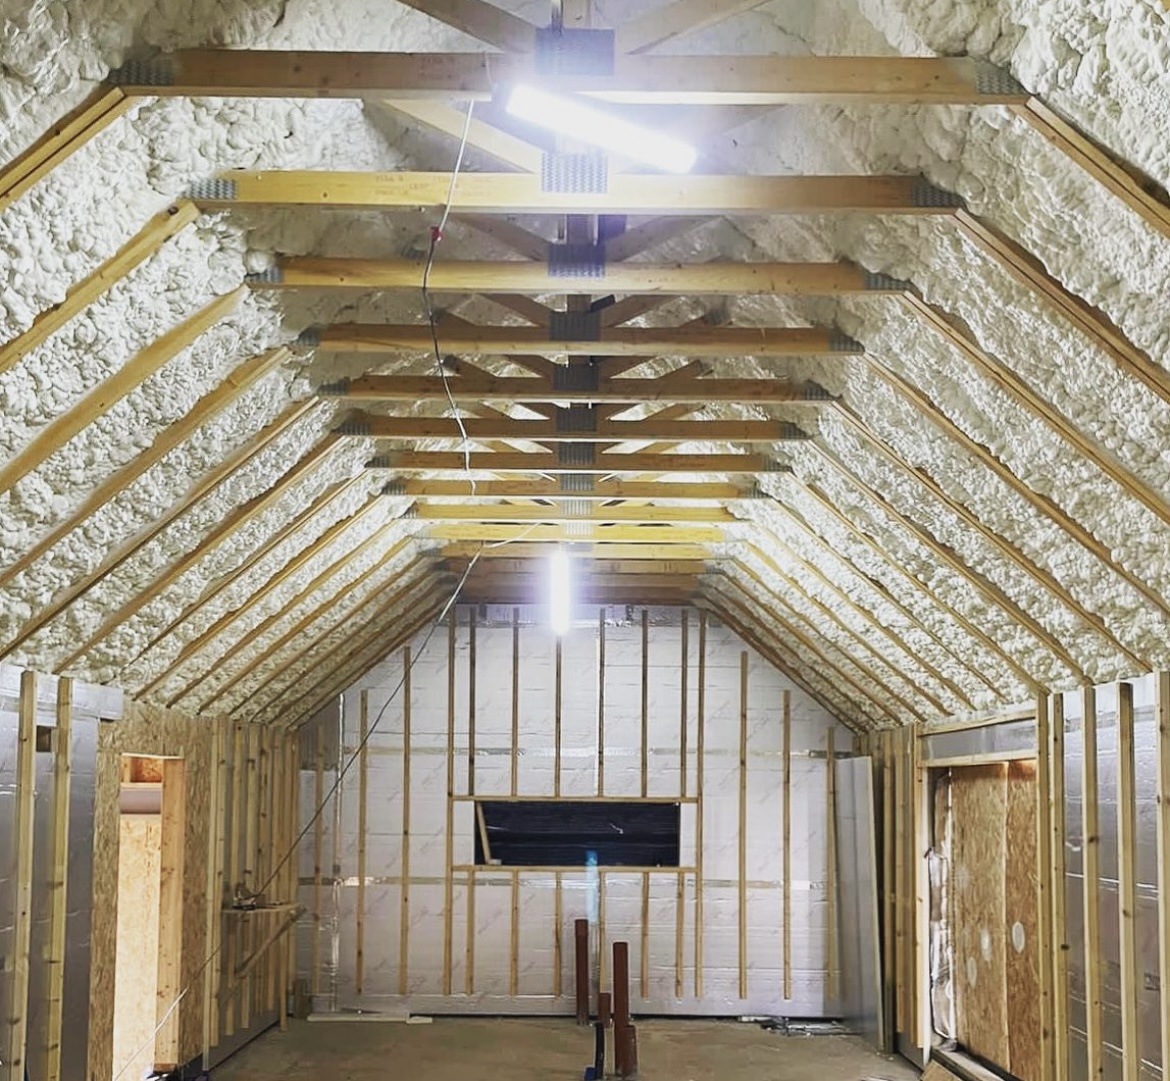
At Howarth, we recommend blanket loft insulation due to it being the most effective method for insulating a loft. It is also perfect for beginners.
@scotfoam
When you have all the equipment you need, and are ready to start insulating your loft, you will first need to prepare it. This ensures your safety and that you’ll deliver a high-quality job that will last for years to come. You should consider whether you can safely access your loft and move around without injuring yourself.
You will need the following items when insulating your loft:
- Rolls of loft insulation
- Wooden walk boards (to prevent falls and ceiling damage)
- Wooden offcuts
- Dust mask (to protect your lungs from airborne fibres)
- Protective clothing
- Long knife with a serrated edge
- Panel saw
- Scissors
You will need to make sure you have got the right amount of insulation rolls to insulate your loft. To do this, you can work out the area of the loft to be insulated, multiply the length by the width, and then cut this figure by 10%. This is because you will be laying insulation between joists and not covering the entire loft. If you aren’t fully confident in your calculations, always get a professional to help.
You are now ready to begin laying your loft insulation.
Step 1: Electric cables
You will need to carefully raise any electrical cables and wiring over the insulation to prevent potential fires.
Step 2: Cut your insulation to size
Spread the insulation out between the joists and using your tools, cut to the size of each space. Bear in mind that your initial layer of insulation should be 10cm thick and no gaps should be left between the insulation and the joists.
Step 3: Pipes and water tanks
You will need to cut your base layer of insulation so that it fits around any obstacles in your loft. You can also use the insulation to lag pipes throughout your loft.
Step 4: Second layer of insulation
Now trim your second layer of insulation to size and lay at right angles to the base layer. This second layer should be roughly 17cm thick, giving a total thickness of 27cm.
Step 5: Finishing touches
Finally, check that there are no gaps between insulation and joists. You can also ensure your insulation is lying flat and in one place, and always start laying your loft insulation in the corner furthest away from your loft hatch.
@disasterblaster
How to insulate cold water pipes in attic
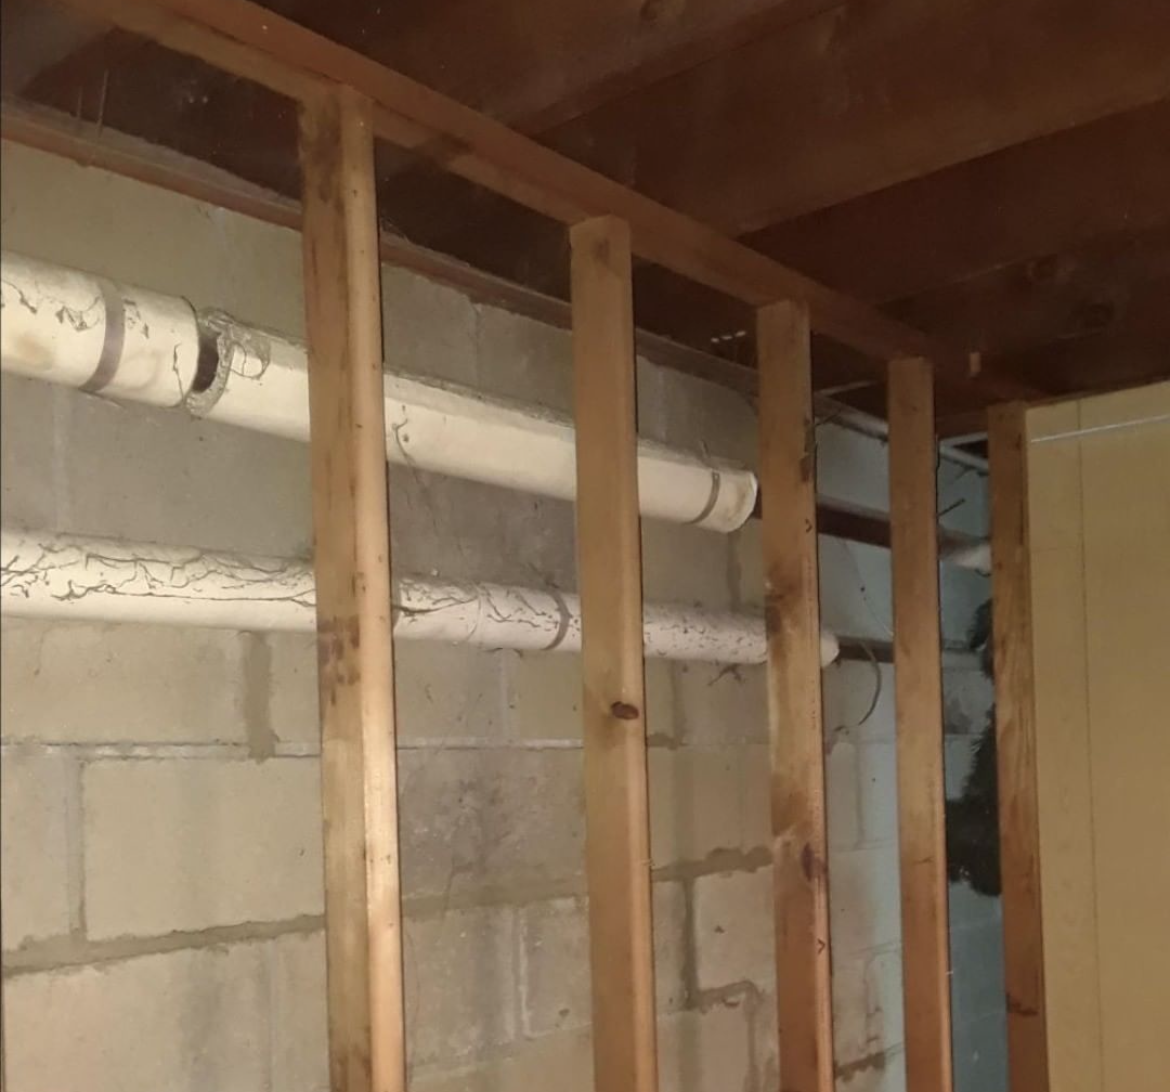
Insulating water supply pipes in exposed areas of your home such as an attic is a good idea for several reasons. In cold-winter climates, water supply pipes that are exposed to exterior walls or unheated spaces may freeze, burst, and flood your home. They can also save money on energy costs by preventing hot water pipes from losing their heat to the surrounding air.
Before you begin, it is important to consider the R-value of the various options. R-value is a measurement that quantifies the resistance to heat flow of a given material. The higher the R-value, the greater the insulating power of that material.
What you’ll need:
- Utility knife
- Insulating pipe wrap
- Duct tape
- Foam pipe covers
@sherwoodinspection
How to use pipe-wrap insulation
A common way to protect pipes is with traditional pipe wrap insulation, available in a wide range of different materials. Pipe-wrap insulation is easy to install and is best suited for insulating small lengths of pipe, or sections where there are many bends.
Step 1: Start the insulation strip
Begin by duct-taping the end of the insulation strip to the pipe (if it’s not already self-adhesive).
Step 2: Begin wrapping the insulation
Wrap the insulation around the pipe in spiral loops, overlapping each loop by at least ½ inch. Completely cover the pipe, taking care not to leave any areas exposed.
Step 3: Finishing wrapping
Tape the end of the insulating strip in place. If necessary, continue with another length of pipe wrap insulation until the full length of the pipe is covered.

How to use foam pipe sleeves
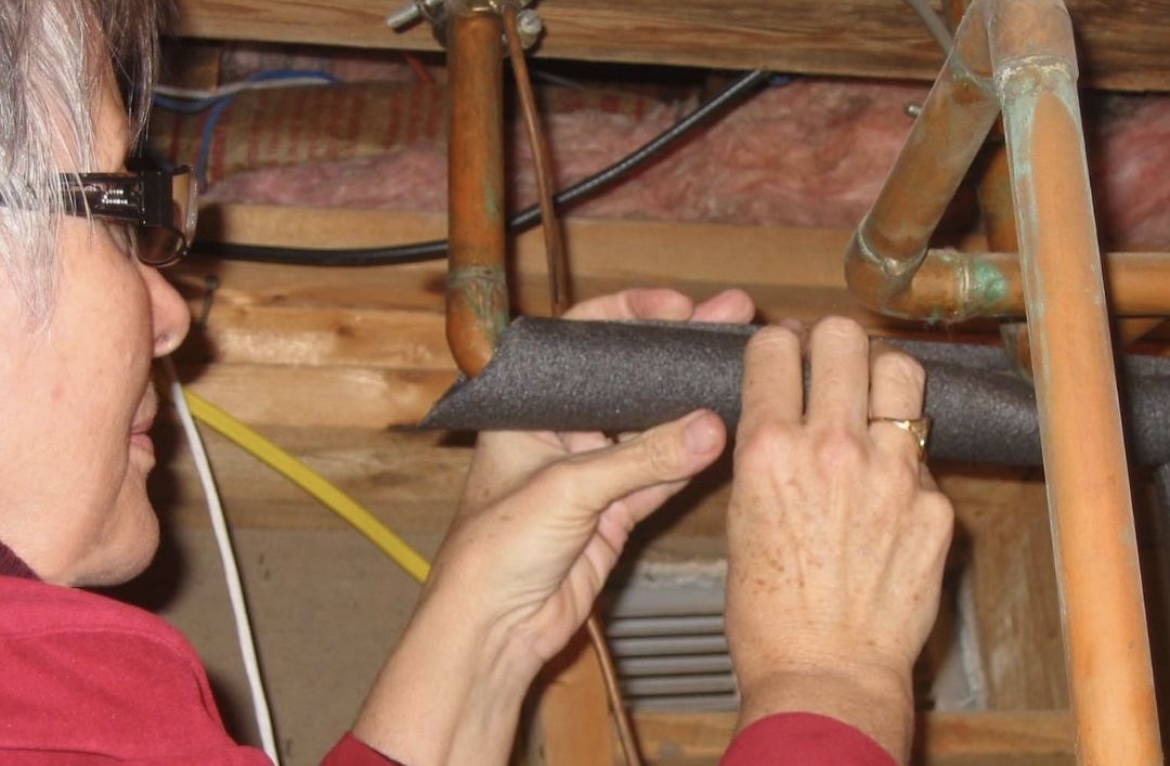
Foam pipe sleeves are available in 6-foot lengths so that you can cover a lot of ground quickly. The sleeves can be made of either foam or rubber insulation, and both are available in self-sealing styles.
Step 1: Position the sleeve
Position the sleeve lengthwise along the pipe, and pry open the slit in the sleeve. Slide the sleeve over the pipe; the slits will close around the pipe.
Step 2: Seal the seam
Seal the seam, using either the self-adhesive strip integrated into the sleeve, or duct tape applied along the length of the slit. If necessary, continue with the next sleeve, butting it against the end of the previous sleeve.
If the pipe is turning a corner, you can mitre-cut the sleeves to fit round the corner. Or use pipe-wrap to cover the fittings at corners, taping them to the foam sleeves.
Step 3: Finish the installation
At the end of the runs, cut the foam tube to length, using a utility knife. When the installation is completed, also tape the butt seams where two sleeves meet.
@kookadevelopments
How to install external wall insulation
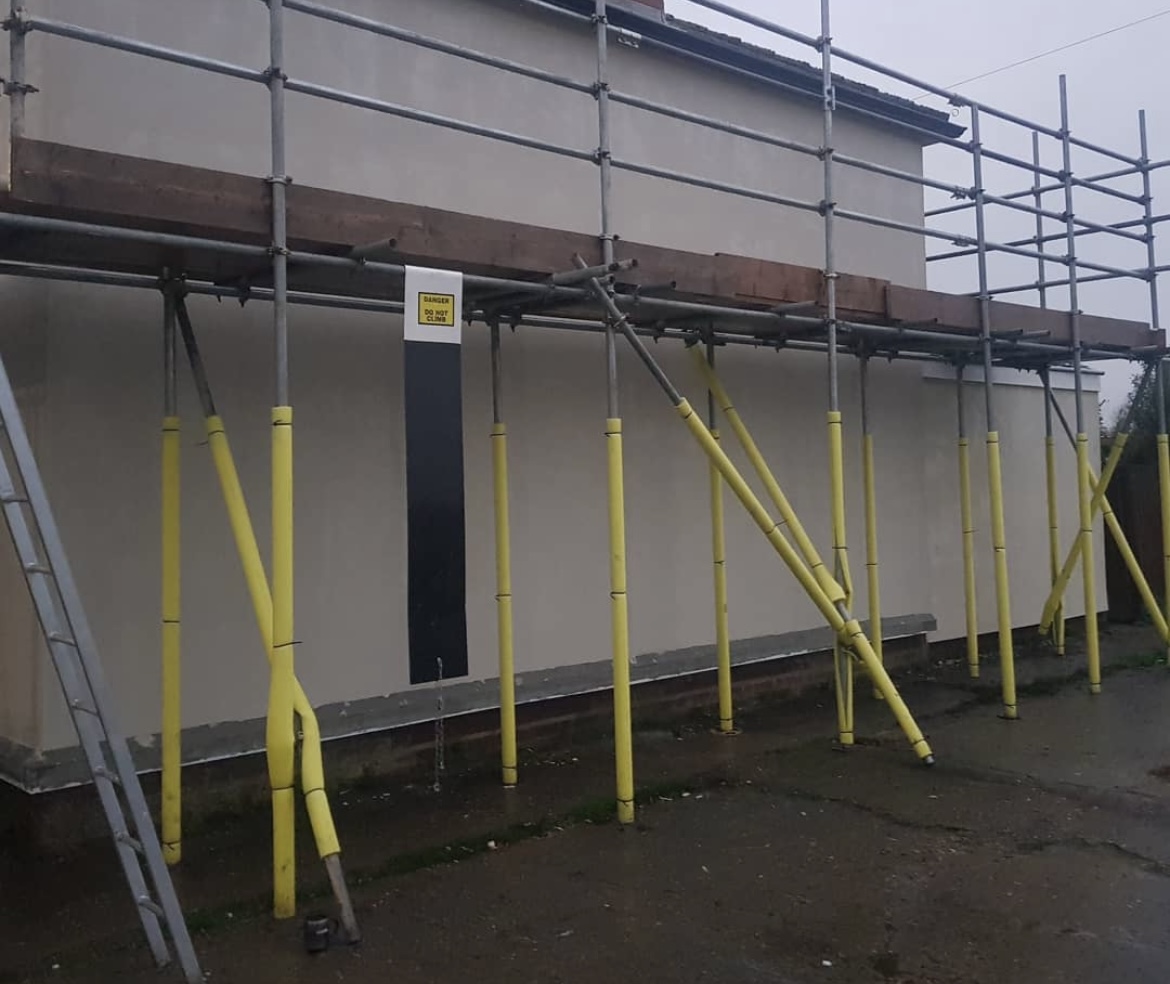
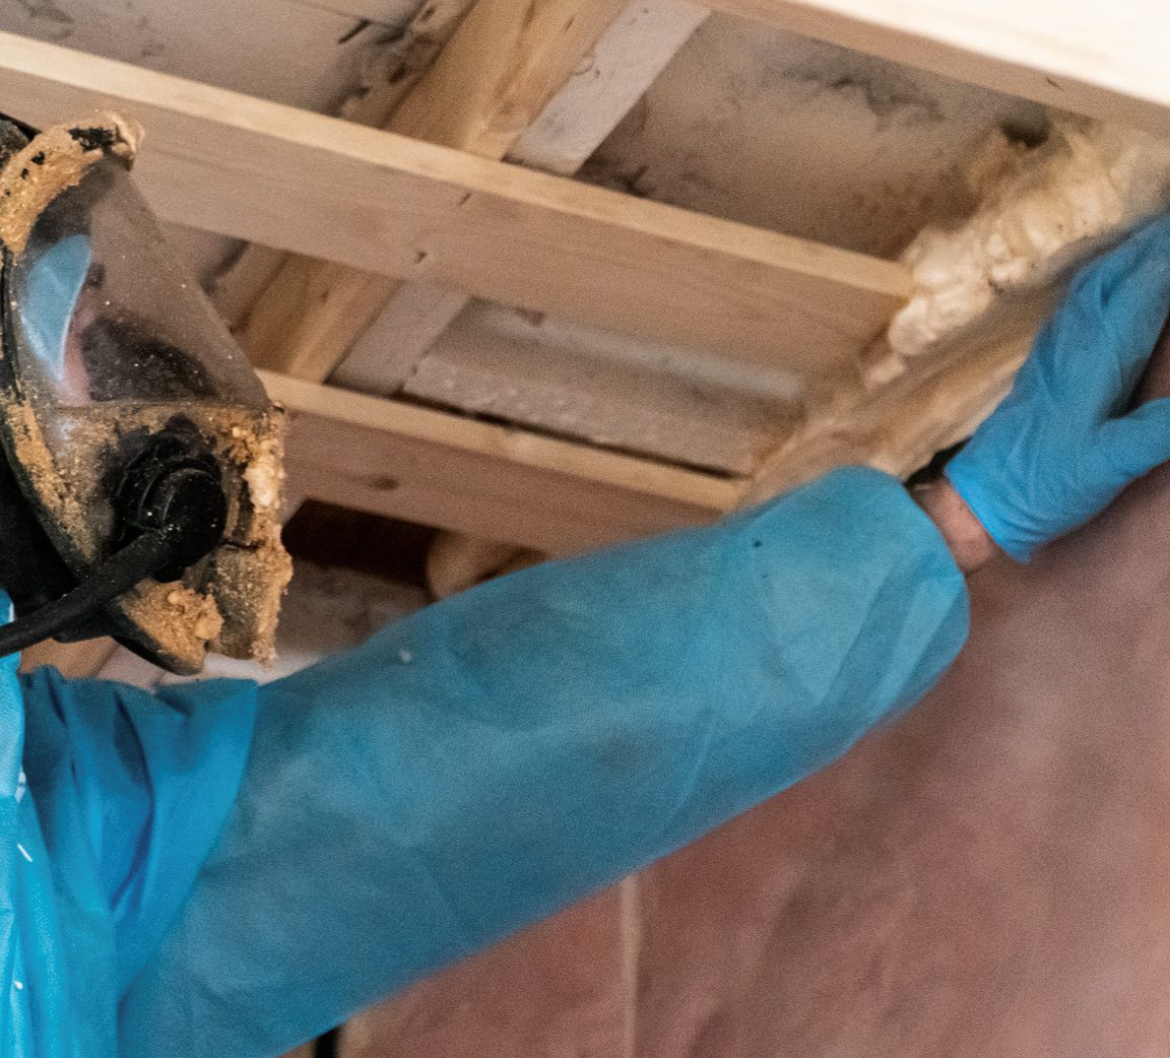
External wall insulation is a great alternative when looking to improve the insulation of a building. At Howarth, we have a wide range of external wall insulation boards. Our most popular being Kingspan Kooltherm external wall insulation, and Eco Versal boards. However, external wall insulation is not normally installed by a homeowner or a DIYer, but instead is generally installed by a professional, mainly due to the complex procedures involved.
Render test
To install external wall insulation, the first step before beginning the installation process is to carry out a render test. This will identify whether the existing render is strong enough to support the insulation, and if it is, can simply be smoothed so that the insulation can be applied directly onto it. If the render isn’t strong enough, all existing render will need to be removed prior to the installation.
Remove and adjust pipework
The next step after the render has been tested, smoothed down or removed, is to remove and adjust the pipework. Temporary downpipes must also be installed to prevent water from running down either side of the building. This would allow the building to function as normal during the installation process. It’s also important to make sure to protect any windows and doors, usually by fitting a protective layer over them to prevent them from being damaged during the installation process.
@insulation
Fitting a starter track
Before the installation begins, it is important to decide at
what height you’d like the insulation to begin. External wall insulation does
not normally reach the ground, but instead begins a few inches or feet above.
Once you’ve decided on the height, this is where the aluminium start track will
be installed. This creates a level starting point and can also be used to fit
beading.
When the starter pack has been installed, the application of the insulation
boards onto the wall can begin. Once they’ve been installed, a rasp is used to
file off the edges of the boards where required, to ensure the surface is
completely flat. Mechanical fixings should also be secured to the installation
boards, which will ensure that they will not get blown off or fall off during
periods of bad weather.
Adding beading
Corner beads are a great way to ensure the insulation remains secure and tight around windows, doors, and other obstructions, creating neat and tight edges and preventing the insulation from touching other materials.
Adding reinforcing mesh and render
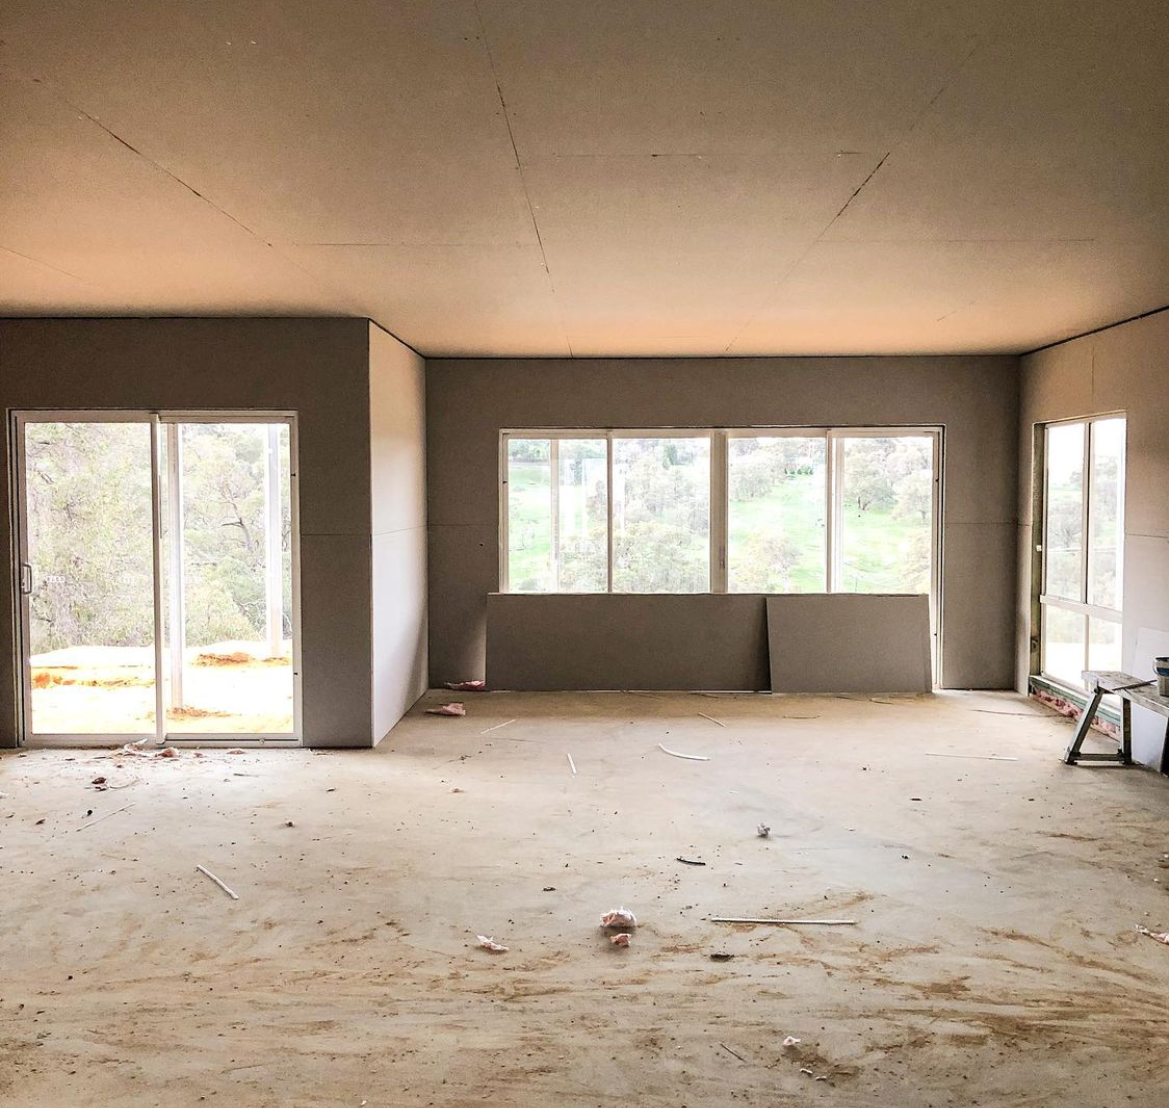
Once the boards and beading have all been installed, two layers of render with strengthening properties should be applied, with a fibreglass mesh sitting between the two layers of render.
Apply the final render
The final coat of render can now be applied. This render is
the last coating in the installation process, meaning that it is important to
choose the exact colour and texture you like, as it will be on view from the
outside of the building.
This is also when you can reinstall all the pipework and other fixtures that
were originally removed from the walls, and all openings where pipework extends
through the render should be sealed.
@ourfarmsteadlife
How to install internal wall insulation
Internal wall insulation can improve your home’s thermal efficiency and reduce your heating bills. Thermal wall insulation is generally a route to consider with certain homes, such as homes made from solid stone or brick as they tend to be the main candidates for this type of insulation.
For internal walls, we would recommend using rigid foam
boards such as Kingspan, as they are thinner and take up less floor area.
Rockwool insulation is also a great product to use for walls, as it is a
high-performing insulation which contains the following features: natural and
sustainable, contains up to 75 percent recycled content, and retains heat well
and traps air, which slows the transfer of heat.
To install internal wall insulation:
- First start by checking the condition of the wall and undertake remedial work.
- Decide on how to deal with reveals, floor voids and other potential cold bridges
- Remove everything fixed to the walls to be insulated – plug sockets, light switches, curtain rails, radiators, pipes, skirtings, covings, kitchen cabinets, fitted wardrobes etc
- Carry out any preparation work to the wall (i.e knocking off old plaster if damaged)
- Build a new stud wall (if required), and/or fix insulation
- Seal joints and skim plasterboard to finish
- Reinstate light switches, plug sockets, etc.
The first option for installation is whereby the insulation
is fixed directly to the wall. If the wall is relatively flat and in good condition,
this can be an effective, quick method. Boards can be glued directly to the
wall with an adhesive specific for the purpose. Gaps between boards, at the
ceiling and floor edges, should be filled with mastic and taped over before plaster
skimming.
The second option is to batten on the wall, which you can do either by fixing
battens to the wall to provide a more even fixing for the insulation, or, fixing
the battens over the insulation, known as the ‘warm batten’ method.
@buildingmaterials.co.uk
How to insulate a garage
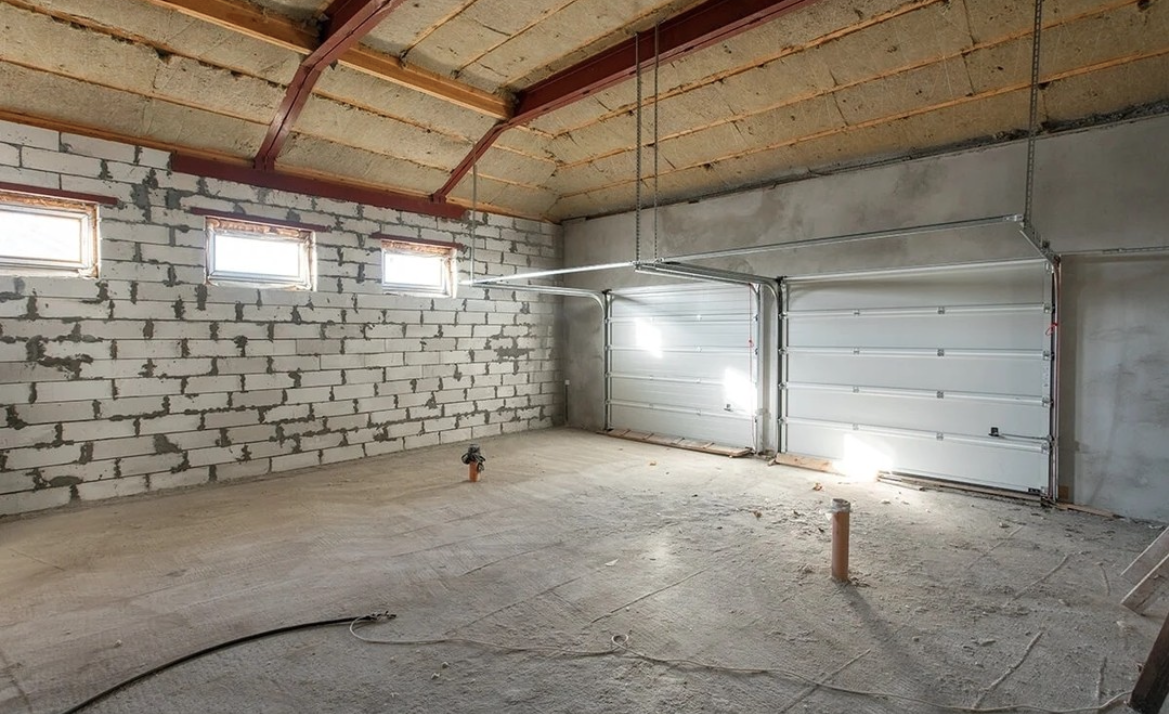
Maybe you need a warmer (or cooler) place to work on DIY projects, or you want to build a home gym. It can be very beneficial to insulate your garage and can be easy to do if you have everything you need for the job.
What type of insulation should I choose?
There are several different types of insulation you can use, but we would recommend using fibreglass insulation sold in rolls to insulate your garage yourself. This is because fibreglass is easy to handle and use between framing and can also be used in all areas – such as floors, walls, and ceilings.
If you’d like to use any other kind of insulation, we suggest hiring a professional tradesperson to fit it for you.
At Howarth, we can recommend which type of insulation to use and how to install it, but you’ll need to determine how much of each material you’ll need for your garage. Below are some guidelines to help you decide:
- To find out how much fibreglass insulation you’ll need, measure the linear feet around the entire room and multiply it by the height of the room to get the square footage. We recommend buying an extra unit of insulation, which you can always return if you don’t use.
- If you have gaps and cracks in your wall, you’ll need to fill them in to make sure outside temperatures don’t creep inside. Expanding foam comes in a low-expanding and high-expanding form. The kind you buy will depend on how big the spaces in your wall are.
- We recommend wearing PPE, such as gloves and long sleeves, as fibreglass insulation can irritate your skin.
@jr_doors3
Step 1: Clear the walls for the insulation
If your garage has drywall, remove it. Then, make sure to clear any dirt out of the stud cavities. Look for mould and clean up any chemicals in the garage, like gasoline or fertiliser. Find your nearest hazardous waste collection centre to safely dispose of these materials.
Step 2: Look for gaps and cracks in the wall
Get your expanding foam and vigorously shake it for about
one minute, then add the straw to the can and hold it upside down to spray it
in the openings. Only fill gaps about 50 percent full as the foam will continue
to expand and fill the space.
Give it about 15 minutes to continue expanding and become tack-free, and then
it should be completely hardened in 8 hours.
Step 3: Install fibreglass insulation
Start by stapling the paper face of the insulation to the side of the stud, not the face of the stud. You’ll need to leave the face of the stud exposed so then you can install drywall on top of the insulation. After that, put a piece of wood on top of the insulation to use as a guide to cut the insulation to the right size. Use a utility knife to cut excess insulation off so that it fits the size of the stud. After that, tuck the insulation in to make it easier to staple. Staple the insulation all the way down the side of the stud.
Step 4: Cover the insulation with dry wall
Screw and glue drywall to the stud and place screws approximately every eight inches. Do not leave the paper of the insulation exposed as this is a fire hazard.
Step 5: How to insulate a garage ceiling
To insulate a ceiling, start by using thicker batt R-40 insulation. Cut rafter vents to match the size of the insulation and pre-cut the pieces you’ll need as this will help while you’re up on a ladder. With a staple gun, install rafter vents on top of the rafters, the staples should be approximately 8-10 inches apart. Cut insulation to fit between the rafters and place it into position with the paper side down. Repeat this across the entire ceiling and ensure there are no gaps or crevices when done.
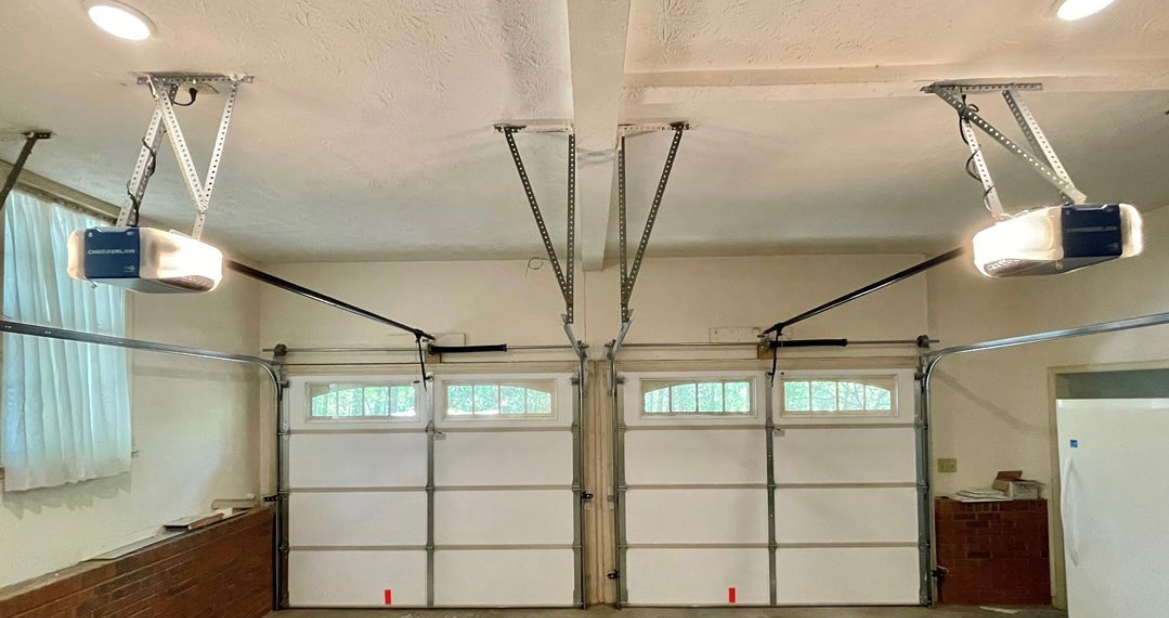
Step 6: How to insulate a garage door
First start by determining whether your garage door is
constructed of steel, wood frame-and-panel or flat. Then, cram flexible
insulation in the frames around the panels or squeeze pre-cut foam board
insulation into the frames for a steel door. For wood-frame-and-panel, cut and
secure stiff insulation into the recesses between the door frames. As for flat
garage doors, foam board is the best fit. Just tape or glue the insulation to
the door.
Keep in mind that insulating the garage door means you’re adding weight to it.
You may need to change the springs to retain tension and balance, so it closes
properly.
@jewel_windows
How to insulate a conservatory roof
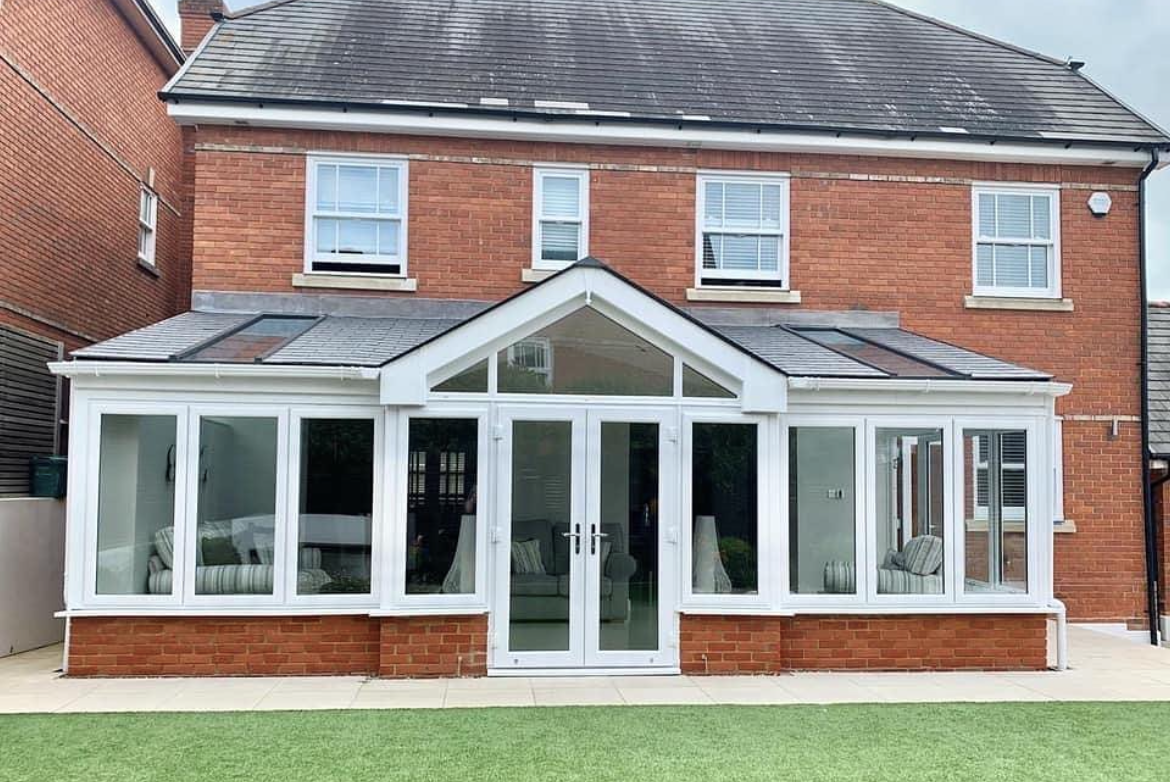
Conservatories can be a great addition to any house. They have become idealised as a ‘room in the garden.’ However, due to the nature of conservatories, they do not provide very good insulation. Although their glass structure may look aesthetically pleasing, the glass offers little protection from the unforgiving British weather. Therefore, with long, rainy summer days and chilly bitter winter evenings, it’s important to make sure your conservatory is insulated.
There are a couple of ways to insulate a conservatory roof, which we would suggest are the better options, such as:
Solar control film
Solar control film is a highly effective way of insulating a conservatory. It will allow you to spend more time in the conservatory without costing you a lot of money. Working to target and control the suns rays and excess heat, conservatory window film is the answer to all your conservatory problems. Window films allow to retain the feel and sunny atmosphere of your conservatory but with the added benefit of a comfortable temperature.
Aluminium foil and thermal wadding
If you’re finding your conservatory to be more of a hindrance than an asset, try lining your roof with traditional insulating materials. A combination of aluminium foil and thermal wadding is a go-to favourite of many. These materials are incredibly effective at emitting and absorbing heat. Aluminium foil is the perfect way to insulate a conservatory roof yourself. Thermal wadding also absorbs heat through air pockets, meaning that it’ll trap the heat and thereby effectively insulate your conservatory.
@flatcapdriver
How to lay a concrete floor with insulation
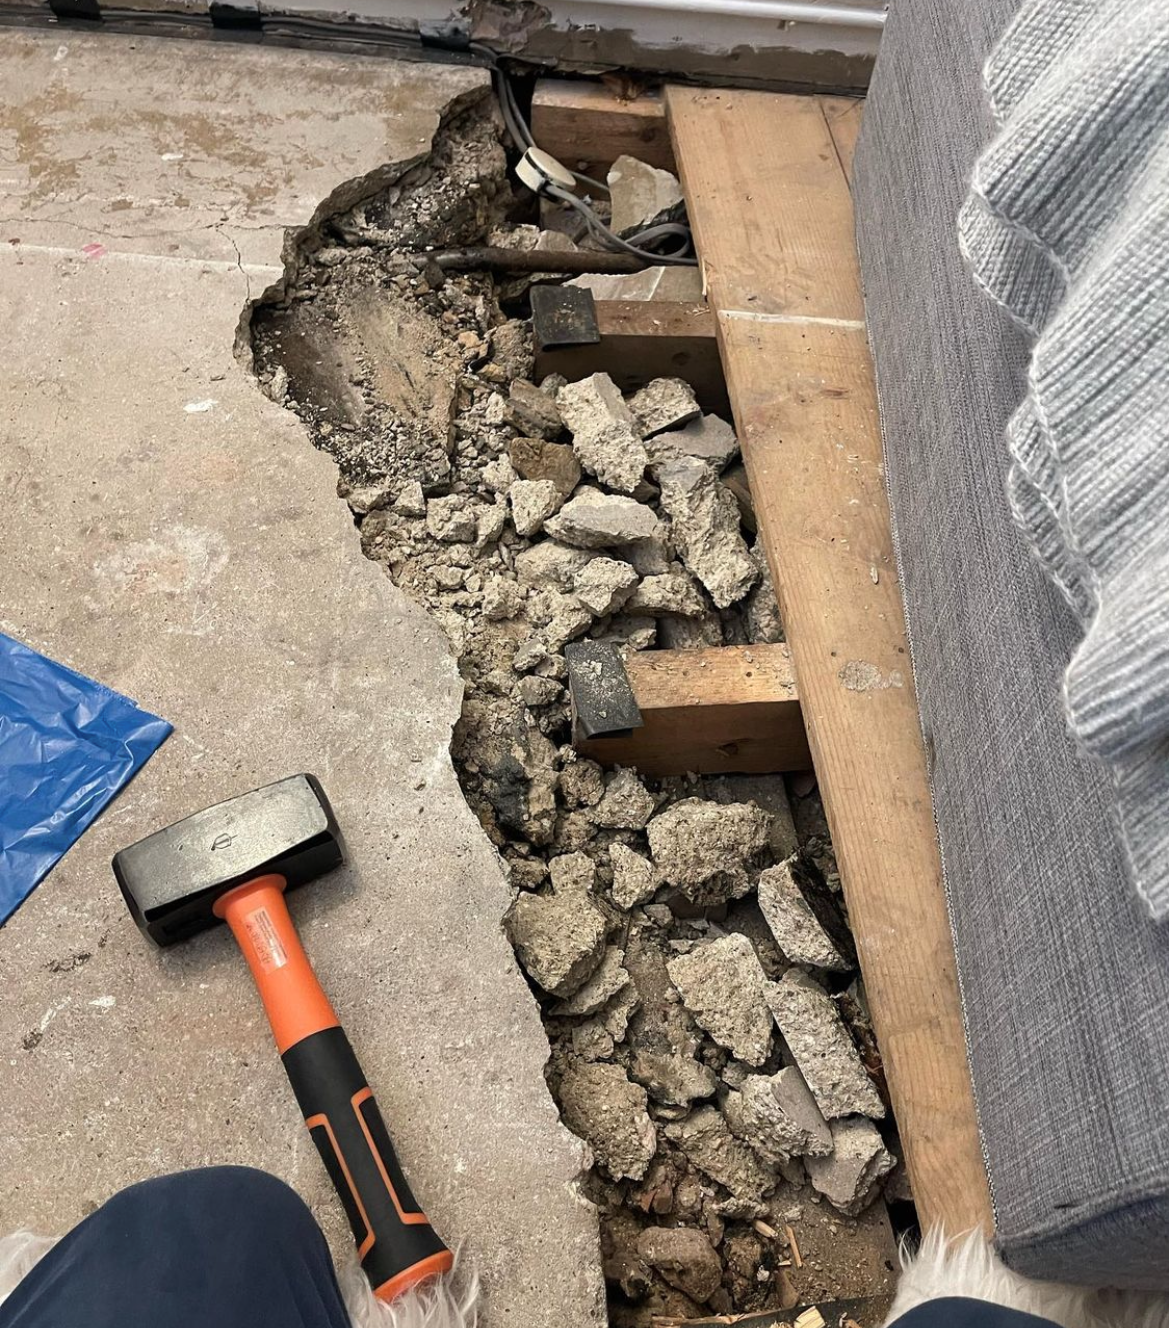
At the start of a project or extension, it’s important to think about limiting heat loss in your home with properly installed floor insulation. However, laying floor insulation can be a tricky process, and may require a few people to help as it is a labour-intensive task. You may also need to check that building regulations allow you to make the changes.
Step 1: Ensure your floor is level
Having your floors on a slope means that the insulation boards, once installed, are likely to be uneven and move around. This will result in a loss of insulation. Use screed and building sand to level off the area to make it as flat as possible.
Step 2: Lay your damp proof membrane
Once the floors are levelled properly, you can lay the damp-proof membrane over your sand layer to ensure the insulation isn’t punctured by the concrete stones. It might be easier to apply an entire sheet to your area. But if it isn’t possible, make sure the damp-proof membrane edges overlap by about 150mm, as this will make sure no moisture seeps into the concrete.
@gninsulation
Step 3: Add your insulation
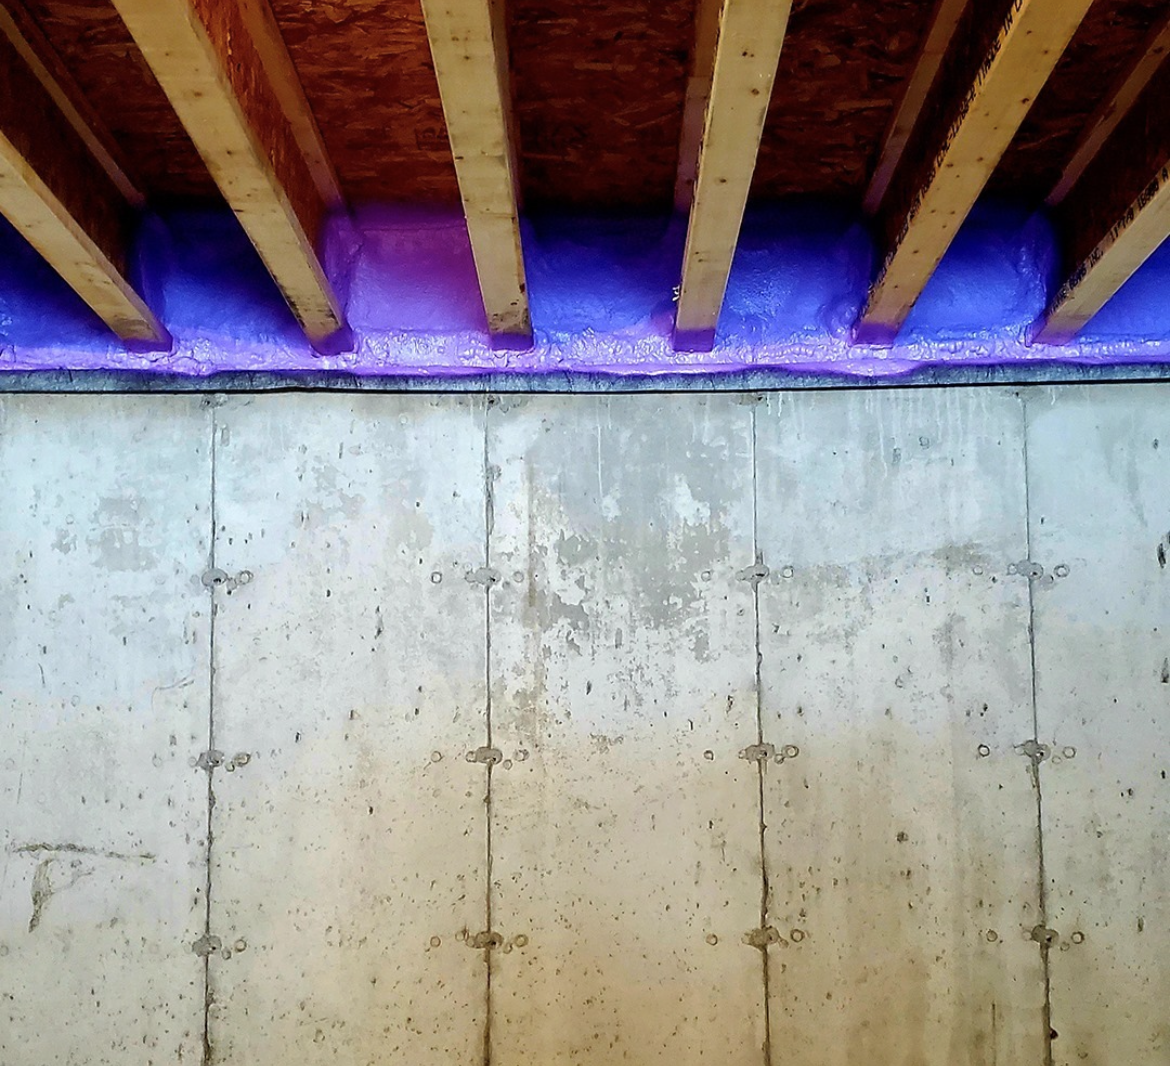
While it is possible to insulate after installing concrete slabs, we also recommend insulating below the concrete layer. This allows the concrete slabs to absorb the heat too, which makes overheating unlikely and is our preferred method of concrete insulation.
The most common insulation sheets are 4 metre sheets, but if you can’t cover the whole area with one sheet, you can lay more. But make sure you fill in any gaps with foam, and to tape the sheets down to avoid moisture seeping into the concrete.
Step 4: Concreting
There are several options for concreting your surface. Though
it can be a lot of work, if you have a small surface area it is possible for
you to barrow it in manually.
However, the most straight-forward solution is getting ready-mixed concrete
pumped directly into the flooring. 100-130mm is the recommended amount, and
once it’s laid you should wait 3-4 days for the concrete to adjust to the
temperature and moisture of the room.
Once your concrete has settled, it’s time to lay your flooring of choice
(tiles, floorboards etc).
If you have any questions about insulating your home or conservatory, you can always contact our customer services on the number 01472 907051.
Recent Posts
-
Forest Garden’s top tips for bringing style to small outdoor spaces
Spring is finally here, and homeowners are keen to transform even the smallest of outside areas
-
5 Creative Gravel Driveway Ideas
Are you looking to update your driveway and give your home an updated and appealing look? Look

