How to waterproof a shed for winter
As temperatures drop and rain increases, protecting your outdoor buildings becomes essential. If you’ve noticed damp patches, leaks, or condensation forming, it’s time to learn how to waterproof a shed effectively. As, without proper protection, moisture can quickly damage the structure, warp wood, and cause mould or rust on stored items.
In this guide, we’ll cover everything you need to know about shed waterproofing, including how to seal walls, protect the interior, and even whether you can paint or insulate your shed during the colder months.

Why shed waterproofing matters
Your shed faces constant exposure to the elements, especially during winter. Rain, frost, and wind can all find their way into tiny cracks or gaps, leading to water damage that’s often costly to repair.
Shed waterproofing helps:
- Prevent rotting, swelling, or cracking in timber
- Reduce mould and mildew growth
- Protect tools, furniture, and garden equipment stored inside
- Extend the overall lifespan of your shed
Step 1: Inspect for damage and leaks
Before waterproofing, inspect your shed thoroughly. Look for signs of wear, such as:
- Gaps in the cladding or around windows and doors
- Rusty nails or damaged roofing felt
- Damp marks or mould inside the shed
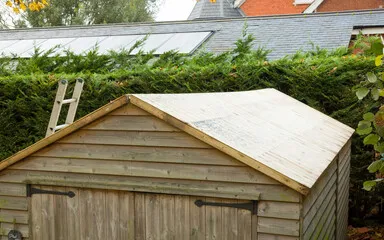
If you’re wondering how to stop water from seeping into my shed, the key is early detection. Fix cracks or broken panels straight away and replace damaged roofing felt or flashing before applying any waterproofing treatments.
Step 2: Clean and prepare the surfaces
Dirt, algae, and old paint can prevent treatments from adhering properly. Start by:
- Sweeping out debris inside the shed.
- Washing the exterior walls with warm, soapy water or a mild detergent.
- Allowing everything to dry completely before applying waterproof products.
A clean surface ensures that your chosen sealant or paint bonds effectively, giving longer-lasting protection.
Step 3: How to waterproof shed walls
Once the structure is clean and dry, it’s time to waterproof the walls. There are several effective methods, depending on your shed’s material and finish:
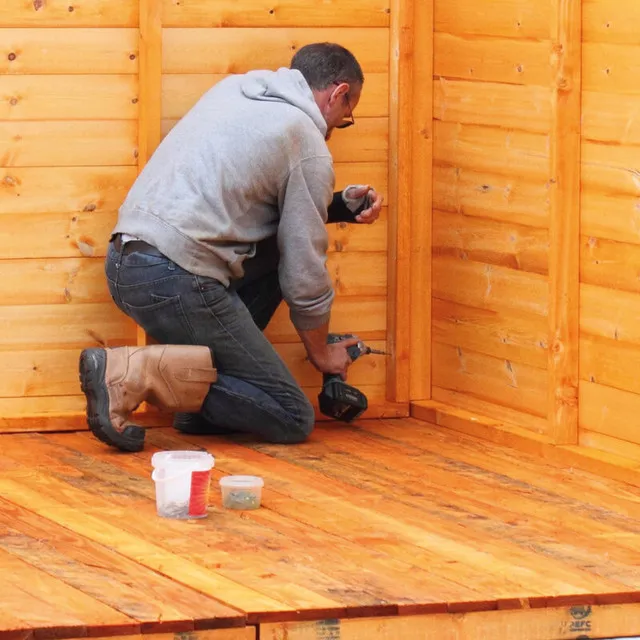
- For wooden sheds: Apply a wood preservative or shed waterproofing paint that repels water while allowing the wood to breathe. Look for formulas with mould inhibitors for extra protection.
- For metal or plastic sheds: Check all seams and joints for gaps and seal them using a high-quality weatherproof silicone sealant.
Make sure to apply treatments evenly and cover all exposed areas, including trims and corners.

Step 4: How to waterproof the inside of a shed
To ensure your belongings stay dry, interior protection is just as important as exterior work. Here’s how to waterproof the inside of a shed:
- Use rubber mats or pallets to keep items off the floor and reduce moisture contact.
- Install draught excluders around doors and windows to prevent cold air and rain from entering.
- Add a moisture trap or dehumidifier to absorb any internal dampness.
- Paint interior walls with a vapour barrier paint to block condensation.
These small steps can make a big difference in maintaining a dry space throughout the winter.
Can you paint a shed in winter?
While painting in winter isn’t ideal, it can be done with the right conditions. If you’re wondering, “can you paint a shed in winter?”, the answer is yes - but choose a dry day with temperatures above 10°C.
Avoid painting if there’s frost, fog, or high humidity, as the coating won’t dry properly and may peel or crack. Using quick-drying, weatherproof shed paint can help speed up the process.
How to insulate a shed
After waterproofing, insulation helps keep the interior dry and warm. Knowing how to insulate a shed effectively depends on your needs and budget. Options include:
- Foil insulation rolls – Reflect heat and prevent condensation build-up.
- Polystyrene boards – Easy to cut and fit between wall studs.
- Fibreglass insulation – Ideal for temperature control but requires a vapour barrier to stop dampness.
Once insulated, line the shed walls with plywood or OSB boards for a neat, durable finish. We also have a blog with further information on how to insulate a shed, which you can read here.

Final checks and maintenance
After you’ve completed your shed waterproofing, carry out regular maintenance checks throughout the colder months. Clear gutters and drainage areas, tighten loose fixtures, and reapply treatments every couple of years to keep your shed in top condition.
Learning how to waterproof a shed before winter arrives is the best way to protect it. From sealing walls and insulating interiors to choosing the right paint and materials, every step contributes to a warm, dry, and durable structure - ready to withstand whatever the season brings!
If you have any more questions concerning how to waterproof your shed, or you require any additional information about the sheds we sell at Howarth, please visit your local Howarth branch, or contact our customer services on 01472 907051.
You can also explore our range of sheds here, and you can even visit us in branch for more information.
Recent Posts
-
How to make your home more energy efficient
Every home can be greener but how do we make sure we are living in energy efficient homes? With risi
-
How do you prevent pipes from freezing?
Winter is an exciting time, with everyone looking forward to the incoming festivities. But with the
