How to fit door architrave
Painting or adding designs to your door isn’t the only way to enhance its appearance. Installing door architrave is one of the easiest and most effective ways to give your interior doors a clean, stylish finish.
Architraves are a popular feature in UK homes and workplaces, used to frame doorways and conceal gaps between the wall and door frame. Whether you’re updating old, chipped door architraves or giving your home a fresh modern touch, learning how to install them yourself can be simple with the right tools and preparation.
In this guide, we’ll explain what door frame architrave is, explore different styles, and walk you through how to fit internal door architrave like a professional.
Tools and materials you’ll need
Tools:
- Hammer
- Combination Square
- Tape Measure
- Nail Punch
- Mitre Box
Materials:
- Architrave
- Oval Nails
- Sandpaper
- Wood Filler
- Pencil
- Wood Glue
- Safety Glasses
What is door architrave?
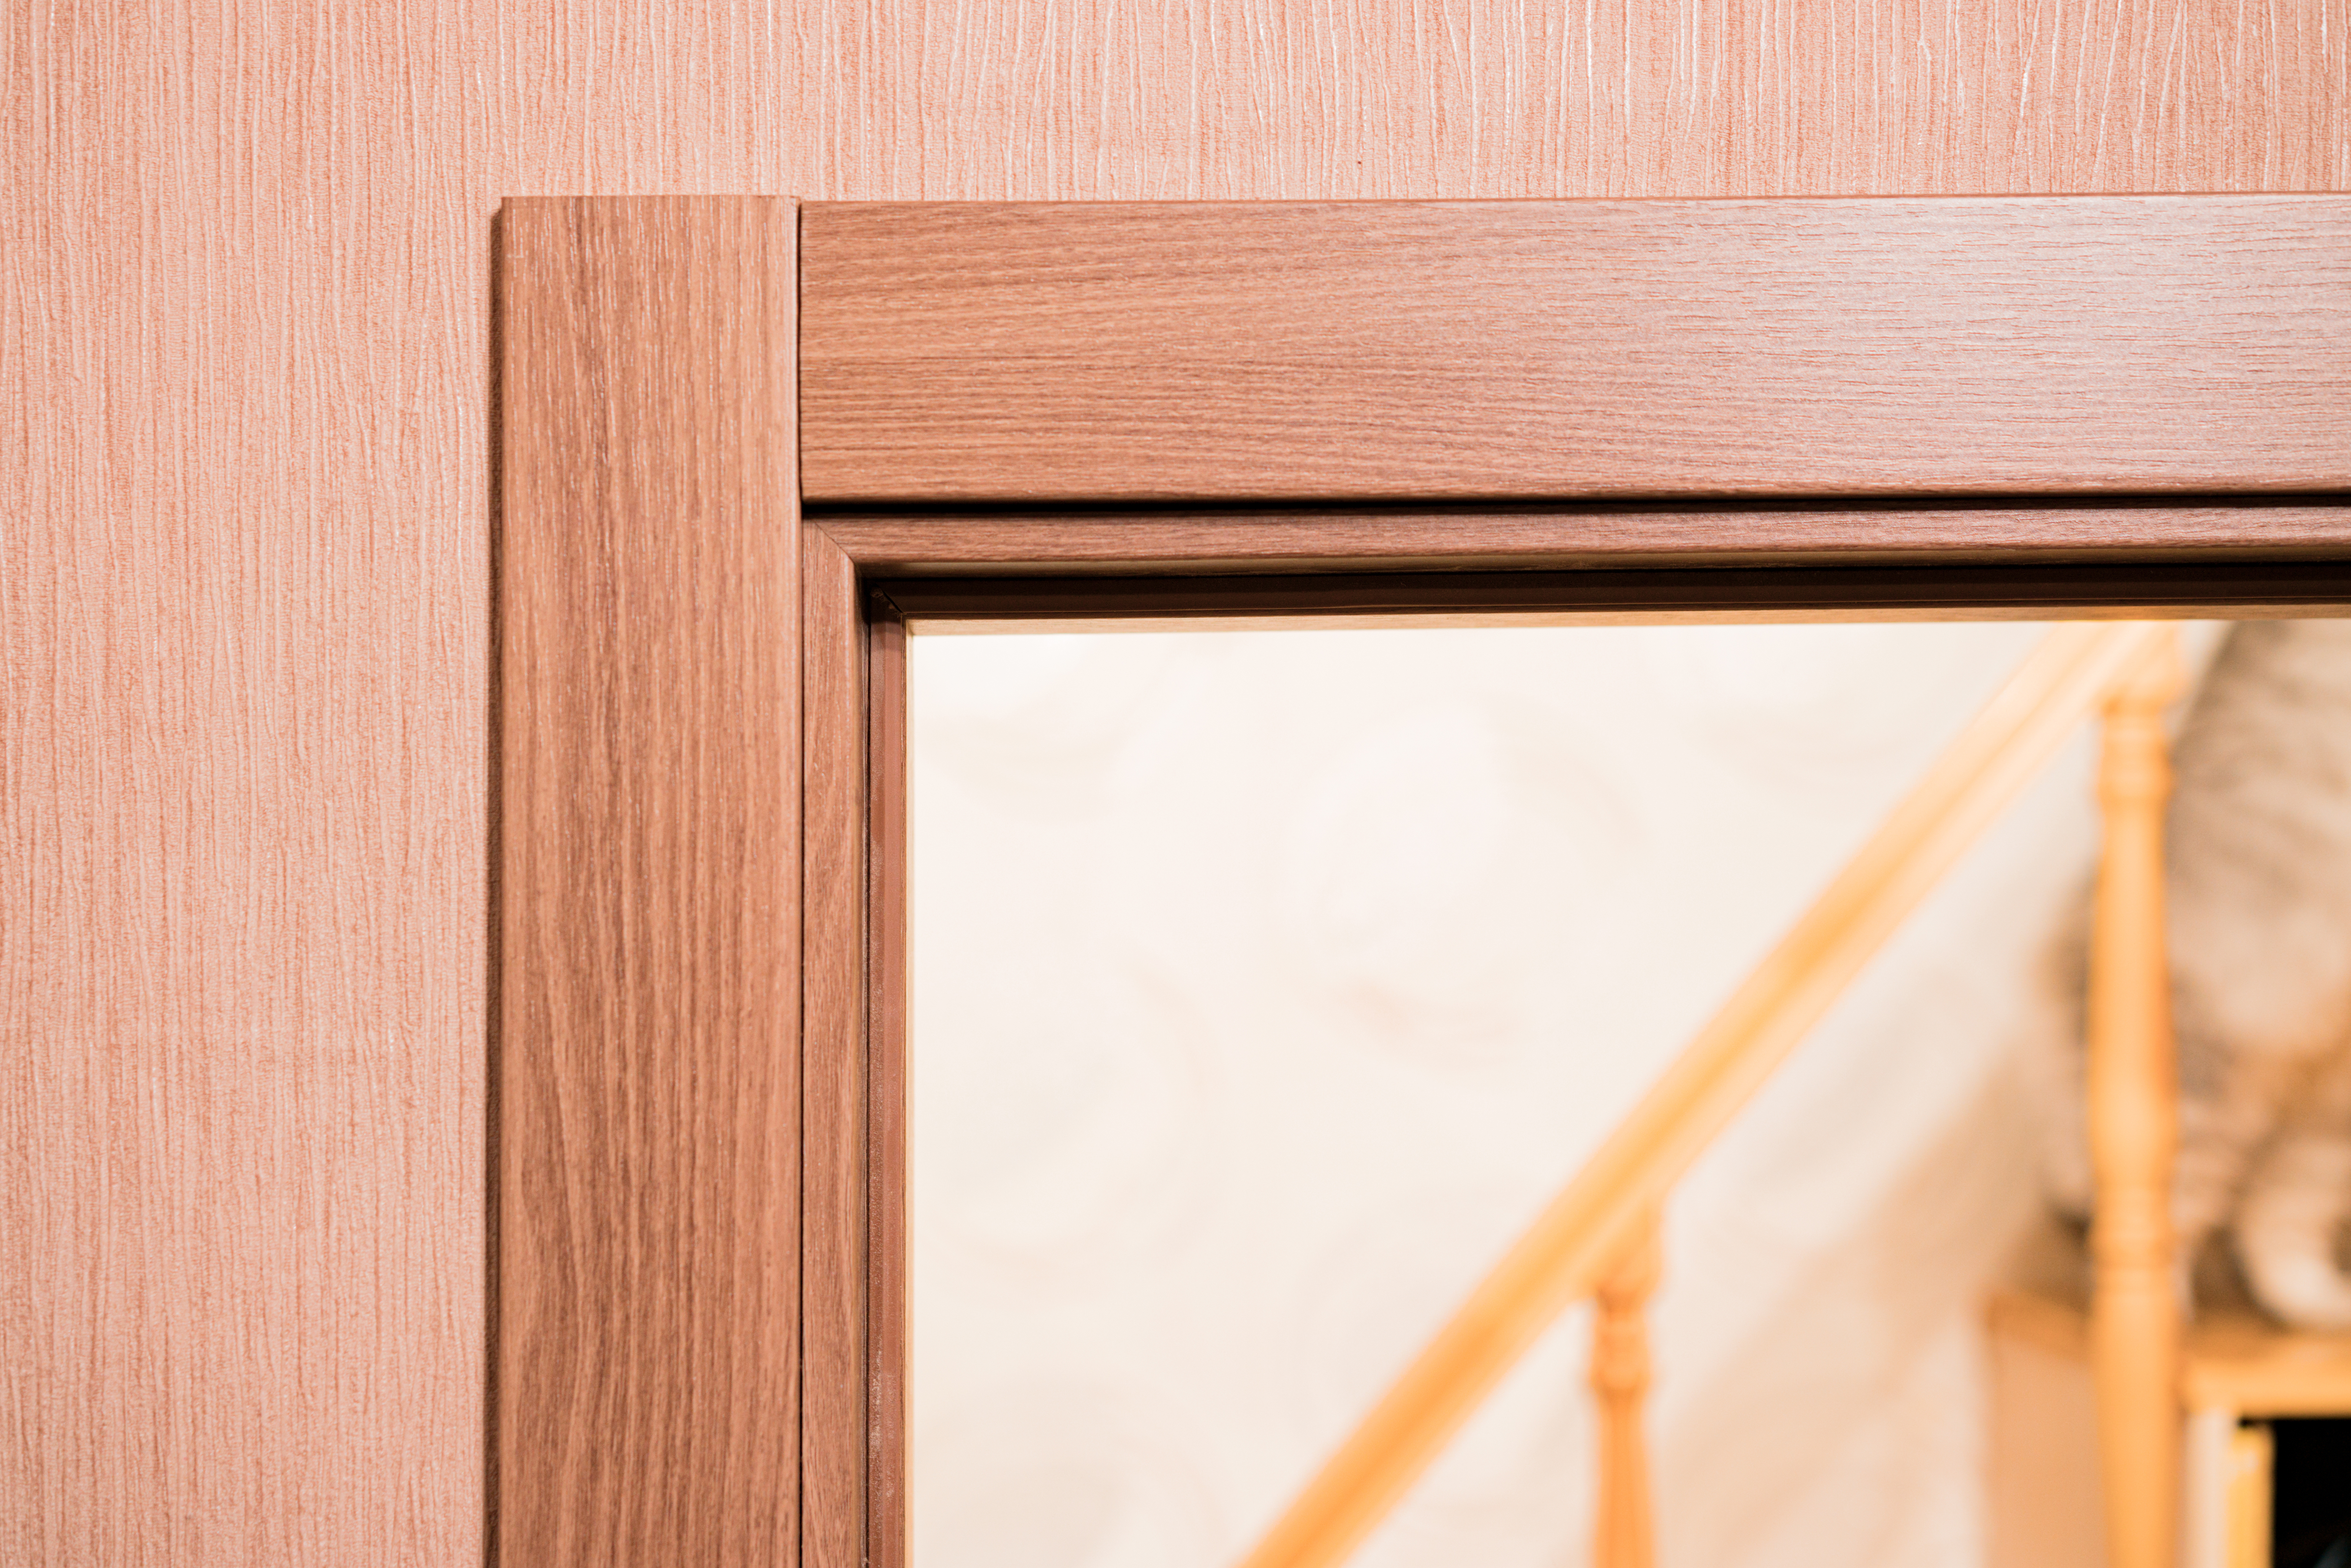
An architrave for door frame is a moulding used to decorate and conceal the joint between the wall and the door casing. It provides a smooth, elegant transition around the frame while hiding any uneven edges or paint marks.
Door frame and architrave combinations are available in a variety of materials and finishes to suit different interior styles—from sleek and modern to more traditional looks. Choosing the right architrave door frame can instantly elevate the overall appearance of your space.

Types of door architraves
Ogee architrave
Ogee door architraves feature a soft, curved profile that adds elegance to any doorway. Their rounded edges create a seamless finish, protecting door frames from everyday knocks and bumps. They’re often made from moisture-resistant materials, helping to prevent warping and water damage.
Torus architrave
The smooth curve of a Torus architrave brings a subtle, decorative element to your doorways. It’s ready to paint, allowing you to match your colour scheme or make a bold design statement. The moisture-resistant core makes it suitable for high-traffic areas in your home.
MDF architrave
MDF door architraves are a practical and affordable option, perfect for homeowners on a budget. They’re durable, easy to work with, and resistant to swelling and warping—ideal for busy households that want long-lasting results with minimal maintenance.
Preparation before installing doors and architraves
Check for pipes and wires
Before fitting your doors and architraves, always check for hidden pipes or electrical wires around the door frame. This helps avoid any issues later if maintenance work is needed. If you find any, contact a professional before continuing.
Take accurate measurements
Before cutting or fitting your door frame architrave, measure carefully around the door casing. Draw 6mm markings from the inner edge on both sides and across the top using a tape measure. Connect the marks with a straight edge or spirit level to create alignment lines.
Next, measure the top line and mark the same length onto your architrave’s inner edge, allowing extra room for mitre cuts. Lightly mark the direction of your cuts before proceeding.

How to cut and fit door architrave
Step 1: Cutting the architrave
Place the architrave flat side down into a mitre box and use a fine-tooth or tenon saw to make two 45-degree mitre cuts. These cuts should mirror each other for the top and sides of the frame. Smooth the edges with sandpaper for a better finish.
Step 2: Fitting the headpiece
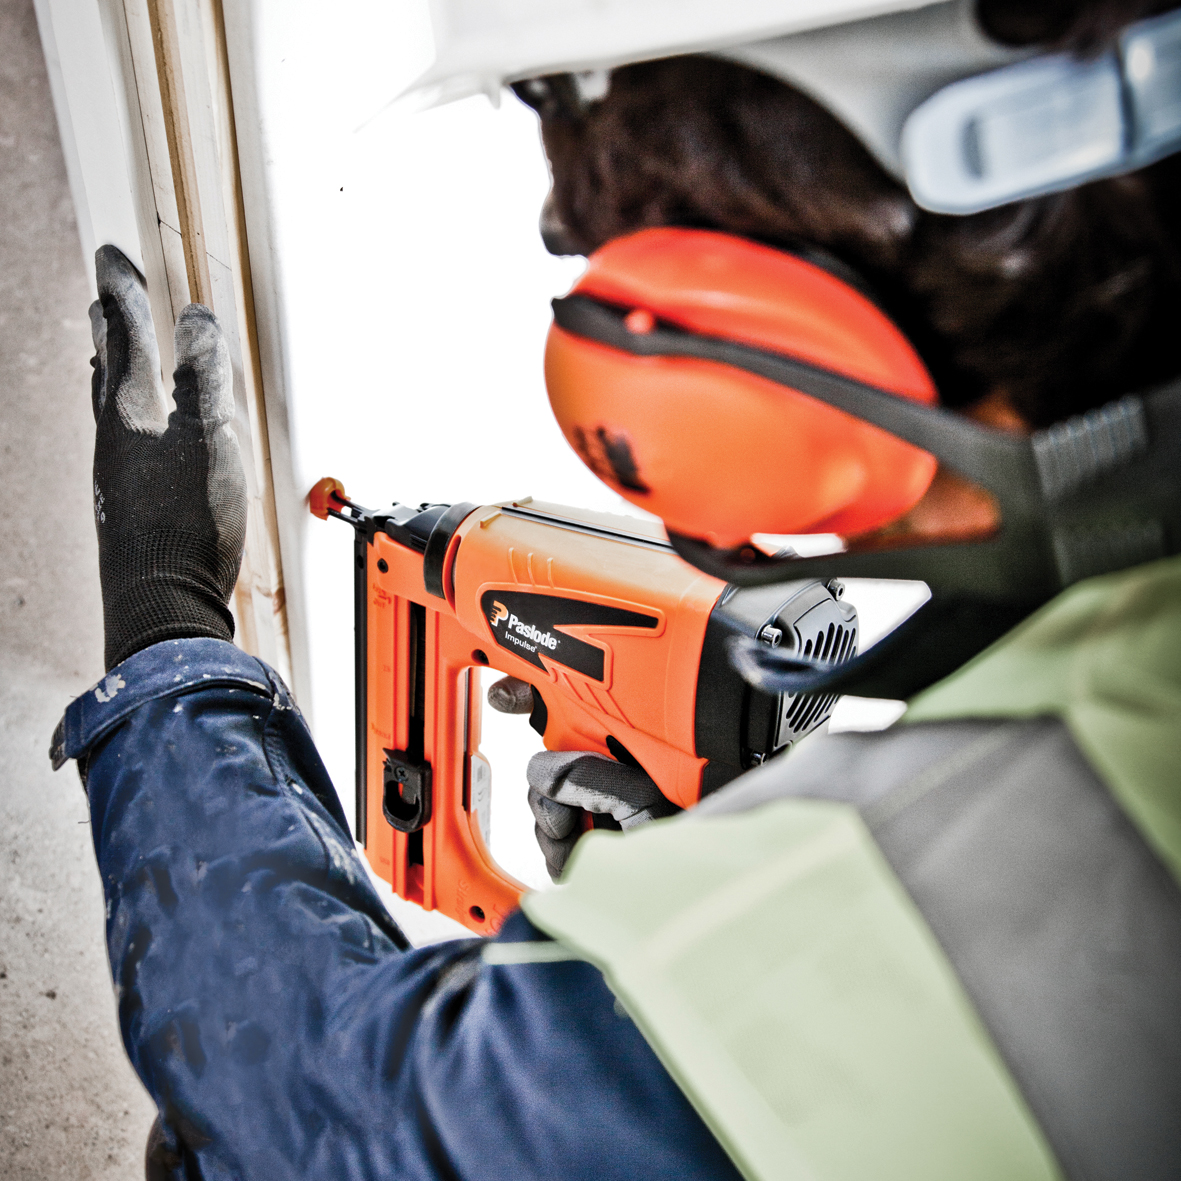
Apply wood adhesive to the back of the headpiece and position it along the top of the door casing, aligning the mitred corners. Secure it with nails or glue—whichever you prefer. Hammer in four nails evenly spaced for a snug fit.
Step 3: Cutting and fitting the side pieces
Measure from the floor to the bottom of the headpiece and mark this on both side pieces. One end should have a mitre cut, while the bottom end remains square. Lightly sand the mitred edges for a precise fit.
Apply glue to the mitred corners and fix each side piece in place, using nails or adhesive for extra stability. Make sure each piece aligns neatly with the headpiece.
Finishing touches
Once all pieces of the door frame and architrave are secured, fill any small gaps or nail holes with wood filler. Allow it to dry, then sand lightly before painting or staining to match your room’s décor.
Your newly fitted internal door architrave will give your doors a professional, polished finish that enhances your home’s overall style.
We hope this guide has helped you understand how to install door architraves easily and effectively. If you’d like more information about the range of doors and architrave products available at Howarth, visit your local branch or contact our friendly customer service team at 01472 907051.
Recent Posts
-
How to fit door architrave
Painting or adding designs to your door isn’t the only way to enhance its appearance. Installing doo
-
How do air source heat pumps work?
If you want an eco-friendly way to heat your home, air source heat pumps (ASHPs) are becoming very p


