How to lay block paving
For an outside location, block paving is a fantastic choice. It has a highly fashionable appearance while also being quite useful and long-lasting. However, to reap the benefits of block paving, it must be installed correctly. So, if you're wondering how to construct a block paving walkway, patio, or driveway, this article will lead you through the simple procedure, from obtaining the essential supplies to tips and tricks to guarantee your project lasts a long time.
Getting Started
In terms of what you’ll need, there are two main things to think about – tools and materials. For the tools, you’ll need:
- A broom and rake
- String line and some pegs
- Screed rails
- A shovel or spade
- A wheelbarrow
- A mallet
- A spirit level and tape measure
Many of these tools are likely already in your garage, shed, or house. A cement mixer, a compacting tool, and either a stone saw, or a block splitter are also required. You may rent them from any reputable hire shop in your area.
As for the materials, you’ll need:
- Sub-base aggregate
- Sand
- Block paving stones
Always make sure to plan when buying your materials. Don’t start work until you have everything you need for building a new driveway.
Choosing your design patterns
Now that you’ve chosen your materials, you should first consider the design of your block paving, which is something you can do independently. Try merging different paving brick colours, and always try to match the colours of the block paving to the colours of the existing house or stone.
Below are a few examples of the types of laying patterns we offer at Marshall’s:
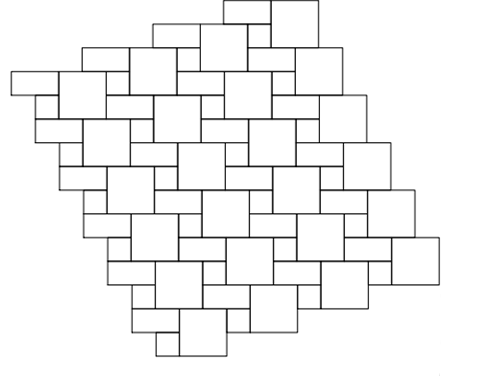
3 Size Project Pack
Applicable sizes: 300x300, 300x600, 600x600
Style: Project Pack
Use with: Natural Slate
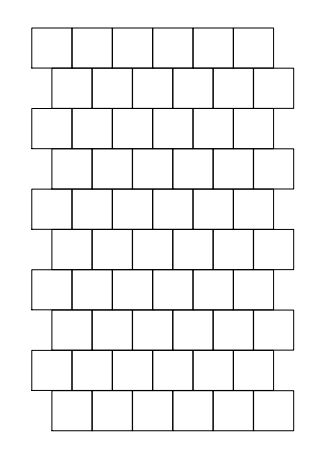
400x400
Applicable sizes: 400x400
Style: Random Pattern
Use with: Argent Coarse Paving
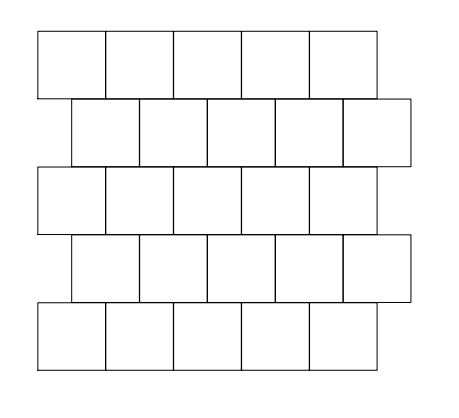
600x600
Applicable sizes: 600x600
Style: Repeatable Pattern
Use with: Argent Coarse Paving

Indian Sandstone
Applicable sizes: 285 x 285, 570 x 285,
570 x 570, 855 x 570
Style: Project Pack
Use with: Indian Sandstone
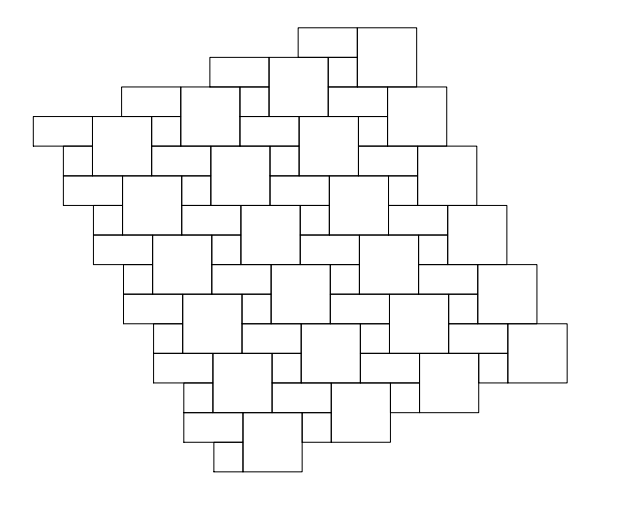
Natural Slate
Applicable Sizes: 305 x 305, 305 x 610, 610 x 610
Style: Project Pack
Use with: Natural Slate
How to lay block paving
Step 1 - Dig out the area
Dig out the area to at least 150mm below your home's damp proof course or whatever the pavement is being built next to. The depth to which you must dig may alter as you proceed, based on the rise, and fall of the ground. To do this, you will need a shovel or spade to dig the paving area. If the land that you’re excavating is completely flat, dig at a gradual slope so that the surface water can drain away <
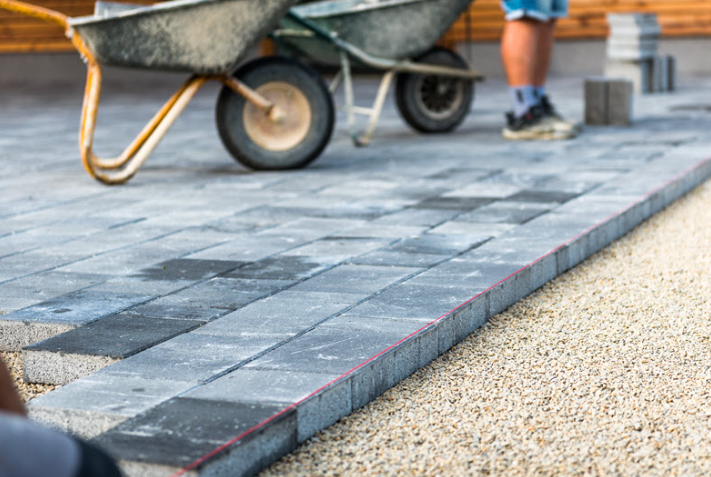
Ultimate Driveways – Just another WordPress site
Step 2 - Edge restraints
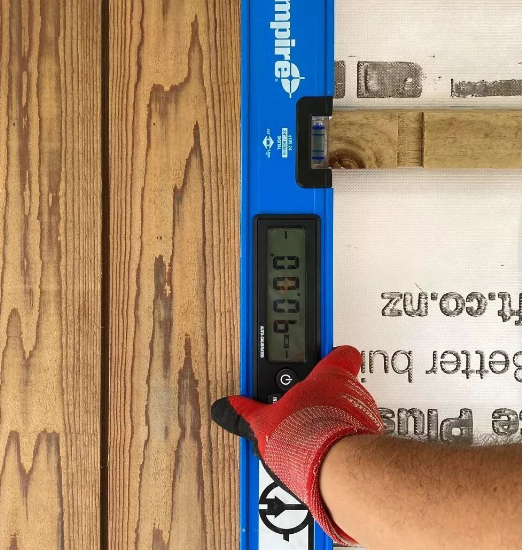
Putting the edge restraints in correctly is hugely important to the task and is the key to creating a fabulous new driveway or path. It is also important to do this before laying your block paving. To make 100mm thick foundations, use a concrete mix of one part cement to six parts ballast. Make sure the edging stones you're choosing will sit at the correct level by using a taut string line positioned at the finishing height of your paving level as a reference. Place the edge course on top of the concrete 25mm below the line. Lightly smash the kerb or blocks into place using a mallet. Next, haunch in your edging by putting concrete to the exterior of the edging stones - this should reach halfway up the block's height. This is also where you can use a spirit level to make sure your edge restraints are at an even level when you’re hammering them into place with the mallet.
@empiretoolsaus
Step 3 - Subbase
Next
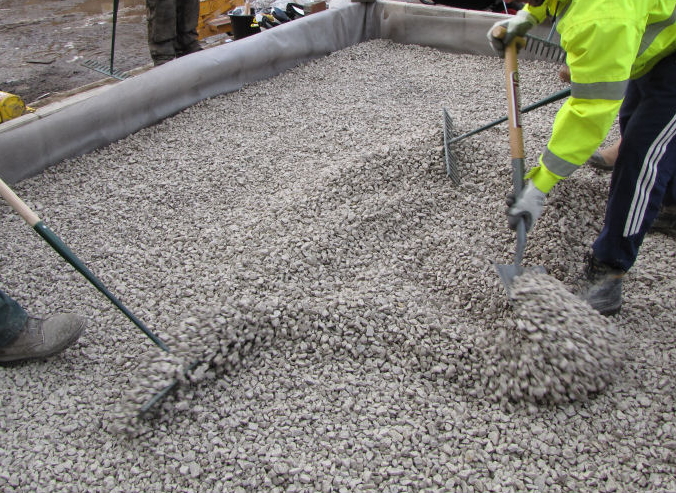
is the subbase, which is your primary stone-supporting layer. Therefore, you’ll
need to apply a layer that's at least 100mm thick for this. This is to ensure
that your pavement can withstand the weight of anything is on top of it,
whether it be people or automobiles.
One method is to apply a 75mm layer, hammer it with a compacting plate, and
then apply another 75mm coating. Use MOT Type 1 hardcore aggregate for your
sub-base, which is often composed of granite, limestone, or basalt crushed into
stones no larger than 40mm in size.
Concrete Block Permeable Pavement Installation | Pavingexpert
Step 4 - Add sand
After
you've installed your sub-base, you'll need to add sand. The purpose of this is
to bridge the gap between the sub-base and the final paving line. It's critical
to remember to shape the sand to accommodate whatever slopes or angles you're
dealing with.
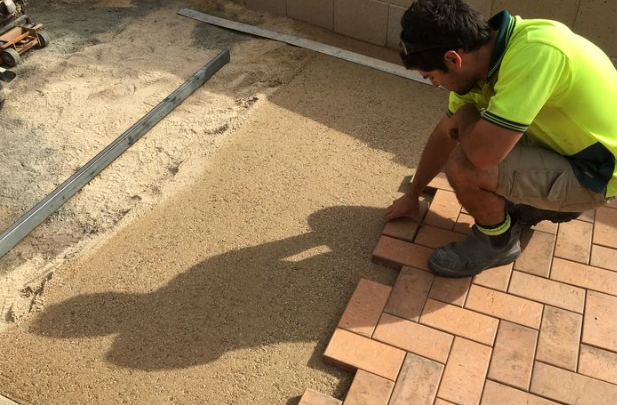
Apply a 50mm layer of damp sharp sand - it should be moist enough to compress,
which you can test by making a sand ball with your palm. It's safe to use if it
doesn't come apart.
To get to the completed level where the blocks will be set, use screeding lats.
To reach your top line, run a string line across the block, but leave it 3-5mm
proud because the block will be crushed. Remove your lats and backfill the void
with more sand, screeding it in all the way along after you've established the
proper level.
Step 5 - Lay the pavers
Begin putting your pavers on the sand from one corner at the foot of the slope. If this not an option, begin with a straight edge or border. Place each brick one at a time, right against the face you're fleeing, and make a connection and then run it straight down into position at least halfway up. By sinking the block directly into the sand, you'll end up with a face that may leave gaps in the final driveway or walkway. Blocks should be 10-15mm above the intended line, ready to be compacted as soon as the course is finished.
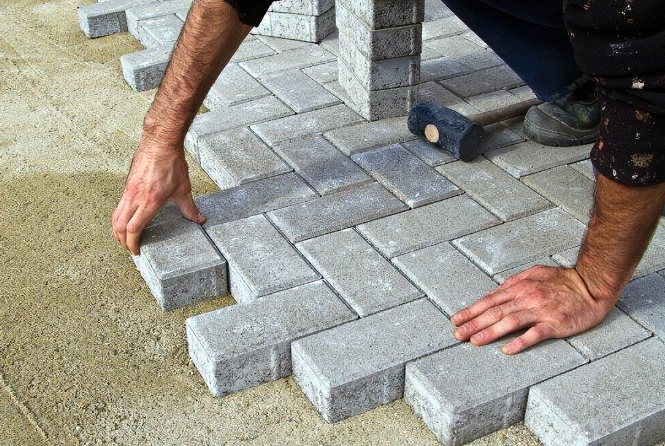
How to Lay Block Paving: An Overview - The New Driveway Company
Step 6 - Fill the seams
When you've finished laying your block paving, it's time to do the finishing touches. Brush the kiln-dried sand across the pavement with your broom, making sure that lots of it gets into the joints. Compact the pavement, then add more sand; and continue until all seams are filled.
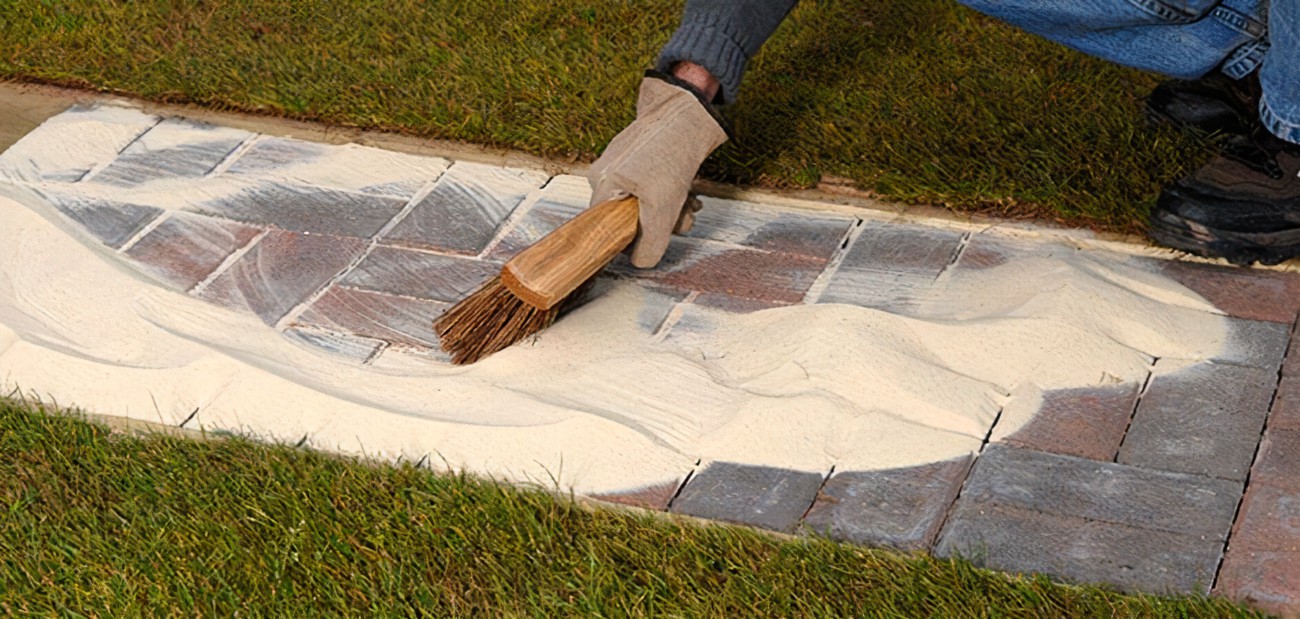
Block Paving, All you need to know (pavingnewcastle.co.uk)
How to clean block paving
Naturally, block paving is incredibly low maintenance, meaning all you need are a few specialist cleaning methods to remove even the most stubborn of stains and spills.
Before you get started, you will want to move garden furniture or vehicles out of the way, brush away any loose debris, and remove weeds or moss around your jointing compound. Now you’re ready to give those block paving stones a clean.
What you’ll need:
- Washing-up liquid
- Warm water
- Bucket
- Hard-bristled brush
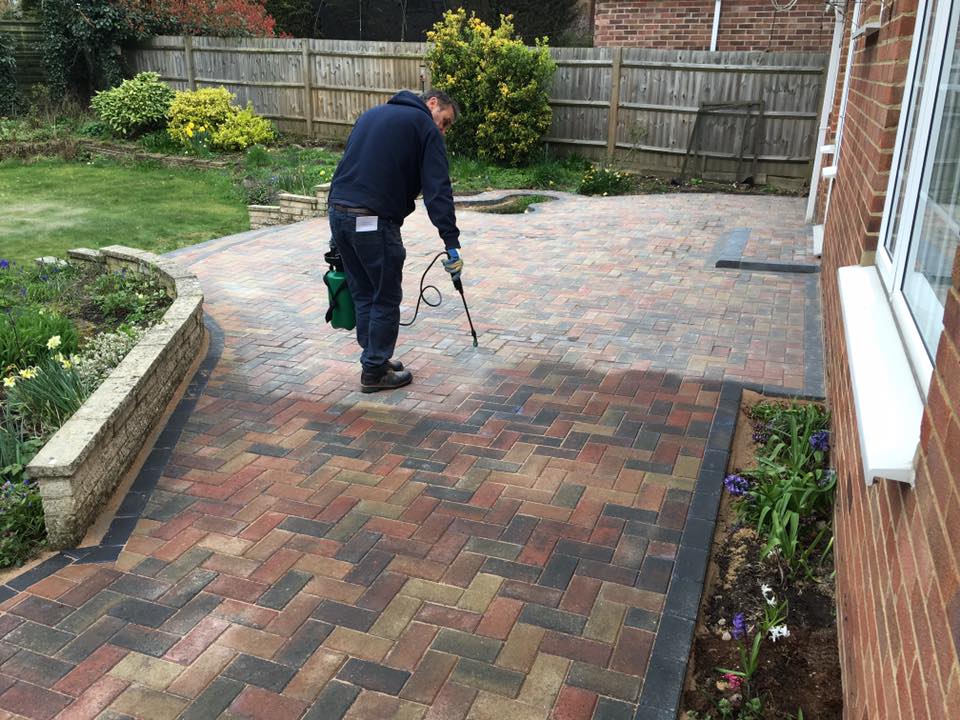
How to clean block paving with washing-up liquid:
- In your bucket, combine the washing-up liquid (just a spray will do) and warm water.
- Working from the corners, pour your solution in batches and scrub until all the dirt on your block paving has been removed. Repeat until the entire block paving space is clear.
- Drain the unclean water into a drainage point using a fresh pail of clean water or a hose (whether a drainage channel, soil, or grass).
- If you believe your paving stones may benefit from a thorough cleaning, explore the solutions given below and, whatever you do, avoid using an acid-based stone cleaner. These treatments erode the stones, making them less robust and more vulnerable to long-term harm.
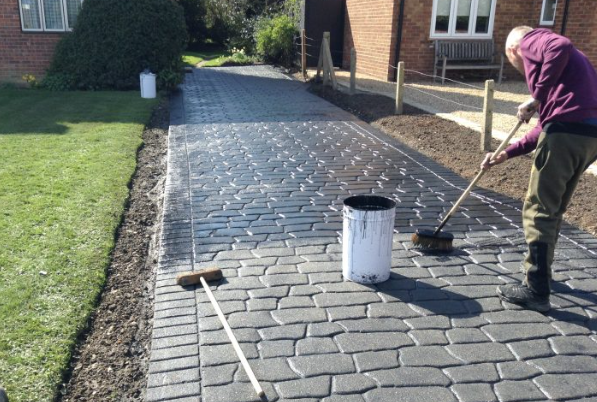
Block Paving and Fencing - Patio Cleaning Witham
TOP TIP: Scrub diagonally to be softer on the jointing compound and to remove less kiln-dried sand during cleaning. If any sand comes free, you'll have to re-fill the spaces.
Overall, block paving can be an incredible investment for your home when installed properly. And we hope this guide has been able to help you on your journey of completing that perfect patio in your garden!
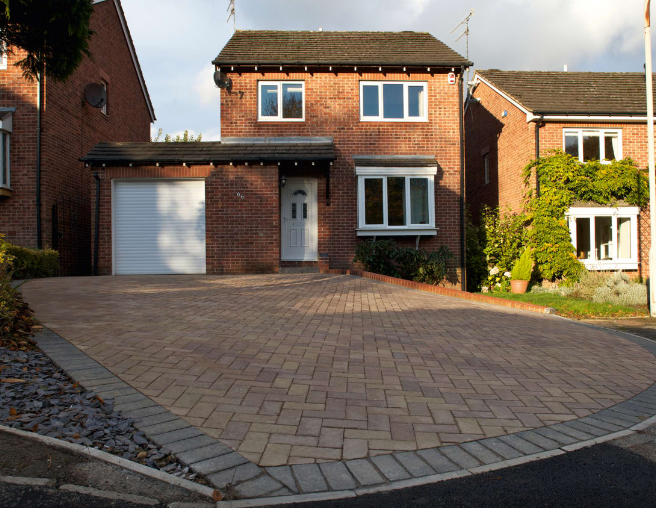
Inspire Me, Driveways | Marshalls
If you have any more questions about how to lay block paving, or would just like to discuss your options, you can contact our customer services on the number 01472 907051
Recent Posts
-
Forest Garden’s top tips for bringing style to small outdoor spaces
Spring is finally here, and homeowners are keen to transform even the smallest of outside areas
-
5 Creative Gravel Driveway Ideas
Are you looking to update your driveway and give your home an updated and appealing look? Look

