How to remove a radiator
There are several reasons why you may wish to remove a radiator. Whether you want to redecorate a room, replace your radiator with a new one, or clean it, removing a radiator may be a difficult task. However, don't let that deter you; if you know how, removing a radiator is a piece of cake!
The tools you will need to remove a radiator are:
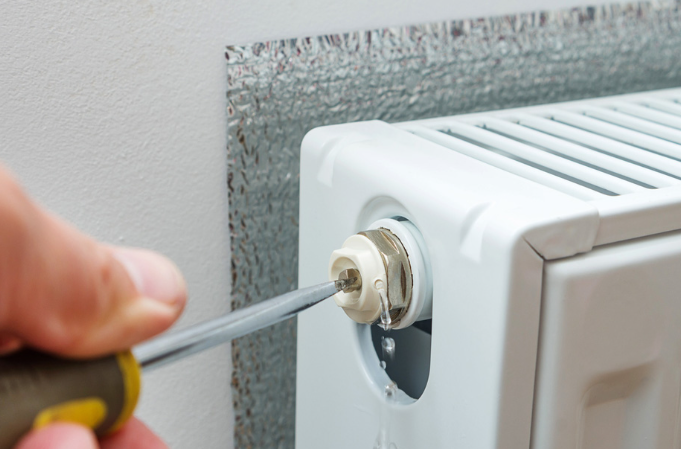
- Radiator key
- 2 adjustable wrenches
- Bowl to catch water
https://www.homeserve.com/uk/living/blog/how-to-re...
Step 1: Turn off your heating
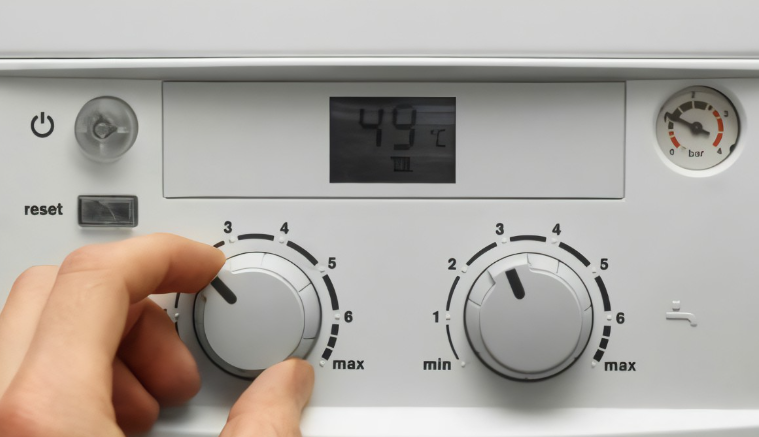
Before attempting to remove your radiator, turn off your central heating and let the system to cool down. This is so if you encounter any water when removing your radiator, it will not scald you.
Fixed Price, Next Day New Boilers Installed - iHeat
Step 2: Turn off the valves
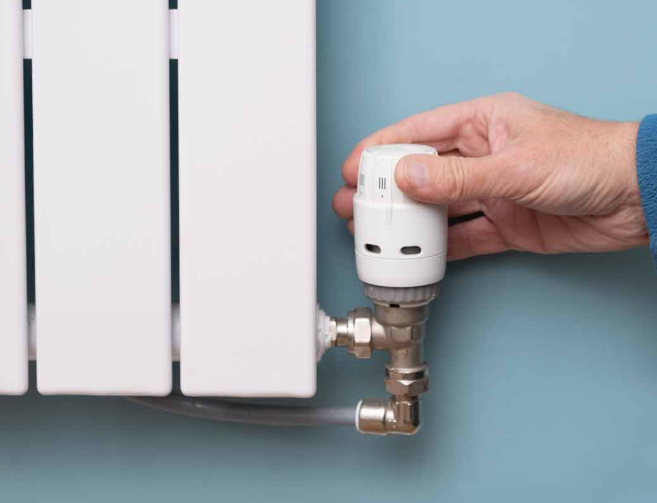
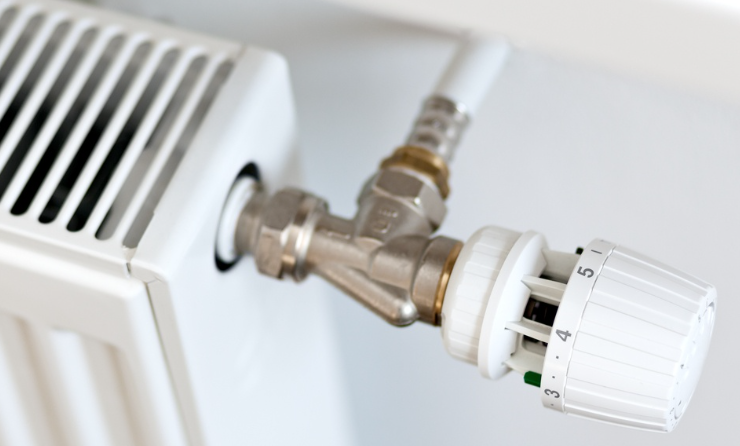
Turn the thermostatic radiator valve (TRV) on the radiator you intend to remove to zero or off.
The lock shield valve is located on the opposite side of the radiator. Remove the plastic cap from the lock shield and look inside for the little spindle. Turn the lock-shield valve clockwise with a wrench until it is closed. When twisting it, keep track of how many spins it takes and write them down; this will help you bring your radiator back to the same pressure when you replace it.
https://www.homeserve.com/uk/living/how-to/change-...
Step 3: Drain the radiator
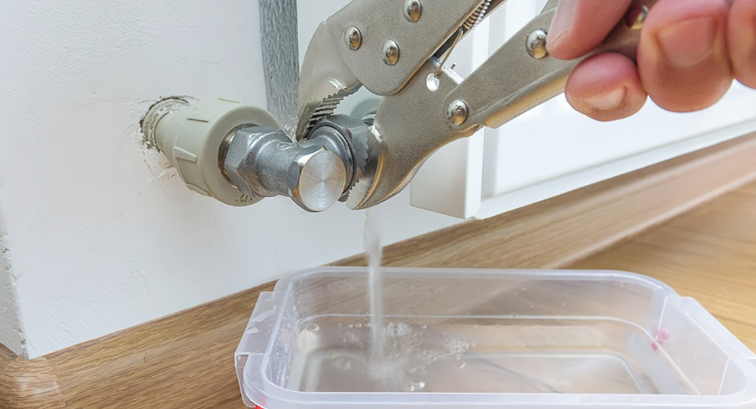
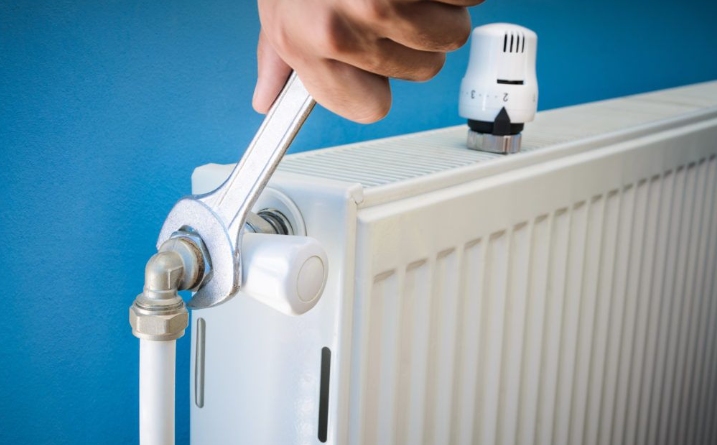
Place a bowl beneath the valve you want to drain first. Place one wrench on the valve's body and the other on the nut that connects the radiator to the valve. This allows the water to drain into your bowl.
https://www.onlyradiators.co.uk/blog/how-to-guides...
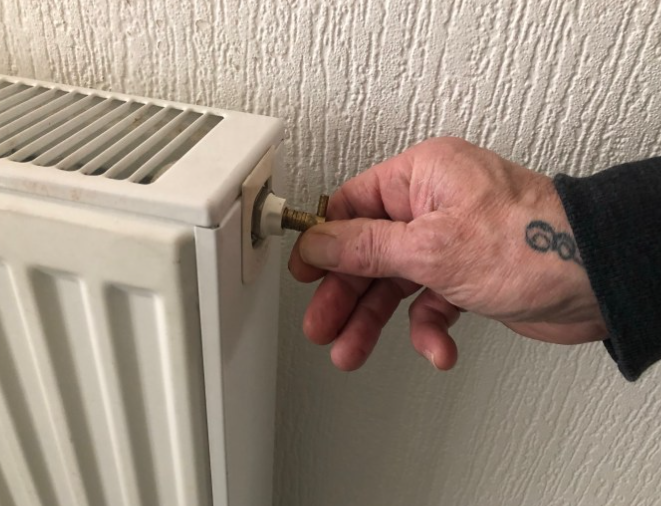
Step 4: Open the bleed valve
Turn your radiator key to open the bleed valve on your radiator. This will aid in the removal of more water.
http://www.protecttheplanet.co.uk/energy-efficienc...
Step 5: Loosen the other valve
Close the bleed valve and go to the opposite valve. As previously, unscrew the nut that connects the radiator to the valve with two wrenches and collect the water in the bowl. Open the bleed valve once again to allow additional water to drain.
Radiator Valves and Accessories at LOW prices | BestHeating
Step 6: Disconnect the radiator
Loosen the radiator bolts until you can separate it. After disconnecting it, tip the radiator to one side to drain any remaining water or residue into your bowl.
https://www.pinterest.com/pin/824369906761260181/
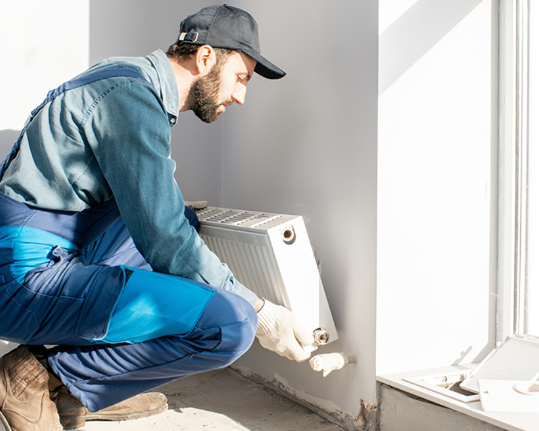
Step 7: Lift the radiator off the brackets
Lift your radiator carefully upwards and away from the brackets. If your radiator is exceptionally robust, you may choose to seek assistance.
How To Remove A Radiator | Only Radiators
And there you have it, you have successfully removed your radiator! In this time, you can also make sure to clean the back of the radiator, removing any sludge and grime that has been collecting behind it.
If you have any more questions about how to remove a radiator or would just like to talk through your decisions with our helpful, friendly team, you can contact our customer services on the number 01472 907051.
Recent Posts
-
Forest Garden’s top tips for bringing style to small outdoor spaces
Spring is finally here, and homeowners are keen to transform even the smallest of outside areas
-
5 Creative Gravel Driveway Ideas
Are you looking to update your driveway and give your home an updated and appealing look? Look

