How to make Sleeper Steps
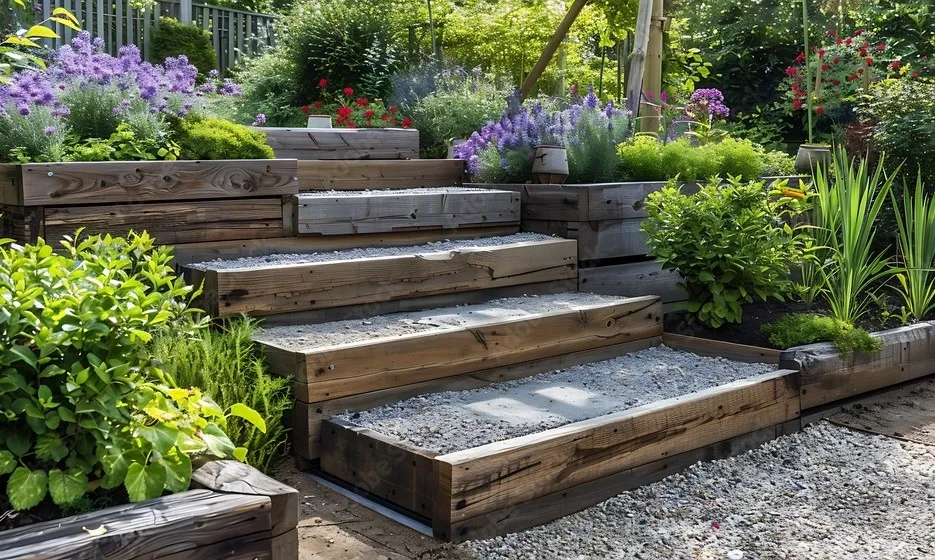
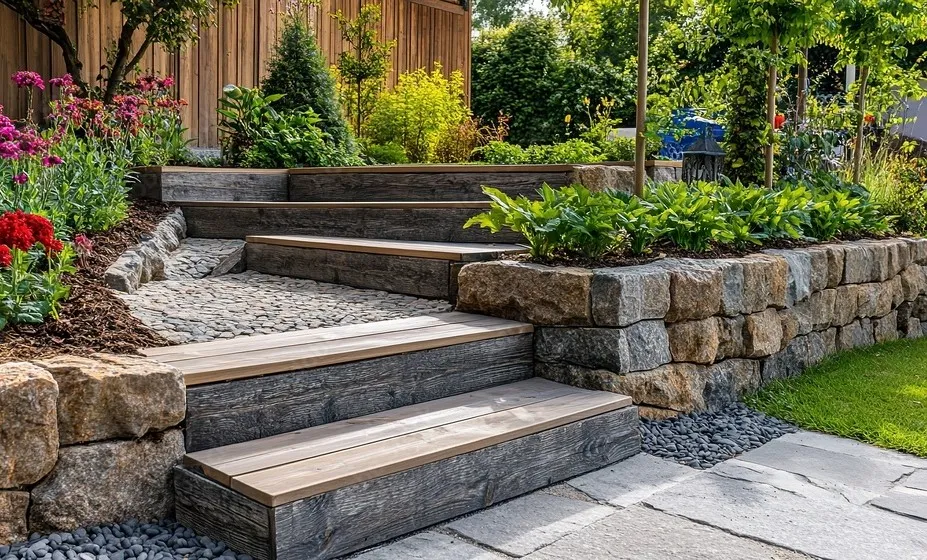
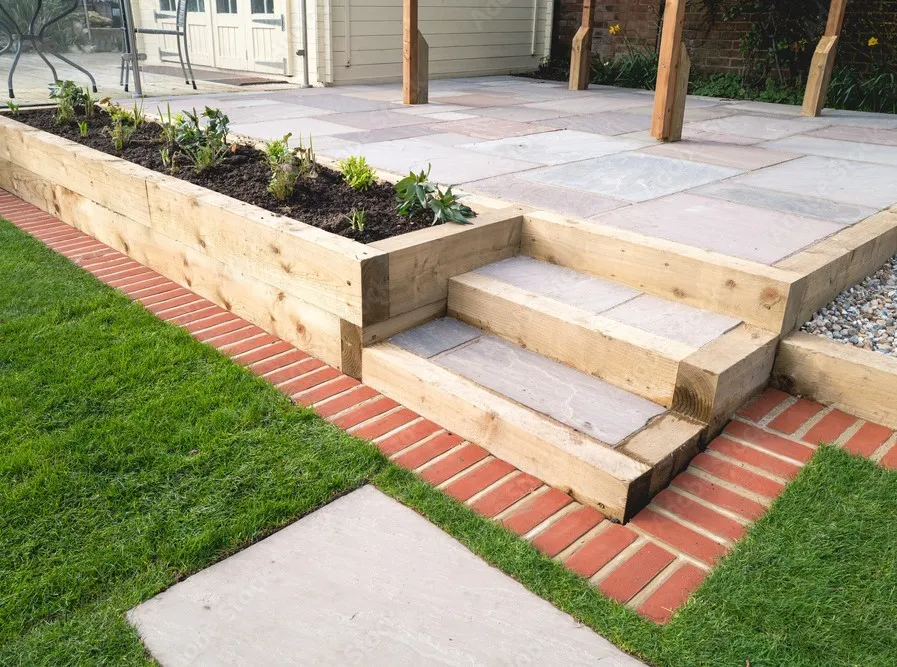
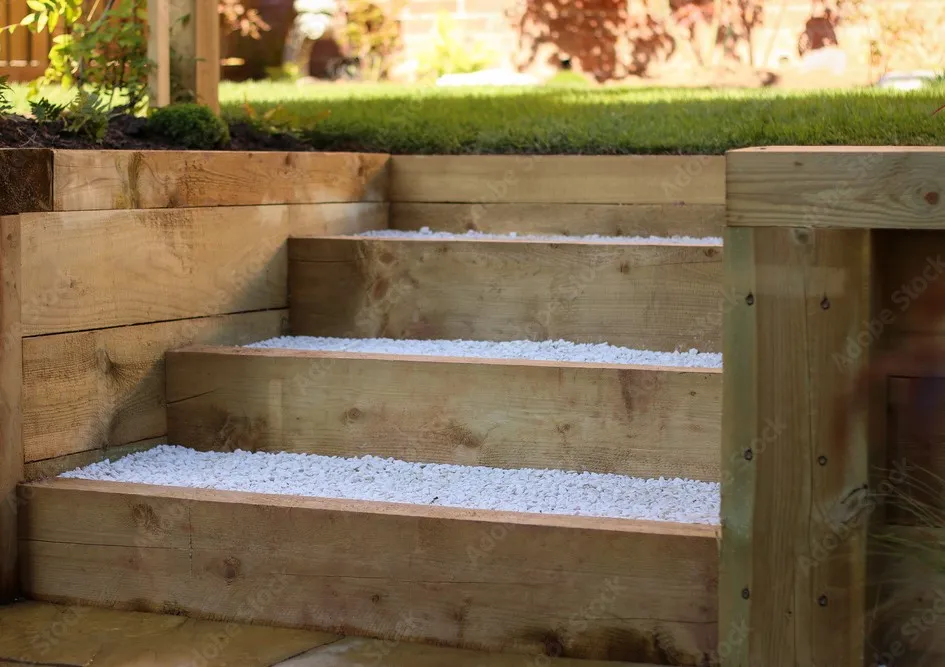
Sleeper steps are a fantastic way of using traditional materials for building garden steps. Whether you’re replacing existing steps or feeling fancy enough to create some brand new zoned-out outdoor spaces for an easy to access patio, decking, or grass – the design options are endless!
So, wondering how to build sleeper steps? Look no further! We have everything you need inside this handy guide to make the process much easier for you.

Deciding on the design
Durable by nature, timber sleeper steps in your garden will depend entirely on the space, design and needs.
Available in a range of shapes and sizes, garden sleeper steps are a great landscaping choice – and can be built without the need for any additional materials.
Try using sleepers as steps, as you’ll be able to maximise their width and length, which in turn would allow you to create deep steps with a gentle slope.
Once you’ve decided on your design, it’s good to draw up a plan and work out the dimensions.
To work out the number of steps you’ll need, divide the total height of your incline by the riser height of your sleeper. It’s best to keep the rise of your steps as consistent as possible, but you may find that the tread will vary depending on the space.
It’s also good to keep in mind that sleepers are best to be cut at home with a circular saw, which will ultimately reduce waste and make the process as streamlined as possible.
Due to sleeper steps being partially submerged, we recommend using hardwood sleepers for a long life and durability against decay. However, due to their affordability, softwood sleepers can also be used – but we recommend treating the timber with sustainable finishes and maintaining the wood as much as possible to prevent wear.
How to build railway sleeper steps
Preparing and cutting the sleepers
Once your design and materials are ready, it’s time to prepare your build area and begin the installation for your garden sleeper steps! Follow these simple steps:
1. Mark Out the Area
- Use chalk or marking paint to outline the full area.
- Add wooden stakes to help mark accurate levels.
2. Prepare the Ground
- For single step builds, you may not need to dig.
- For two or more steps:
- Dig shallow trenches to support each sleeper frame.
- For taller steps, consider setting the first frame in a concrete footing.
3. Cut Your Sleepers to Size
- Wear protective gear before cutting.
- Measure, mark, and scribe each sleeper using a quick square.
- Use a circular saw for straight cuts.
- Use a universal handsaw to finish any sections your saw can't reach.
- For curved steps, measure and cut side lengths to suit your layout.
4. Assemble the Step Frames
- Create a U-shape by joining two right-angled corners.
- Use heavy-duty exterior timber screws designed for landscaping.
- Screws should be at least one-third longer than the depth of your sleepers.
- For hardwood sleepers:
- Drill pilot holes before fixing.
- Use stainless steel screws to prevent tannin-related corrosion.
5. Apply Wood Preserver
- Generously coat all cut ends and any untreated timber.
- Let the wood preserver fully dry before installing.

Placing the sleepers
Once your frames are built and your ground is prepared, you're ready to start building your garden steps with sleepers.
Start by placing the first frame into the prepared trench. Sleepers are heavy, so it’s worth having someone on hand to help lift and position them.
If you've used a concrete footing, make sure it has cured for at least 24 hours before continuing with the build.
When you're happy with the placement:
- Excavate the trench for the second step.
- The base of the second frame should rest securely on the first.
- The side lengths should be partially buried in the soil for added support.
Use a tape measure to check the width and depth of your step (also known as the tread) and then use a spirit level to make sure it's sitting flat. If possible, allow a very slight downward slope to help with rainwater runoff.
Continue this process for each step:
- Dig one trench at a time and fit each frame in place.
- Check that each step is level before moving on to the next.
- Use timber offcuts, paving slabs, or concrete blocks to help level and support each step where needed.
Taking the time to check and adjust each step will help you build a safe, strong and even sleeper steps in the garden with a professional-looking finish!
Securing the garden step sleepers
Once all your step frames are positioned, it’s important to secure them together. This will help prevent movement as the ground settles over time.
Start by driving picket stakes into the ground on the inside of each step frame. Then:
- Fix the stakes to the sleeper by driving screws through the back of the picket and into the wood.
- This adds strong ground anchoring and helps keep each frame in place.
If the side lengths of your steps are stacked on top of one another:
- Use timber offcuts or metal fixing plates to join them securely.
- This adds strength and keeps the structure from shifting laterally.
Another effective method is using steel rods:
- Hammer multi-purpose steel rods vertically through all layers of sleepers.
- For hardwood sleepers, pre-drill pilot holes using an auger bit that matches the rod’s diameter to make insertion easier.
For added strength at the internal corners of your step frames, you can use angle brackets:
- Secure them inside the right-angled joints using timber screws.
- Choose brackets and fixings that are as large and heavy-duty as possible to prevent movement over time.
By combining these techniques, you’ll create a solid, long-lasting structure that can withstand foot traffic and changes in ground conditions.

Filling and finishing your sleeper steps
Once your sleeper steps are secure and level, it’s time to fill them properly to ensure good drainage and a lasting finish.
Start by creating a solid base inside each frame:
- Add a layer of hardcore rubble to the base of each step.
- Follow this with an even layer of sub-base material.
- Spread the material evenly with a shovel.
- Compact it well using a tamper or an offcut of your sleeper.
Finishing the surface
The top layer of your sleeper steps can be finished in several ways depending on your budget and the look you want. Here are a few sleeper step ideas to complete the look:
- Bark chippings, gravel, or decorative stones are great for a simple and rustic DIY finish.
- For a cleaner look consider sleeper steps with slabs such as paving slabs or outdoor tiles.
Improving safety and grip
Over time, sleeper steps can become slippery, especially in wet weather. To improve traction:
- Pressure wash your steps regularly to remove dirt, moss, and grime.
- Sprinkle coarse grit sand across the surface for natural grip.
- Cut shallow notches into the timber tread for extra traction.
- Staple wire mesh onto each step to create a non-slip surface.
Treating the timber
To keep your steps looking good and lasting longer, it’s worth applying a timber treatment:
- Use stain, wood oil, or varnish designed for exterior timber. (We have a blog on this, here!)
- Choose treatments with UV protection and water-resistant properties.
- Always select a product suited to the type of sleeper you’ve used (softwood or hardwood).

It’s hugely important to consider the final steps, as proper filling and finishing not only improves the appearance of your steps but also protect them from wear, rot, and weather damage for years to come!
We hope this guide has helped you take the next step in your sleeper project journey. If you have any questions or would like to learn more about our range of timber sleepers, feel free to visit your local Howarth branch or contact our customer service team on 01472 907051.
You can also browse our full range of sleepers here, or drop by a branch for expert advice and friendly support.
Recent Posts
-
French, Sliding or Bi-Folds: A Practical Guide to Patio Doors
Patio doors are more than a style choice. For installers, they bring different fitting needs, perfor
-
How to fit internal door handles
At Howarth Timber, we offer a wide range of internal doors to suit all sizes and styles. If you&rsqu
