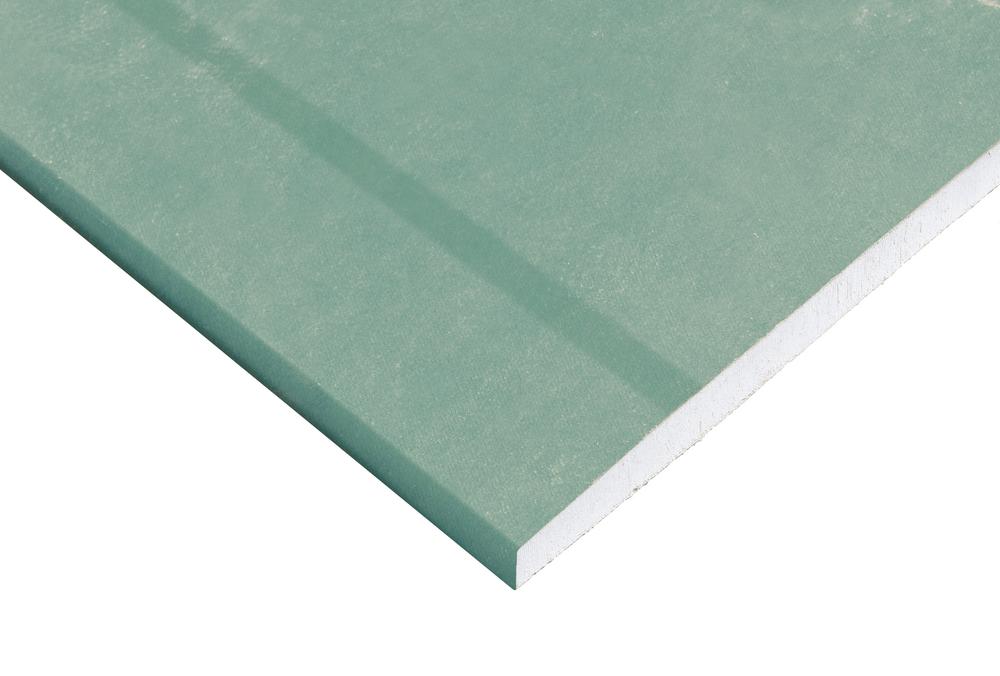
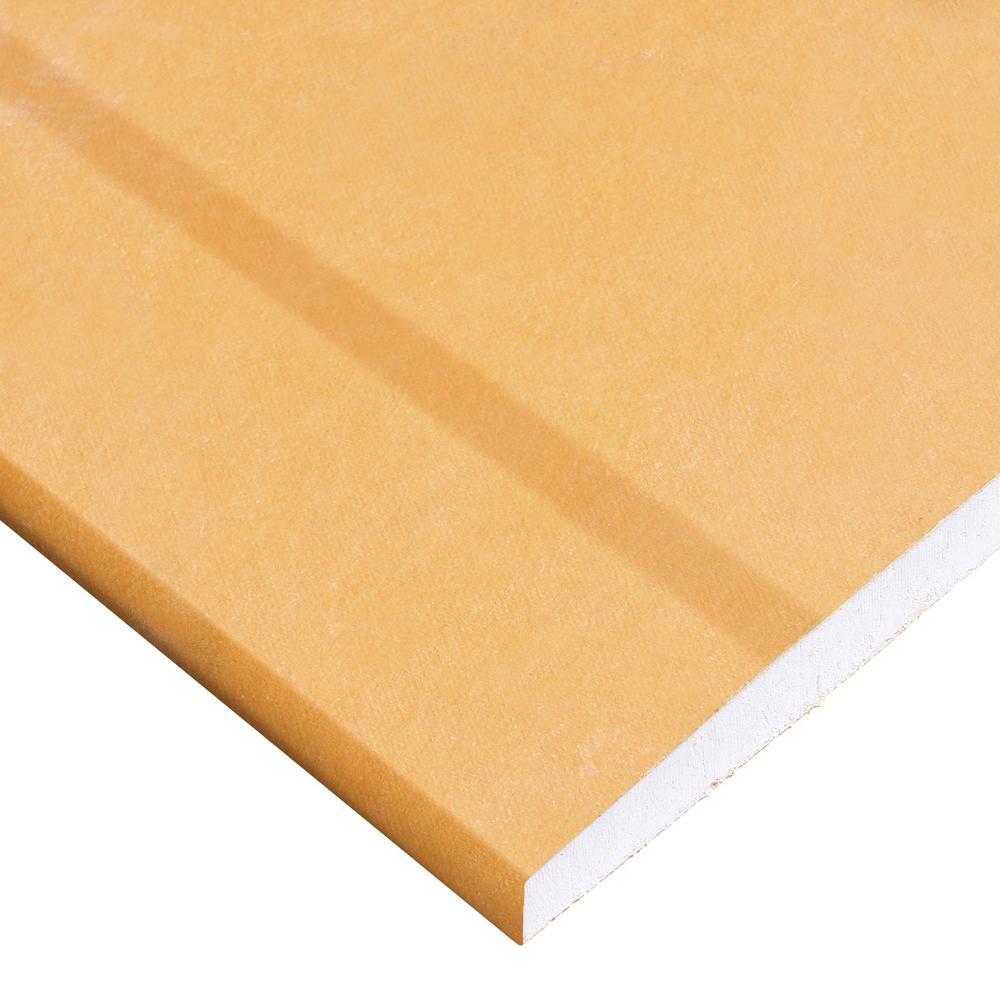
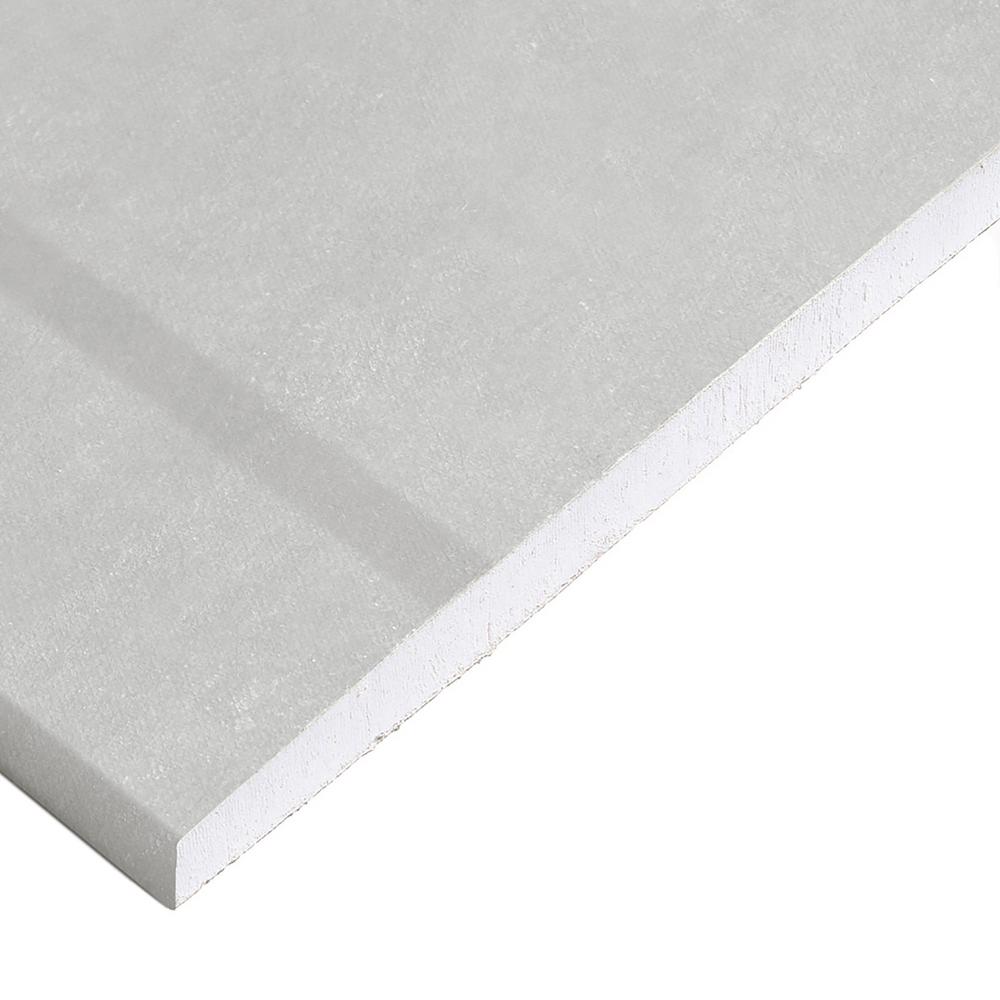
How to use plasterboard on a ceiling or wall

Plasterboarding a ceiling is a satisfying yet slightly awkward DIY job that can save you a fortune on labour costs. This guide on how to plasterboard a ceiling and wall will help any DIYer to be able to complete a plastering job easily and efficiently.

How to plasterboard an existing ceiling
It is possible to fix plasterboard over an existing ceiling, but you’ll need to determine where the joists are first. For upstairs rooms, this can be done by measuring the joist gaps in the loft.
Downstairs you’ll have to prod the ceiling with an awl or lift the floorboards into the room above. Mark the joist caps on the wall with chalk and then you’re ready to begin. The other option is to strip off the existing ceiling to reveal the joists – this should be the preferred option due to how it results in less build up.
How to plasterboard a new ceiling
Plasterboarding a new ceiling is much easier with two people - one to support the plasterboard and one to screw into place. But it can be done by one person with the help of some lengths of wood.
Tool list
- Tape measure
- Rubber bladed filler applicator or plastering trowel
- Trestles and planks or aluminium platform to stand on
- Dust mask
- Goggles
- Knife (stanley, preferably)
- Electric screwdriver
- Spirit level
- Pencil
- Wood saw

For non-sloping ceilings, you can get a pretty accurate measurement of the ceiling by measuring the floor. Multiply the width of the room by its length (in metres) and this will give you a square metre figure.
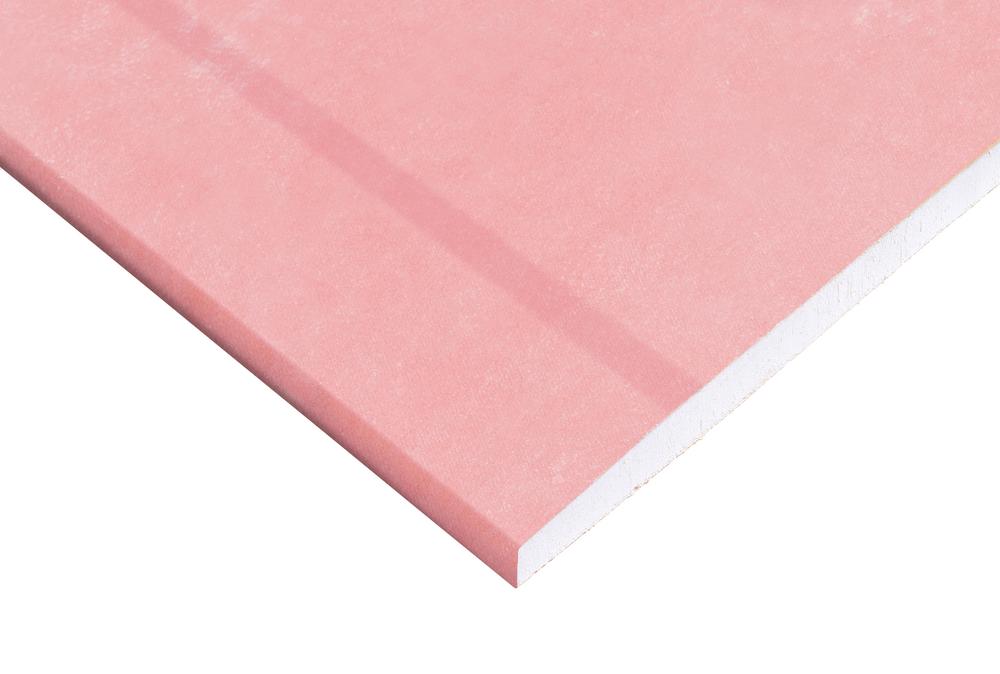
After that, the first step is to cut the boars, then measure and mark them carefully. Lay a spirit level along the line and use a sharp stanley-type knife to cut through the paper. Bend the board the opposite way to the cut and then cut through the paper on the other side of the board. You should now have a very neat and precise cut board.
After that, and starting from the corner of the room, position the first board. The end of the plasterboard sits halfway across the joist to allow the next board to butt up to it. Plasterboard needs to be well supported, but if there is no wood between the joists where they meet the wall, nail in some noggings made up of 50mmx50mm wood. You should also nail in noggings between the joists where the long edges of the plasterboard will fall.
Then use 38mm plasterboard screws to fix the board to the joists and noggings. Screws are a better bet than nails for when renovating, as hammering can potentially disturb or damage the joists. Fixings should be made every 150mm. Keep fixings at least 13mm away from board edges that have been cut and 10mm away from factory-bound edges.
Also be careful not to drive the screws in too deep or you’ll damage the board, so once the screw head dips just below the face of the board, stop tightening.
Staggering the boards also makes for a stronger ceiling and prevents any cracks that may develop in the filler from running the full width or length of the room. Leave a 3mm gap between boards: this helps the filler to get a good grip.
Once all the boards are in place, tape over them with perforated plasterboard tape, and mix up the joint filler so that it makes a smooth but stiff paste. This filler is mixed by pouring a measured amount of water into a bucket and then adding the filler in powder form.
Use a rubber-bladed applicator or a traditional metal plastering trowel to fill in between the joints and screw head dips. Using a wide-bladed applicator helps to feather out the filler so that there is only a tiny ridge to be rubbed down when it’s dry.
When you’ve finished filling, leaving the ceiling to dry for 24 hours before lightly sanding down with 120-grit paper.
How to plasterboard a wall
To plasterboard a wall, we can use the dot and dab method, which is also known as Direct Bonding. Dot and dab are used where there is no stud wall to screw the plasterboard to. It is also much quicker to use a direct bond than to stick the plasterboard directly to the wall and build a stud frame. It is a very quick and effective way to dryline an internal masonry of brick wall.
There are four options for fixing plasterboard to a wall:
- Screwing to studs or battens
- Nailing to studs
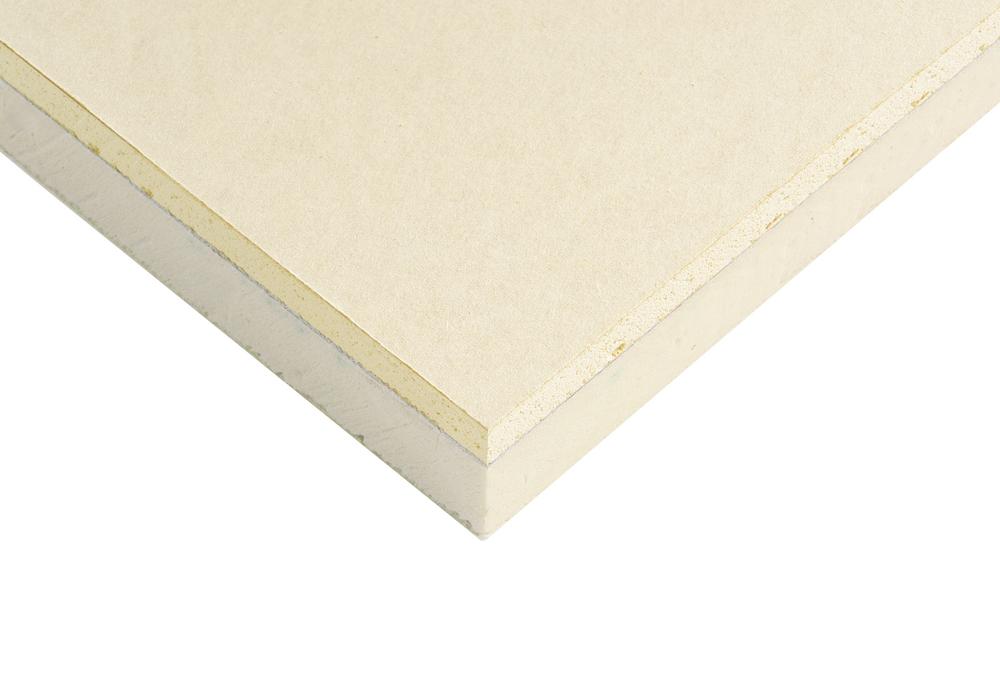
- Gluing pre insulated plasterboard (thermal insulation board) to walls
- Fixing with plasterboard adhesive, known as dot and dab
Each of these options have their benefits and will be used in different circumstances. If you are going to use dry lining or plasterboard, it is generally thought to be a good idea because it provides extra sound and heat insulation and is also quicker than most other options such as wet plastering.
There are 6 simple steps to plasterboarding a wall:
1. Prepare the wall
Masonry wall will absorb a lot of moisture, which will ‘suck’ the moisture out of the adhesive that you use, meaning that it will not cure effectively.
To stop this happening, we suggest that you prepare the wall by painting a coat of PVA mixed with water, as PVA will give you a lot more time than regular water and dry lining. Allow to dry completely.
2. Cut the boards
Measure up your walls and cut the boards to size, making sure to remember to cut the boards for plugs, switches and other fixtures that need it.
The adhesive will go off surprisingly fast so make sure that you’re ready and don’t have to spend precious time cutting boards to size when you should be fixing them to the wall.

3. Mix the adhesive
The adhesive can either be skim plaster which is typically mixed a little thicker, or a specialist plasterboard adhesive.
Unless you are experienced at using skim plaster, we suggest that you use plasterboard adhesive as there will be mixing instructions attached, and you will have a little more time before it sets. It can be called a range of names, from plasterboard adhesive to bonding compound, so make sure that it is designed for use with plasterboard before you go ahead.
Mix the adhesive in a clean bucket so as not to contaminate the mix and always follow the instructions on the packet. You are aiming for a quick creamy consistency that which can stand on the hawk. If it’s too runny, add more adhesive. If it’s too stiff, add more water.
4. Dotting and Dabbing the Adhesive
This is where you apply the adhesive to the wall, once the PVA has dried. The amount that you use will depend to some extent on the plasterboard that you use; heavier, thicker boards will need more dabs to support the extra weight. If you wall is uneven, it puts more adhesive in the low spots and less in the high spots so that it will be easier to get the plasterboard level/perpendicular.
Apply the dabs of adhesive every 8 inches (20cm) to 12 inches (30cm).
It is recommended to also apply a continuous adhesive all around each board to stop any insects being able to get in behind the boards and nesting.
When the boards are pressed down on closely spaced dabs of adhesive, they will then join. You also will not want to have too much adhesive to get the boards level.
The adhesive around the board will also support the edges where they are more likely to get damaged. Take particular care around the bottom of the wall where the skirting boards will be fixed, so that these can be secured easily. Also make sure that there is a line of adhesive just above the line of the skirting.

5. Add the plasterboard
Use a long spirit level and straight feather edge tool to get the board level square and perpendicular. Take particular care with the first piece of board as all the others will need to fit against this while also being vertically square.
Tap the board into position and then press firmly so that the adhesive will give a firm fix. Leave a gap between the floor and the boards for movement to occur.
On a ground level, it’s worth making this gap larger by a couple of inches at least, to ensure that damp cannot get from the floor to the boards, as they are very hydroscopic and will absorb any moisture around if they can. With subsequent boards, you will need to make them flush with the already fixed boards, but you can use your feather edge to take the level from them to make them square.
6. Finishing the wall
There are a couple of options for when you’re ready to finish plastering your wall. Typically, we will skim the wall with a thin plaster coat. But the other option is to dryline the wall, which is quicker and easier, and doesn’t require any specialist skills.
How to use plasterboard fixings
A very popular question that we often get from customers is, ‘how can I fix things to plasterboard walls?’ There are a wide variety of fixings available, such as:
- Self-Drive screw – It is one of the strongest of all plasterboard fixings and come in different lengths to accommodate the different thickness of fixture you want to put up. To use it, all you need to do is drill a pilot hole of 2 or 3 mm into the board and the bottom section of the screw is screwed into the hole. This is done without the screw in as the top of it has a slotted head.
- Nylon toggle – The nylon toggle is inserted through a pre-drilled hole after squashing it first. It is typically always an 8mm hole for a medium toggle, but always read the size on the packet first.
When a screw is inserted, it goes through the hole in the back of the fixing, and as you screw it, it pulls the back up to squeeze the fitting against the back of the plasterboard. It is ideal for shelf brackets, which create a pulling force from the wall as well as a weight force downwards.
If you have any questions about how to use plasterboard on a ceiling or wall or need further information about the products we sell at Howarth, please visit your local friendly Howarth branch, or contact our customer services on the number 01472 907051.You can also check out our plasterboard products on the brand page.
You might also be interested in
Recent Posts
-
10 Garden edging ideas to transform your outdoor space
A beautiful garden isn't just about the plants you choose - it's also about how you frame them. Gard
-
How to Lay Sleepers for Garden Edging
Adding sleeper garden edging is one of the easiest ways to create structure, define borders, and enh