null
How to prepare your home for winter

With this year's arrival of the cost-of-living crisis, prepping your home for the winter may save you money on your bills while also preserving energy and minimising heat loss. With a few little adjustments, you may be able to lower the thermostat and save money on heating!

an image of a family outside playing in the snow. Man, woman and child

https://www.pinterest.com/pin/60798663706818518/

Winter home preparation checklist:

Step 1: Boiler Service

Making sure your boiler is in good operating order can keep you from being left out in the cold when you need it the most. Having your boiler serviced once a year by a qualified plumber is reasonably affordable, especially when compared to repairing or replacing it if it breaks down.

an image of a man fixing and checking a boiler within the home

https://testoltd.wordpress.com/2020/10/05/how-to-maintain-your-boiler-like-a-pro/

Step 2: Check Pipes

Pipes can be an integral element of any home, and there are a few things you can do to lessen the chance of broken or frozen pipes. One of the most basic methods is to keep your heater on. Keeping your property warm (even while you're not there!) will keep the water within the pipes from freezing. Other things to think about are:

  • When extremely cold weather strike, leaving the loft hatch open to enable warm air to flow will help prevent the water pipes and tank from freezing
  • Get your boiler serviced – make sure it's in good operating condition so your pipes don't freeze
  • Disconnect your garden hose; stored water might cause the line to split. Worse, the water might be driven back up through the tap and pipe, causing an internal explosion
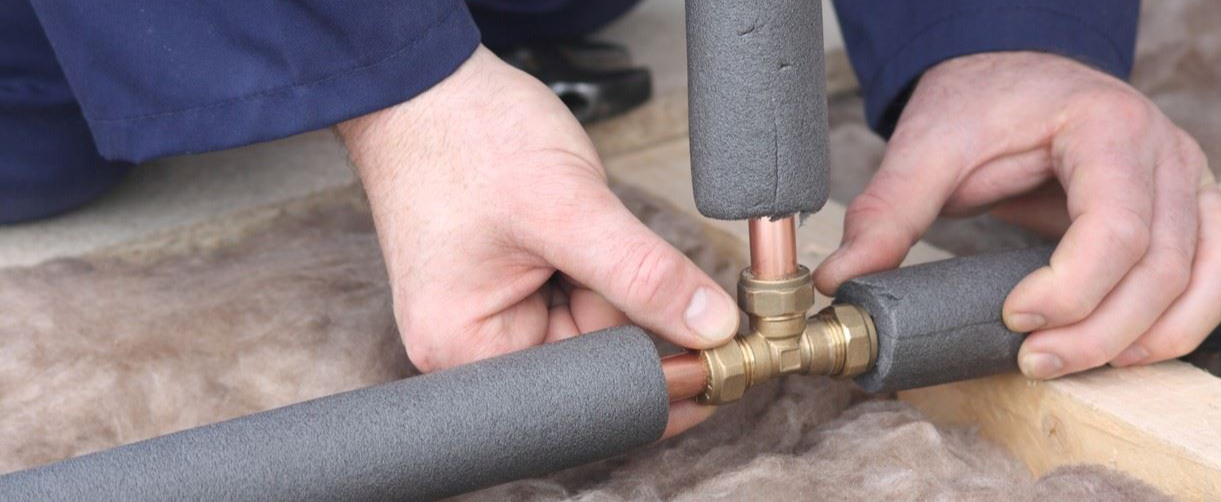
  • Lag exposed pipes
  • Insulate the hot water tank

What should you do if your water pipes freeze?

If your water pipes do freeze, don't worry; simply place a hot water bottle or a cloth soaked in hot water over the pipe to thaw it out. Excess water may be drained away by starting at the end closest to the tap.

an image of a person checking their pipes within the home

https://www.courtesyplumbers.com/blog/2020/september/why-pipe-insulation-isn-t-just-for-winter/

Step 3: Check for any draughts

A draught will always exist in many structures, but it is not always easy to determine where it is coming from. Here are some of the primary areas to look into:

Exterior Doors

Draughts can enter through keyholes and letterboxes, but most crucially from around the door itself, which is more common with older  external doors. This might be due to an ill-fitting door, in which case the door may need to be repaired, or you could simply use a draught excluder, brush strip, or door-surround seals.

Interior doors

Internal doors, on the other hand, tend to have bigger spaces surrounding them than front or back doors.Here, you can simply install rubber draught excluder strips to the door frame where needed or put down draught excluders.

Windows

uPVC windows should be well insulated because they are sealed units, but older-styled windows, such as sash windows, may require some assistance in keeping out draughts. Fitting self-adhesive window seals might be the solution.

Fireplace

There are temporary solutions that you may apply for open flames. These can be inflatable or non-inflatable 'stoppers' that sit just inside the chimney and function as a barrier to prevent wind from entering your room. When lighting a fire, remember to remove them otherwise you may end up with a smoke-filled room or a chimney fire.

For fireplaces that are no longer in use, the above mentioned ‘stoppers’ are just as suitable. You may go for a more permanent solution, such as capping off the top of the chimney or totally closing it off.

Loft

Because hot air rises, your roof might be losing up to 25% of its heat. Making certain that your loft insulation is enough and that the hatch has an airtight seal will make a significant impact.

The entry to your attic might be the source of chilly draughts, thus draught sealing could reduce heat loss significantly. Place a strip of self-adhesive sealing tape on the inner rim of the hatch frame (the hatch cover will sit on top of this when closed), and another strip around the edge of the hatch cover, so the two sealing strips meet when the cover is in place. This should provide an airtight seal and prevent future draughts.

Floors and Skirting boards

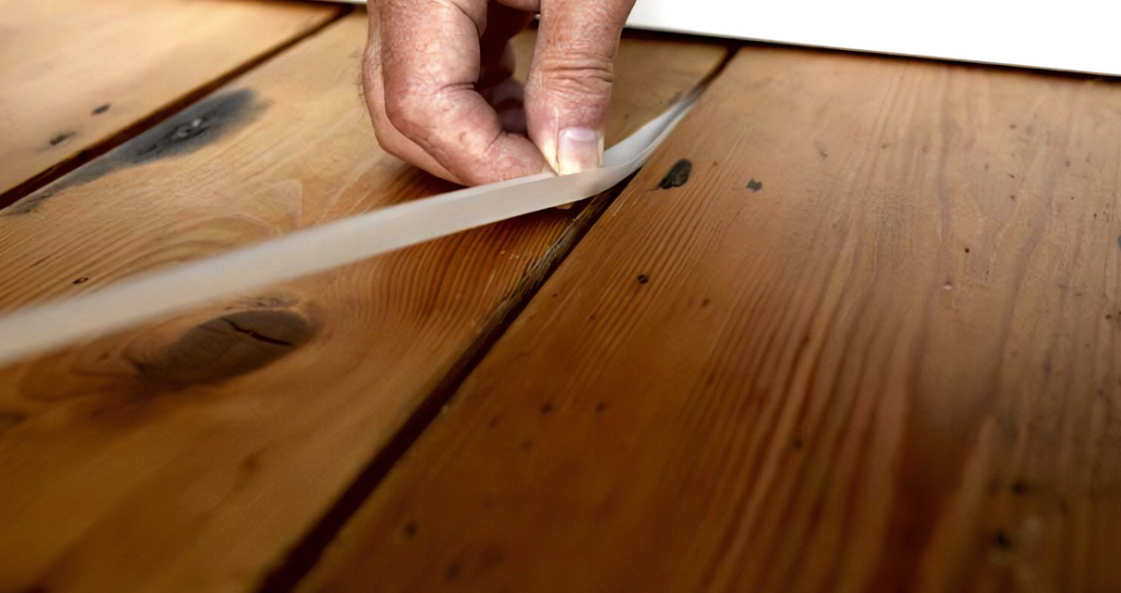
Although it may not be the first location you think of for draughts, if you have hardwood flooring, cold air may be flowing up from the foundations below. Similarly, even tiny gaps between  skirting boards and the floor are possible. A general-purpose silicone sealer should cleanly fill in the gaps while allowing for mobility in the floors.

an image of a person fitting some draught proof strips to their wooden floorboards

https://www.thegreenage.co.uk/tech/draught-proofin...


Step 4: Insulating the Hot Water Tank

Not everyone has a hot water tank these days, but for those of us who have, insulating them will help with energy efficiency in the home. More recent tanks may have been built with incorporated insulation, which should work. Investing in a water tank jacket, insulating blanket, or lagging quilt for older tanks will considerably minimise heat loss. As a result, energy expenses will be lower since the boiler will not have to reheat the water.

an image of a hot water tank within the home

https://www.normsmobile.ca/electric-hot-water-tank...

Step 5: Guttering

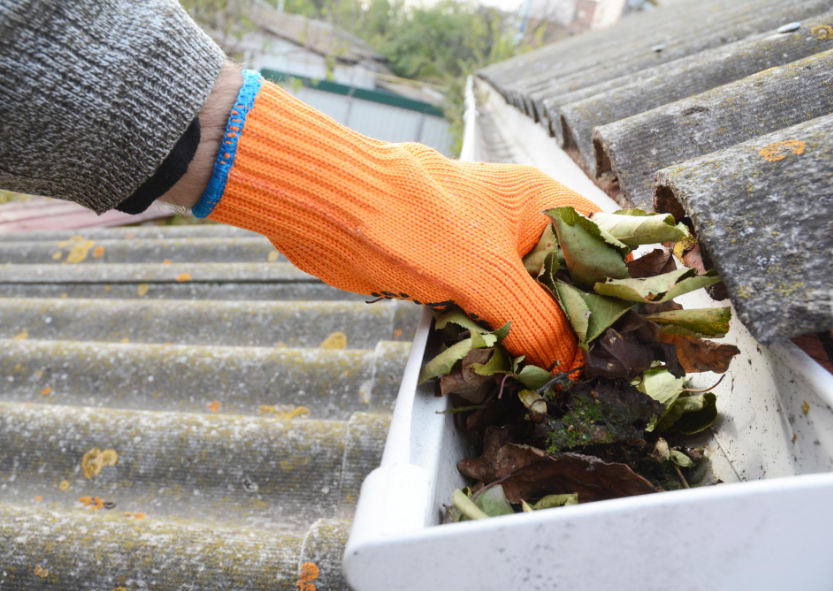
Checking and cleaning your gutters on a regular basis will help avoid leaks in your walls and roof. Taking the time to inspect for signs of wear and tear, such as cracks, will also allow you to replace them in time for the wet weather.

Additionally, you may consider putting a snow barrier to prevent snow from falling into the gutter and clogging it up. These gutter guards help prevent leaves from falling and clogging the guttering.

an image of some gutters filled with leaves. A person is removing them

https://sdpro-handyman.com/the-importance-of-fall-...

Step 6: Roof checks

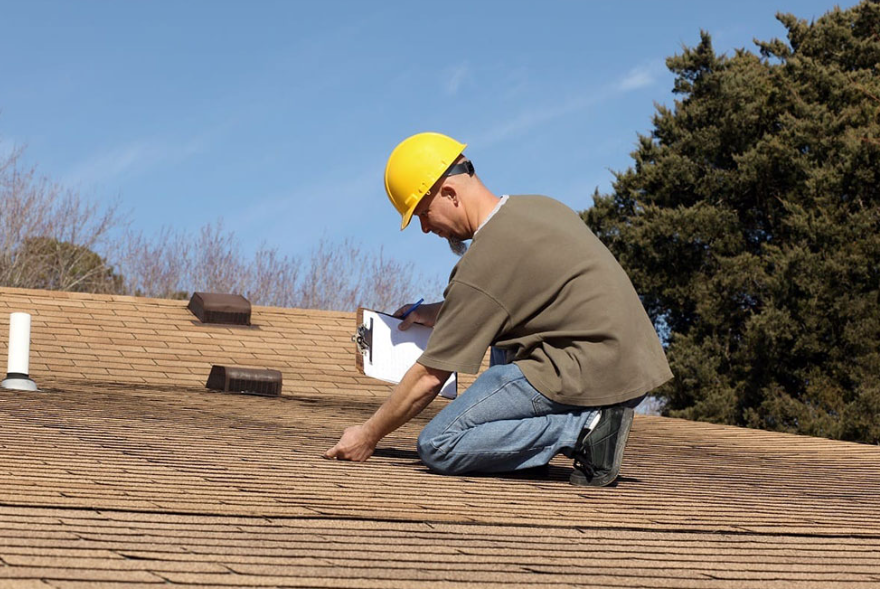
While professional roof inspections are recommended, you may perform certain checks yourself. You may check to see whether there is any daylight coming through by walking into the loft. If you can, it might indicate that you have some damaged roof tiles or slates that need to be replaced.

Having your  roof inspected on a regular basis will detect any issues with window flashings, splits in flat roof coverings, and chimney problems.

an image of a person with a yellow hard hat on top of a roof

https://www.impressiveinteriordesign.com/how-to-ge...

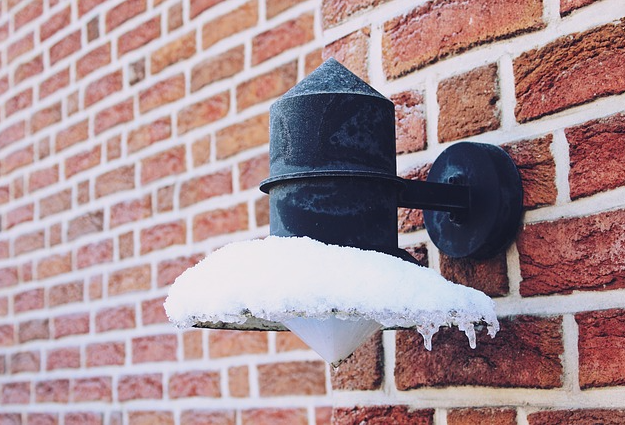
Step 7: Check Outdoor Lighting

Even if the days are becoming shorter, you still need to take out the rubbish! Check that your exterior lighting is in good functioning order as it will help prevent trips when there isn't enough light. If you have security lights surrounding your home, ensure sure it is operational as well.

Check for burnt-out bulbs, loose fittings, and faulty wiring whether you have solar, battery-powered, or mains-powered lighting. It's also a good idea to clean any fixtures to remove any dirt that has accumulated over time.

Outdoor lighting isn't always about security and convenience. When gathering or dining al fresco, we frequently use ornamental lights to create an ambience. These types of lights may be more vulnerable to rain and snow, so moving them inside is a smart idea - cold conditions may cause them to fracture.

an image of an icy outdoor light against a red-bricked home

https://edwardslawnllc.com/tips-for-maintaining-yo...

Fireplaces and Chimneys

Regular chimney maintenance, at least once a year, will help avoid carbon monoxide build-up and chimney fires. You may sweep the chimney yourself if you have all the necessary tools and prepare the space with appropriate floor covers, but keep in mind that this can be a dirty process and you don't want to cover your room (or yourself) with soot! If this isn't something you want to do yourself, get a professional.

Another item to consider is the fuel you're using on your open fire or log burner; be sure you're using the right fuel for your fire. When burning wood, ensure that it has been thoroughly dried out or 'seasoned.' Using wood that hasn't been properly dried out can result in poor combustion and a lot of smoke. Wet or green wood can cause tar-like residue to build up in the chimney, posing a fire threat. This residue might also corrode the chimney lining.

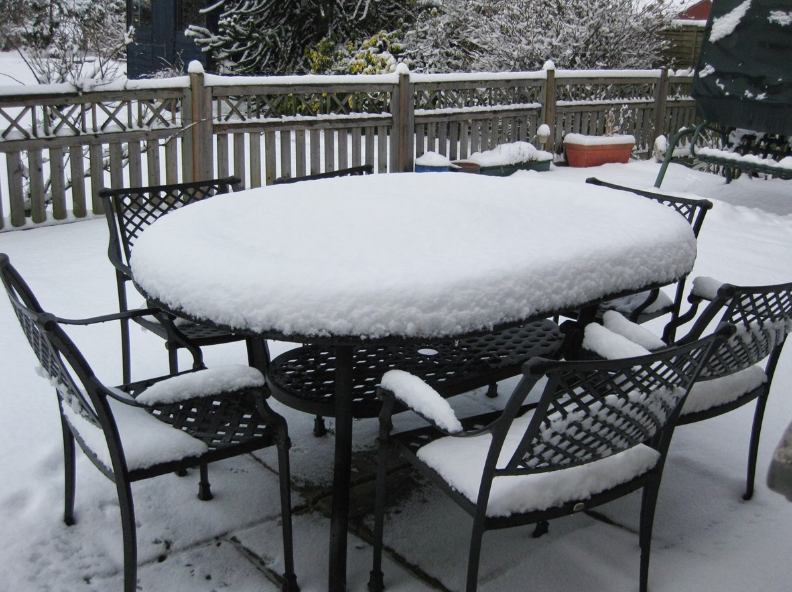
an image of some black metal garden furniture covered in snow

https://interior.tn/furniture/how-to-protect-garden-furniture-in-winter/

Step 8: Protect Outdoor Furniture

Because not everyone has a shed or garden storage, different methods of protecting your garden furniture should be considered. Taking care of your garden furniture can ensure that it lasts for many years.


Wooden Garden Furniture

Give it a good clean or brush – this helps minimise the dirt from discolouring the wood and retaining extra moisture that might lead to decay.

Cover it up - the simplest answer is to get a cover for your furniture, ideally one with a bottom fastener to keep the wind from catching it.

Bring in cushions and covers - wash any fabric coverings that can be laundered and store them inside to keep them from decaying.

Oil or treat - once a year, oil your wooden furniture or apply a layer of preservation treatment to keep it looking nice. These treatments will also keep it from drying out after the hot summer months.

Plastic Garden Furniture

Wash down - Because plastic furniture is readily soiled, a good wash and clean will give it new life. As with metal furniture, avoid using anything overly abrasive since it can harm the finish. Cleaning solution designed exclusively for plastic outdoor furniture is available. Always follow the manufacturer's cleaning instructions first.

Provide them with shelter - if your plastic furniture is lightweight, strong winds might blow it away and cause damage. You might relocate the furniture to a more protected location and cover it for added safety.

Metal Garden Furniture

Remove filth and debris - using a soft brush, remove dirt that might cause rust (unless your furniture is made of aluminium, which will not rust). Nothing abrasive should be used since it will scrape the metal surface and ruin any protective coating. It is advised that you follow the manufacturer's particular cleaning and maintenance recommendations for the best results.

Protective treatment - a coating of vehicle wax creates a protective barrier against water, allowing it to flow off freely.

Oil and tighten screws – If your metal furniture is held together by screws and bolts, keep them greased and tightened to avoid corrosion.

Re-paint - If you see rust on painted metal furniture, use fine-grade sandpaper to remove it.

an image of a person holding a cup of coffee by the fireplace

https://www.conveyancer.com.au/8-ways-to-prepare-your-home-for-winter

Step 9: Have a Winter Kit Ready

We've double-checked that everything in our house is in functioning condition, but what about the unexpected weather changes? As we all know, UK weather can be quite unpredictable and cause significant damage. We can do certain things to prepare for certain eventualities, such as power outages and severe snowfall. We can put together a winter survival pack. The following are some items to include in your emergency winter kit:

  • Torch and replacement batteries
  • Shovel
  • Rock salt
  • Candles and matches or lighter
  • List of emergency numbers in case your mobile dies
  • Battery-operated radio with spare batteries
  • First aid kit
  • Spare blankets or sleeping bags
  • Stock of non-perishable food
  • Bottled water


We hope you found these recommendations helpful in preparing your home for winter! If you are also interested in looking at our extensive variety of insulation, you can access it  here.

For any other enquiries or questions regarding how to prepare your home for winter this year, you can speak to one of our helpful, friendly staff within branch, or contact us via our customer service team on the number 01472 907051.

2nd Nov 2022 Emily Green

Recent Posts