How to build a Garden Gate
If you’re wanting to learn how to make a garden gate, you’re in luck. This guide will help you put together the perfect garden gate for all your wants, needs and wishes!
Preparation
It’s worth noting that there are various ways you can build a gate the wrong way, so we only recommend making a garden gate if you’re particularly handy or confident in your abilities. Otherwise, a tradesperson would do an excellent job, and would also save you precious time and money.
Tools and materials you’ll need
- Chosen timber materials – shop bought, reclaimed, pallets etc.
- Metal hinges
- Wood paint/stain/preservative
- Hammer
- Deck screws
- Screwdriver
- Power drill
- Mitre saw
- Spirit level
Also, it’s important to keep in mind that you may need different wooden materials for the type of garden gate you’d like. For example:
Softwood Garden gate
For a typical wooden garden gate, the material you’d most likely need to use is softwood, which is a lighter wood, meaning it can be easier to transport.
Tongue and Groove Garden gate
Usually, for larger gates, the material tongue and groove are often used. Tongue and groove are a material that has amazing stability, which is mainly due to its large surface area. This type of wood also allows a lot of area for adhesive, and the more glue you apply, the stronger the bond will be.
Feather Edge Garden Gates
One of the main reasons why feather edge fencing is so popular for gates is because of its resilience. Feather edge fencing is comprised of thick wooden slats, which are attached to the fence and supported by heavy wooden posts and are what gives this type of wooden fence its name. The reason why it is designed this way is so that the fence can be built quickly yet offer a fencing option that is durable.
Once you have all the correct tools, it’s time to start planning and preparing. You will need to know the kind of design you want to build, including the measurements (height and width etc), and what quantity of materials are needed. This can even apply to gate details, such as hinges, arches, and gate posts.
If you’re unsure about anything whilst planning, we recommend doing further research before committing to this project. If you have any questions about this, you can always contact your local Howarth branch.
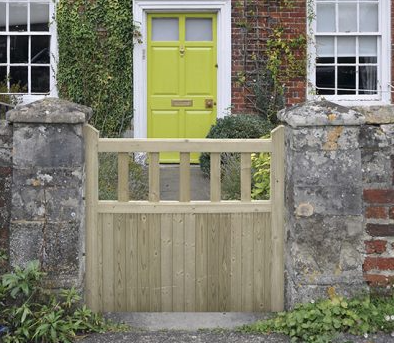
Charltons Gates
Making the garden gate frame
Depending on the design you’ve chosen, making a garden gate frame is about ensuring it’s able to support the weight of your gate. To do this, you’ll need to anchor and plumb the fence posts to stop them from dropping.
To plumb and anchor fence posts, you will need to:
- Test the posts to see if they move. If they do, you’ll need to secure them
- Measure and dig two holes that equal ½ of the length of the posts
- Bury your posts and measure them again to make sure they’re the same length
- Use a spirit level to make sure they’re straight (aka, plumbed)
- Either fill with gravel to secure, or use a concrete mixer to anchor
- Now you’re ready to build the gate!
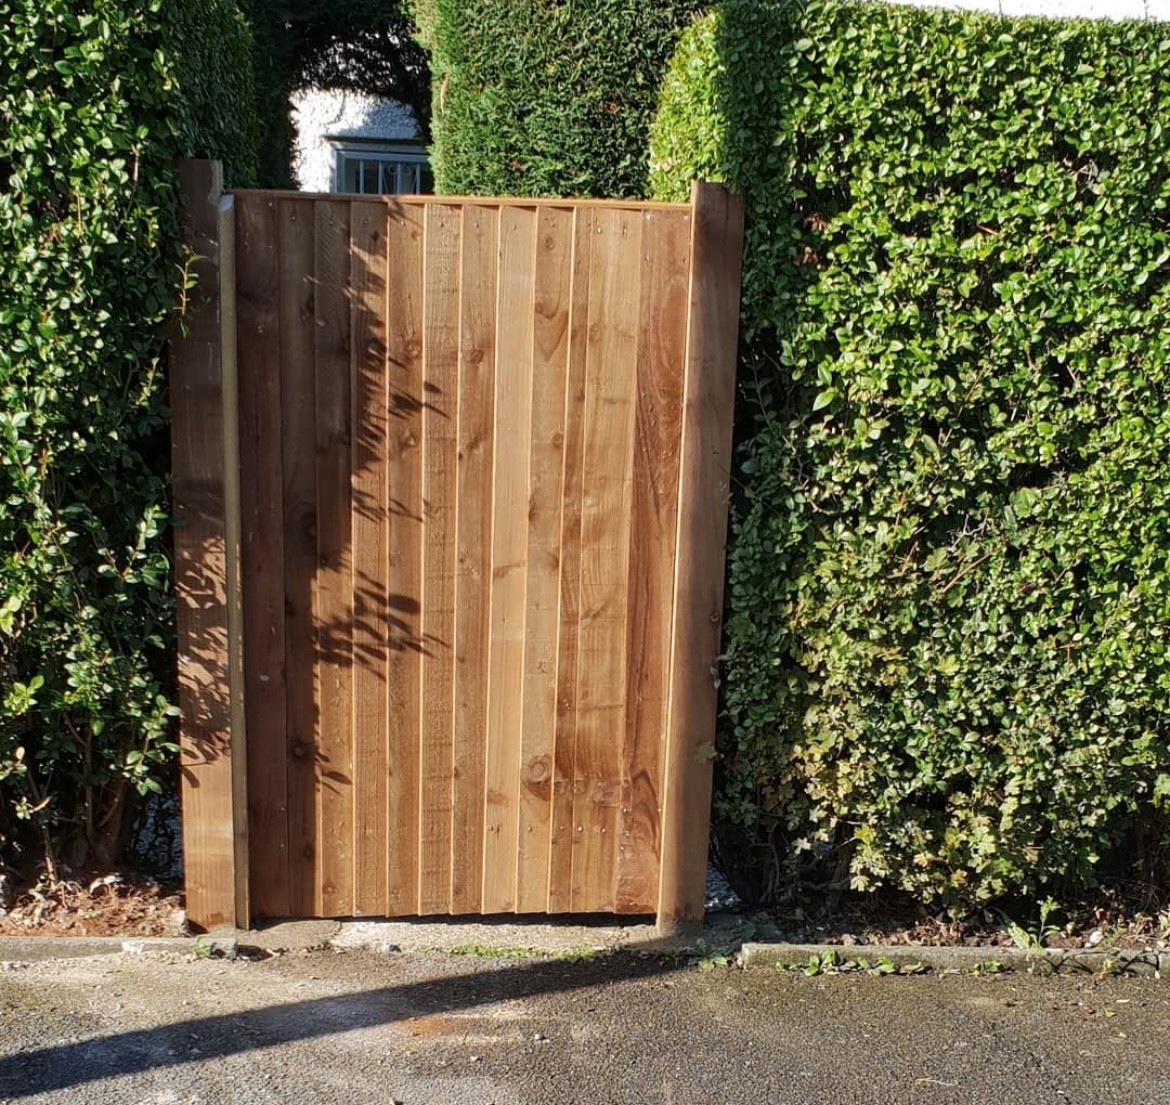
@croydonfencing
How to build a wooden gate
Step one: Measure and build a gate frame
- Measure the gap between the gate posts. You will want to leave about 1cm on either side so the gate can open and close easily.
- Next, you need to make a simple frame. So, using the gap between the posts as your measurement, cut the top and bottom planks to size. These will be the top and bottom frames of your gate.
- Now, measure the desired height of your gate and cut the two outer boards to size. These will be the sides of the frame.
- Lay the fully formed frame on the ground and secure using deck screws. Pre-drill pilot holes so the wood doesn’t split, which is a common problem when you build a wooden gate.
- Check the measurements are even by measuring from top right to bottom left and top left to bottom right.
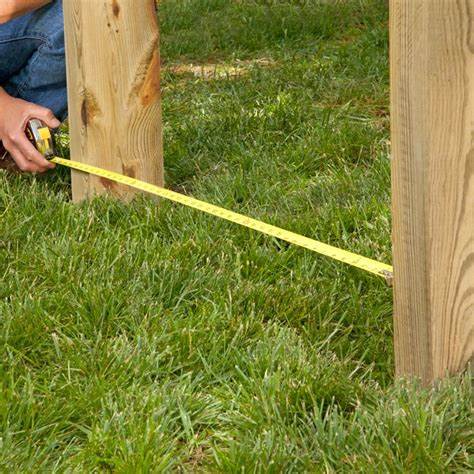
Lowe's
Step two: Reinforce with a cross frame
Create a cross-brace for structure and rigidity. To do this, place a plank diagonally across your frame and draw the cut lines with a pencil and ruler. Ideally, the plank needs to fit well within the frame. Secure with deck screws.
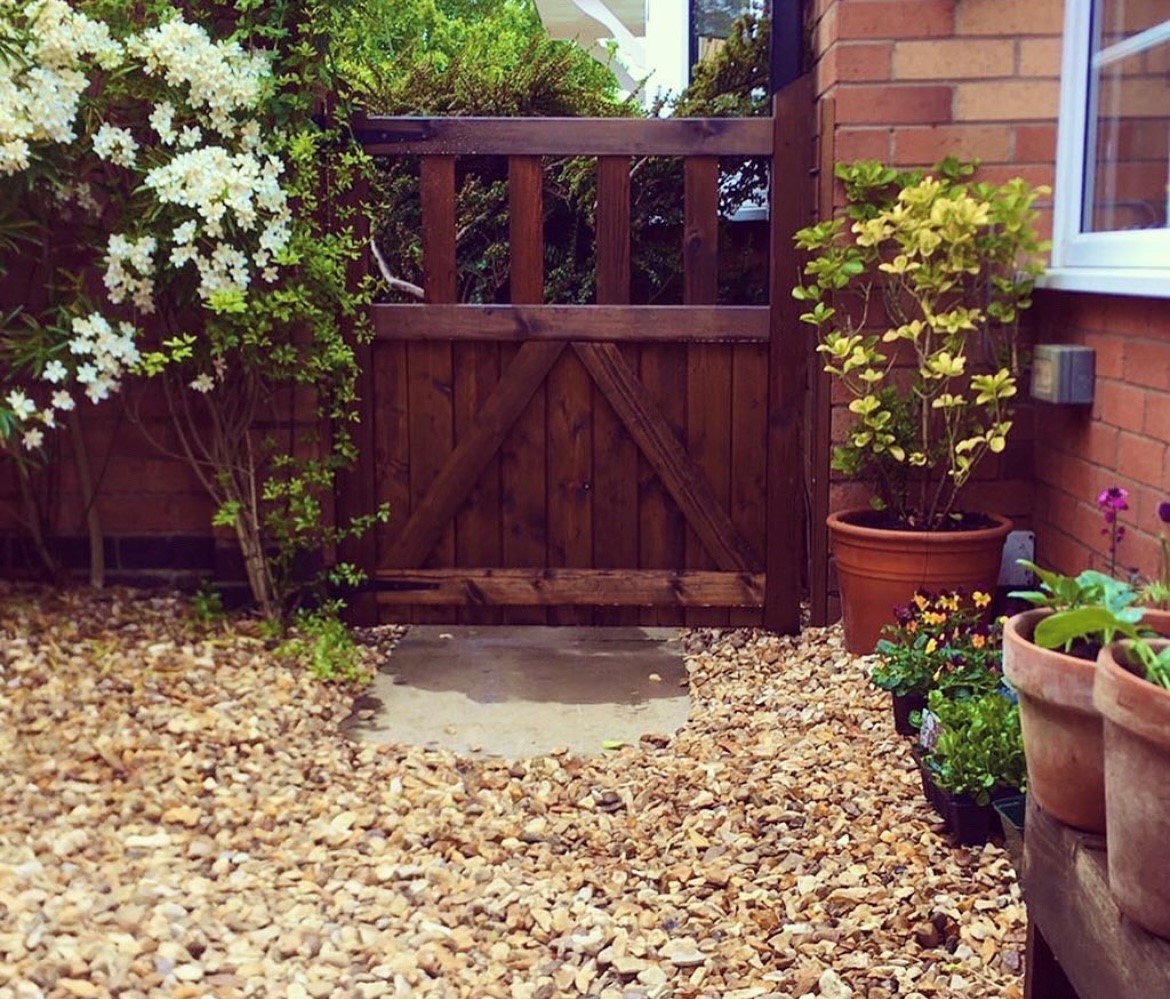
@lifeofcarolineeliza
Step three: Create the front of the gate
Now the base of your frame is complete, measure and cut planks to fit vertically on the front of the frame. Leave around an inch between each plank placement to allow for bad weather. Drill pilot holes and secure each plank with deck screws.
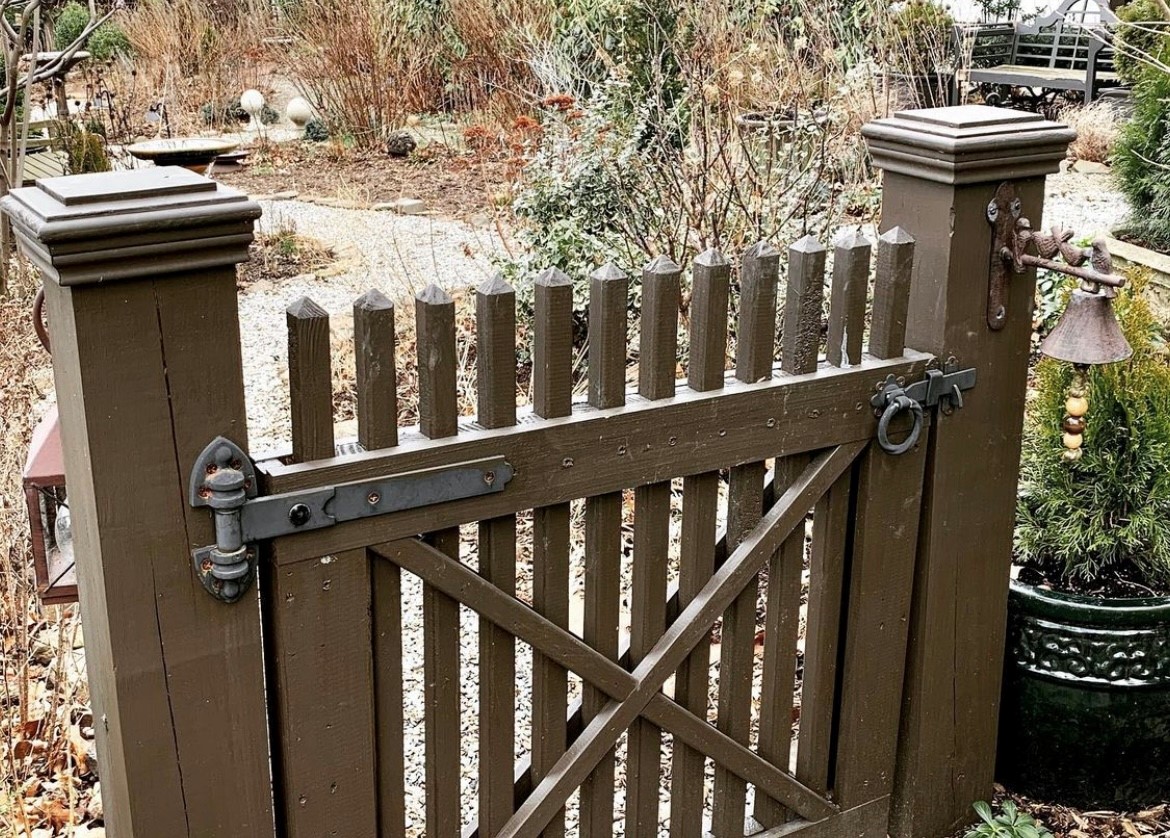
@elmcottage1916
Step four: Consider the shape of the top of the gate
Consider what design you’d like for the top of your garden gate. A popular option is a gentle curve, which is easy to mark out using a pencil and some anchored string.
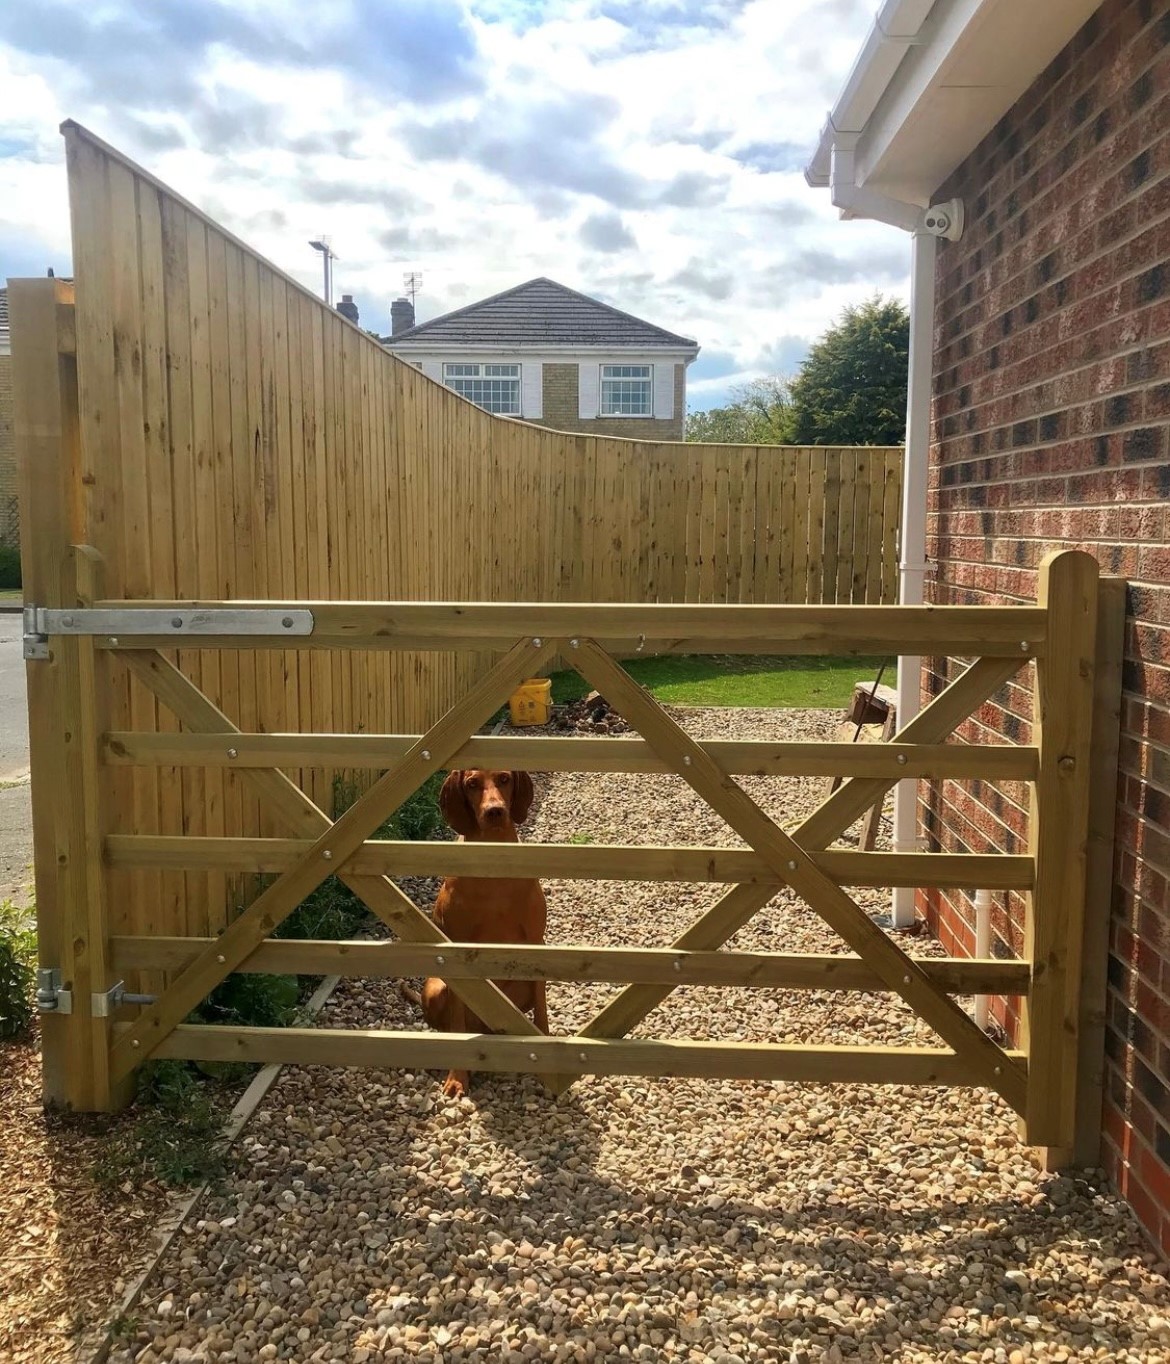
@welcometonumber35
Step five: Install the hinges and hang the gate
When you’re finished, it’s time to add the hinges to the gate and fence posts. We recommend a gravity latch as its easy to install. Simply mark out the areas for the screws with a pencil, then drill pilot holes and secure.
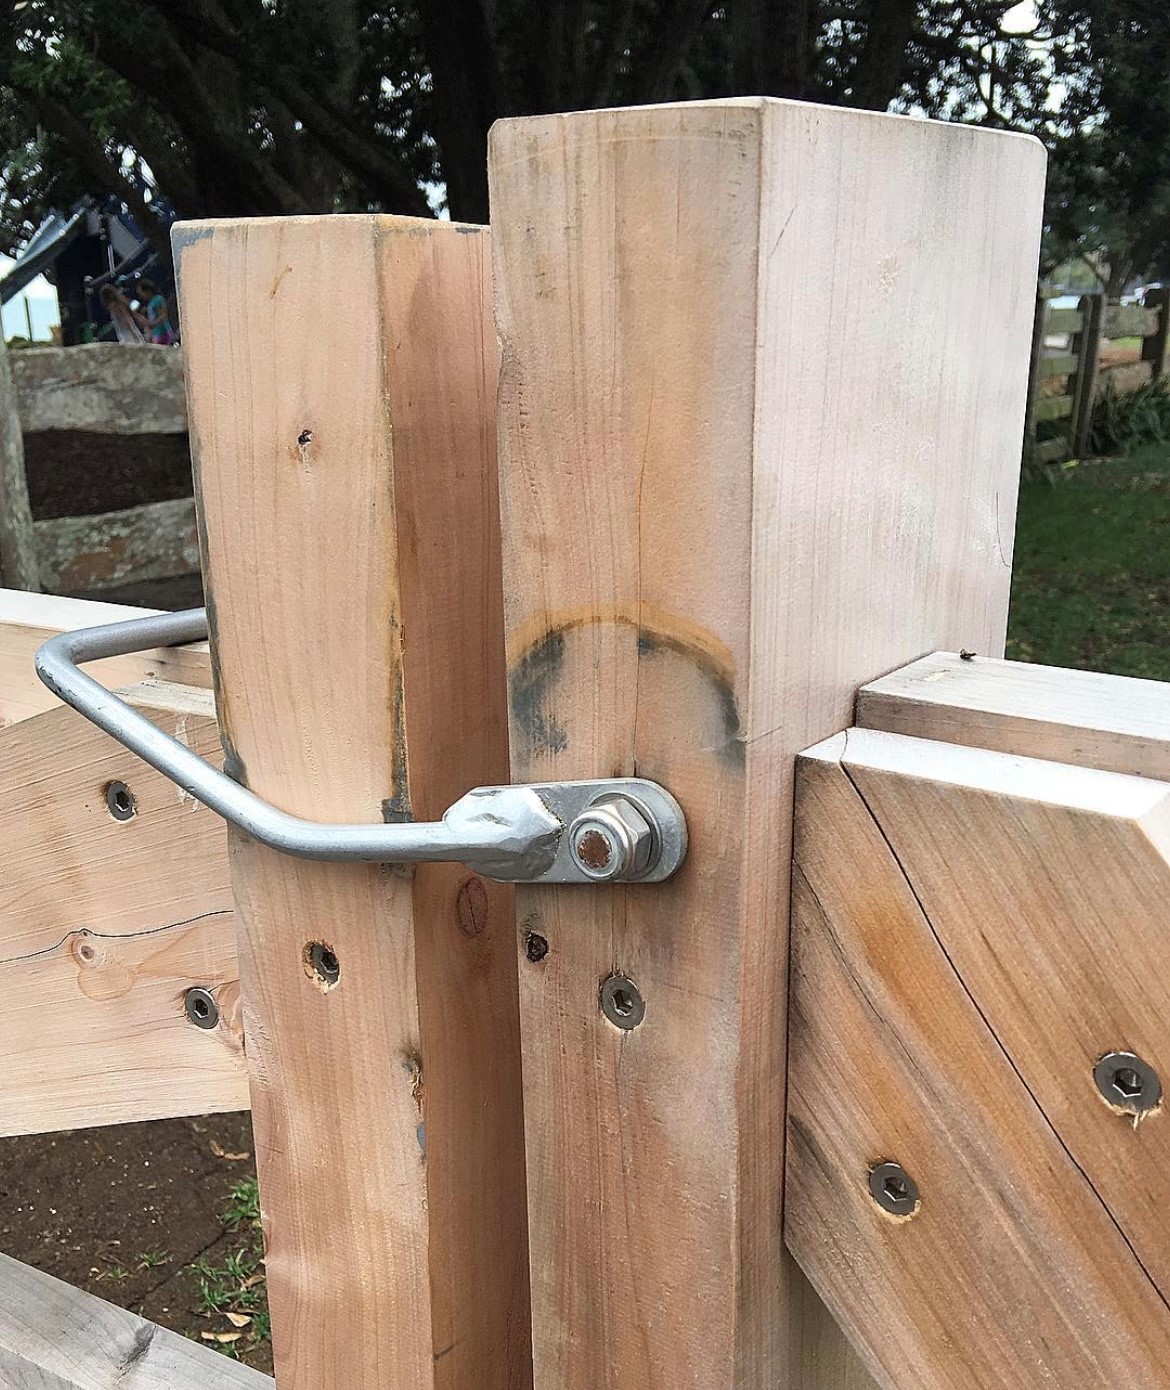
@puginesque
Step six: Weatherproof with sealant
Once you’ve hung the gate, use a wood sealant to weatherproof it by making sure the bottom of the planks are coated generously to avoid wood rot setting in. Then, you can either finish it with weatherproof paint or leave it completely.
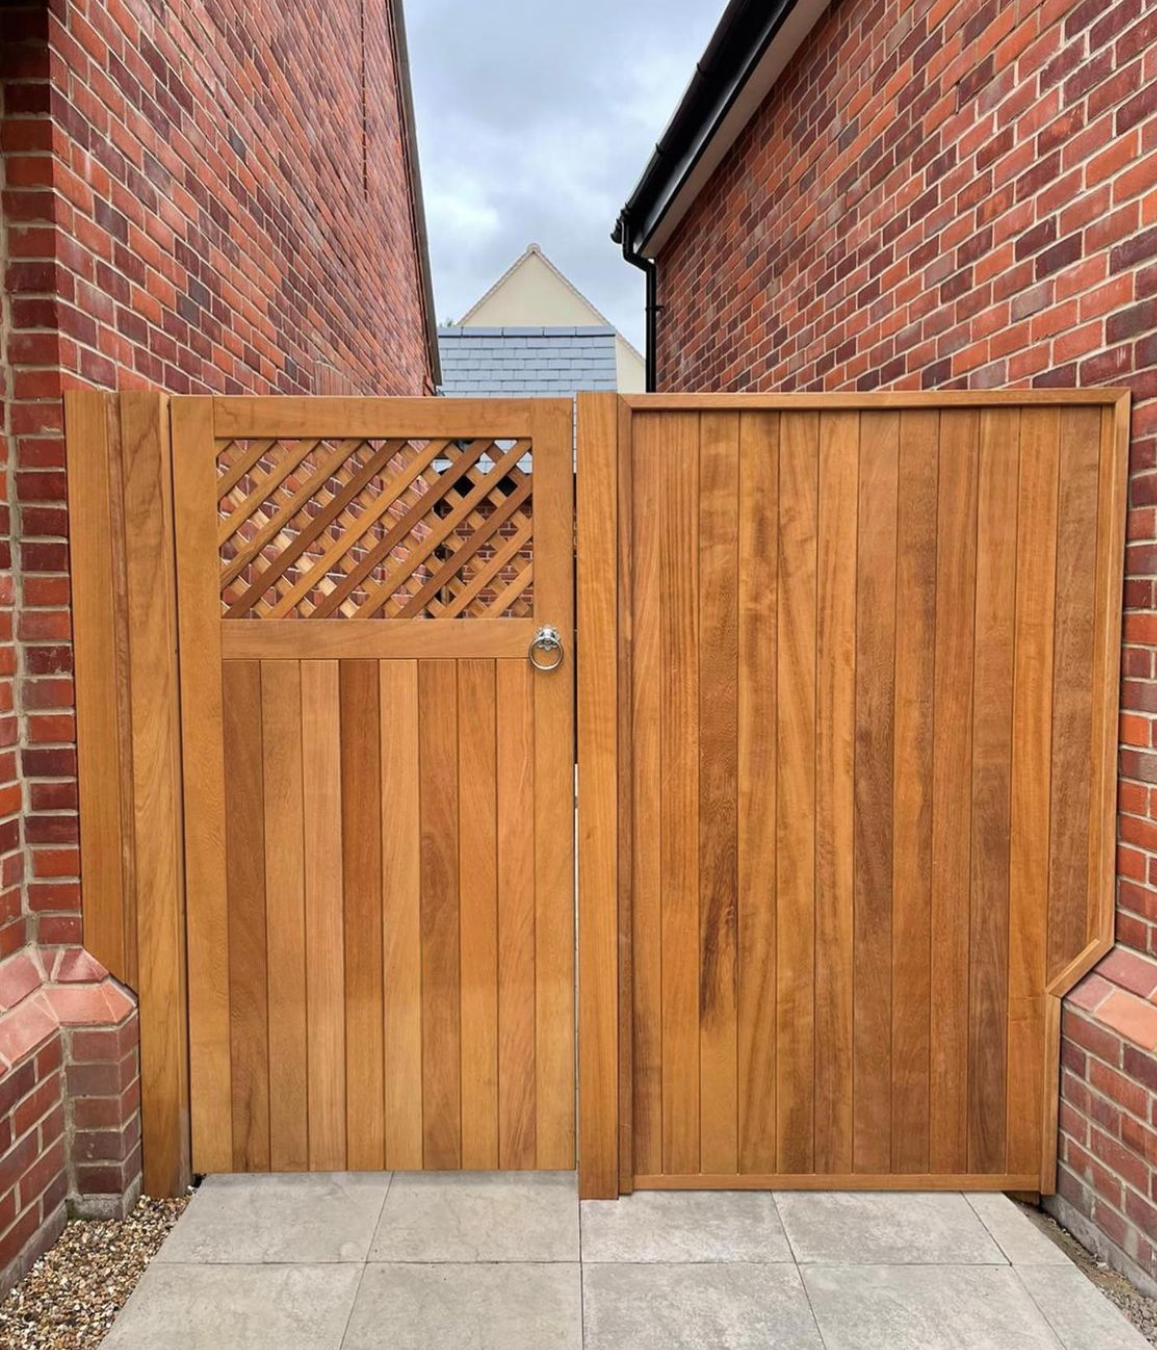
@the_lanscaper_suffolk
Building a double gate
If you decide to build a double gate, the first thing to know is where to put your gate. When it comes to a double gate, you want it to be somewhere accessible. For example, maybe you will need a vehicle to pass through. If so, you need to place it somewhere your vehicle can easily reach.
Step 1:
Next, decide whether your double gate is going in between existing fencing
by using string on the adjacent fence to help align your new gate posts. This
helps you work out where to anchor and plumb the fence pots for your double
gate.
Step 2:
It’s also important to work out the measurements. For example, if your gate
is 136 inches total width, leave 1cm on either side of the posts so your gates
can open and close easily. Divide this number by half, and that’s how wide each
gate needs to be. Then, you will need to anchor and plumb the outer fence
posts, by using around 80lb of concrete to stop them from dropping. Use your
spirit measure to make sure the posts are straight and plumb and anchor them
in.
Step 3:
Once your frame is put together, drill using a 9/16
th drill bit
and twist in the hinge bolts into the centre of the 15-inch measurements above
and below your gate posts. Once that’s done, you can attach your gate frame. Then,
once the frame is attached, you can now add the ‘skin.’ This includes attaching
the gate pickets using pilot holes and screws and reinforcing the panels with
cross frames.
This is now when you can add any accessories to your gates, such as garden gate
locks, cane bolts, hook latches etc, as that is what is going to keep your
fence steady and secure.
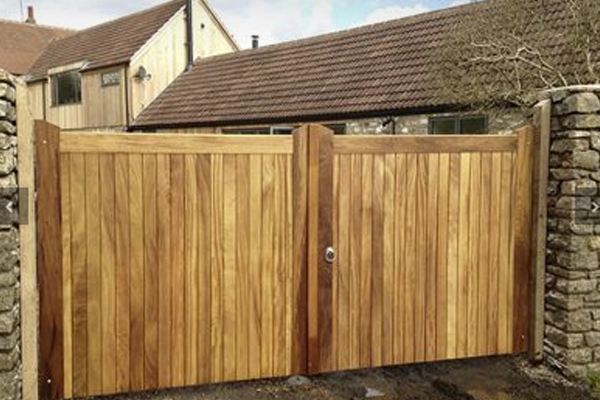
Charltons gates
Ideas for garden gates
To emphasise your garden gate that little bit more, you can
incorporate some different styles and materials to enhance the appearance of
it.
For example, you could brighten stone posts with a white gate, or soften sleek
slats with foliage.
Plants and flowers are a great way of incorporating life and
nature to your gate in a way that is subtle and effective.
You can also use different designs, such as a latticed design, a floral arch,
or a different paint finish. Doing so will make the exterior of your house look
more welcoming, and will no doubt impress the neighbours.
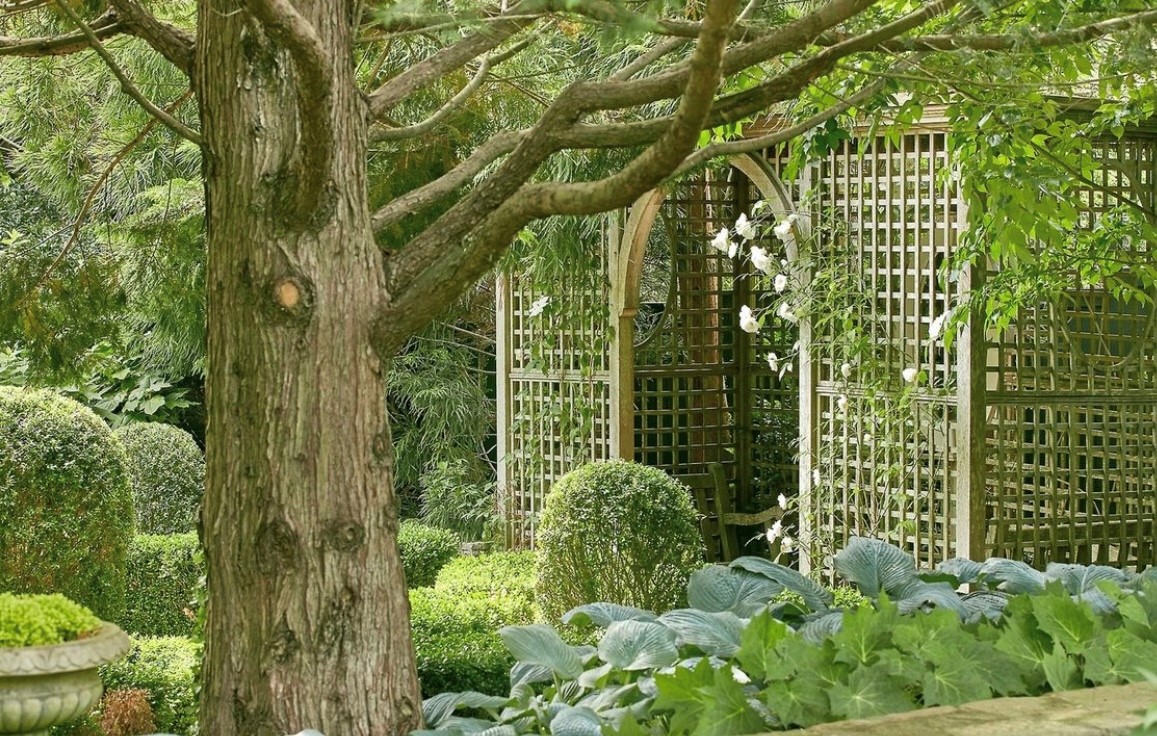
@hollander_design
If you have any questions about gates or need further information about the products we sell at Howarth, please visit your local friendly Howarth branch, or contact our customer services on the number 01472 907051.
Recent Posts
-
An Introduction to Types of Paving
There are so many different types of paving out there, but which ones are right for your project? Wh
-
10 small outdoor kitchen ideas just in time for summer
As summer approaches, many homeowners are looking for ways to enhance their outdoor living spaces&md

