How to fit scotia beading
What is scotia beading?
Scotia beading is a decorative moulding that is used to hide the gap between the skirting board and the wall. It is installed to the skirting board and over the floor around the perimeter of the room, and it is available in a variety of colours to complement any wood floor.
Because wood is a natural substance with the potential to expand and contract as temperature and moisture levels change, it is important to create a sufficient expansion space around the perimeter of the room while laying flooring.
For a cohesive look, choose a scotia design and colour that complements the skirting board or floor. Calculate the entire length of scotia necessary by measuring the perimeter of the room, then add 20% for waste. One of the most popular scotia beading colours that we sell at Howarth is the 25mm white scotia beading, which is both elegant and modern.
Therefore, in this how-to guide will walk you through the process of how to fit scotia beading, the varieties we sell at Howarth, and how to fit it.
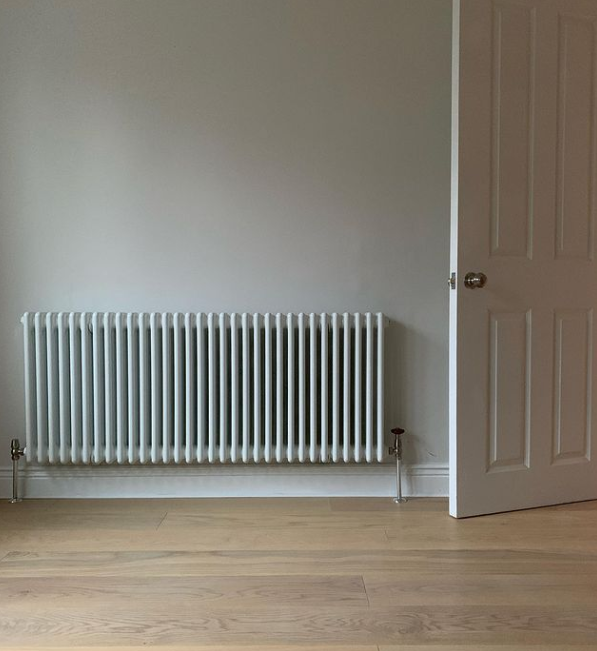
How to fit scotia beading
1. Cutting the moulding
When joining two ends of scotia, a mitre connection is required, which entails cutting at a 45-degree angle for a smooth finish. Measure the distance to the next corner and mark it on the back of the scotia, as well as the planned direction of the mitre cut, for internal and exterior corners. Next, make a 45-degree angle in the marked direction with a mitre box and mitre saw. Then, using the neighbouring scotia, cut a mitre cut in the other direction, and sand both mitred ends until smooth. Hold both mitred ends together to ensure perfect fit. If the fit isn't great, you may shave off the ends using a block plane to get a better fit. When placing the scotia end flat against the wall, cut at a 90-degree angle.
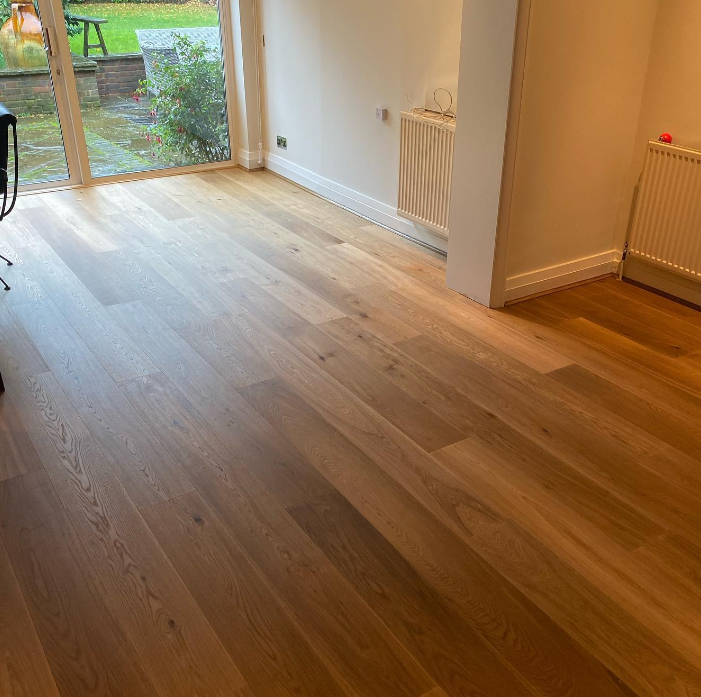
@jrc_flooring
2. Fitting a return
Fitting a return to the exposed end of the scotia will create a neater finish in installations where the end of the scotia is exposed, such as close to a door. To begin, cut a mitre into the exposed end of the scotia. Next, make a mitre cut in the opposite direction of the last mitre cut on another piece of scotia, then trim this small piece to size. Check that it fits into the exposed end of the scotia, then apply PVA to the mitre and fit the return onto the scotia, flush with the wall.

@the_cyclists_abode
3. Secure the moulding to the wall
You may choose between nails for a more secure grip and adhesive for a cleaner, more professional look. To fix the scotia in place with nails, attach it to the skirting with one nail every 30cm, making sure not to nail it to the floor. Attach grab glue on the back of the scotia and gently apply to the wall, being careful not to get any on the flooring. PVA should be applied to any exterior mitres. Fill any gaps between the top of the scotia and the skirting with flexible decorator's caulk, then smooth the surface with a damp cloth.
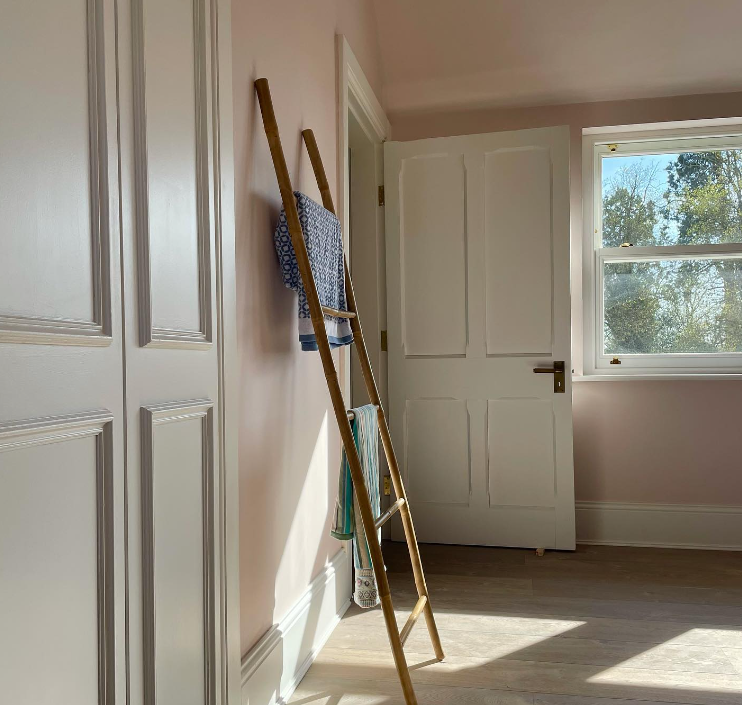
@amaya_yoga_barn
4. Add the finishing touches
After applying the scotia, use decorators caulk to fill any gaps, cracks, or holes before finishing. There are several finishing options available, including staining for a classic style, painting for a modern finish, or leaving the original raw wood look. These final touches are where you may match your current skirting or flooring to your selected décor.
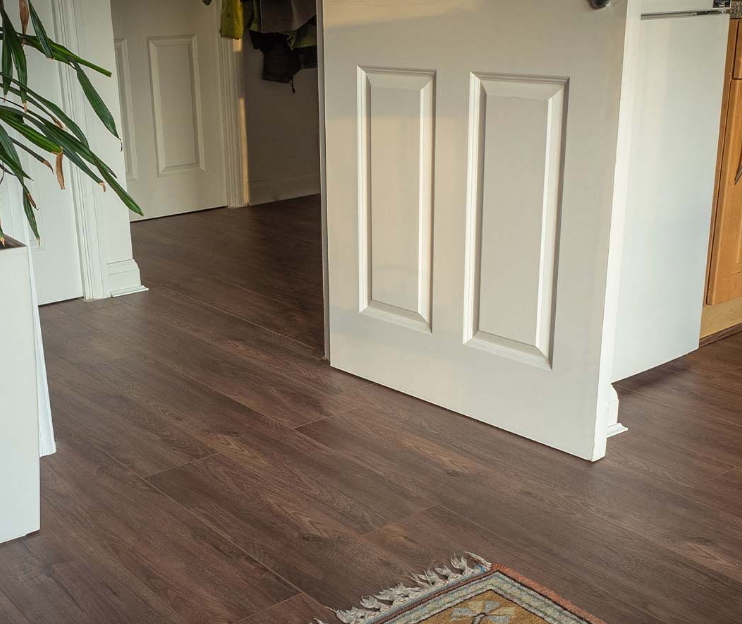
@envirobuild
We hope this article has helped you in understanding more about how to fit scotia beading! If you have any further questions about scotia beading or would just like some more information about the products we sell at Howarth, you can visit your local friendly Howarth branch, or contact our customer services on the number 01472 907051.
Recent Posts
-
An Introduction to Types of Paving
There are so many different types of paving out there, but which ones are right for your project? Wh
-
10 small outdoor kitchen ideas just in time for summer
As summer approaches, many homeowners are looking for ways to enhance their outdoor living spaces&md

