How to lay Artificial Grass
After purchasing artificial grass, it can be overwhelming to suddenly realise you aren’t sure how to install it. Therefore, we’ve put together the ultimate ‘how-to’ guide, with fully detailed installation steps to ensure that you’re following all the best practices. By following these steps, you’ll be relaxing in your brand-new artificial grass garden soon enough.
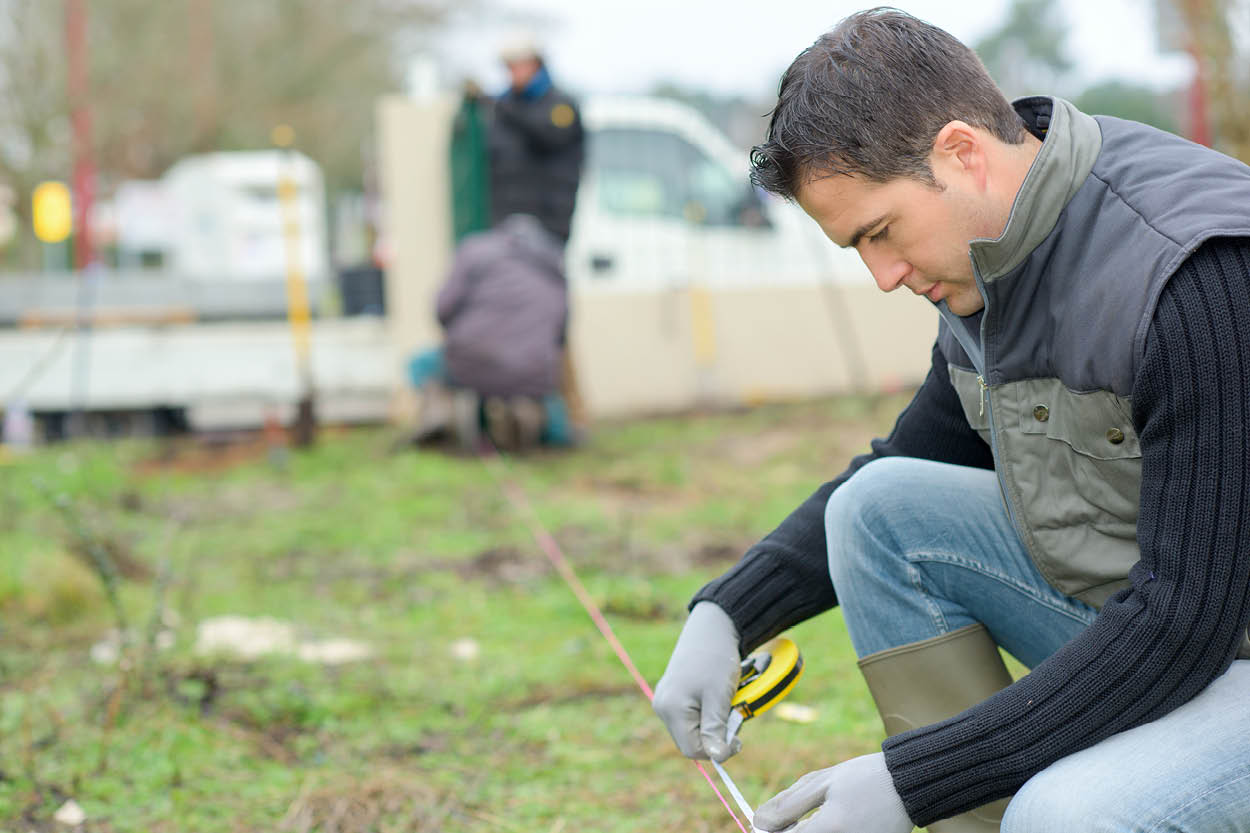
Preparing your lawn
The first thing to do, which is also one of the most important steps, is to make sure you measure out the dimensions of your garden for the artificial grass to fit. Work out the most efficient way of laying your new artificial lawn by ensuring the fibre pile all face the same direction for the best finish and most realistic appearance for your garden. It is massively important that synthetic turf is laid correctly to appreciate the benefits of it for many years to come. Make sure to measure it several times, comparing the last measurement each time so you can potentially spot any mistakes.
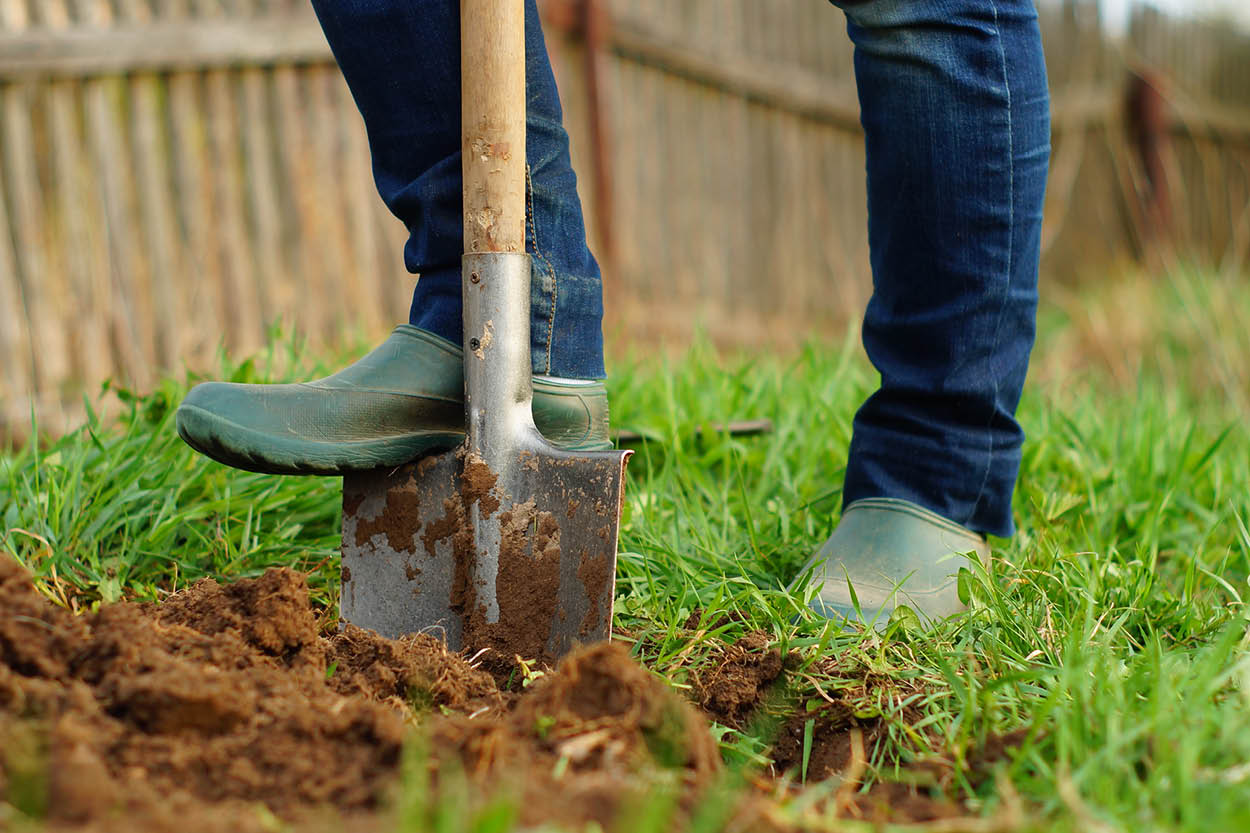
Removing your lawn
This is an essential part of preparing the ground to lay artificial grass. With the right tools you can make it easier and more accessible to do, and at Howarth we have a wide range of tools on our website that you can order to ensure that the process goes smoothly.
Before removing the initial lawn, water the grass a few days before as this can make the job slightly easier, as it can prevent lots of dry mud and dirt from scattering everywhere. However, be sure to avoid over watering as it can create muddy patches that do not dig up easily.
By using the edge of your spade to cut small squares into the grass, approximately two inches long and ten inches wide, it can remove most of the roots and essentially give you easier access to get the spade underneath and lift away the soil. This is a physical task and will be quite tiring, so take lots of breaks, especially if you are working in the sunshine.
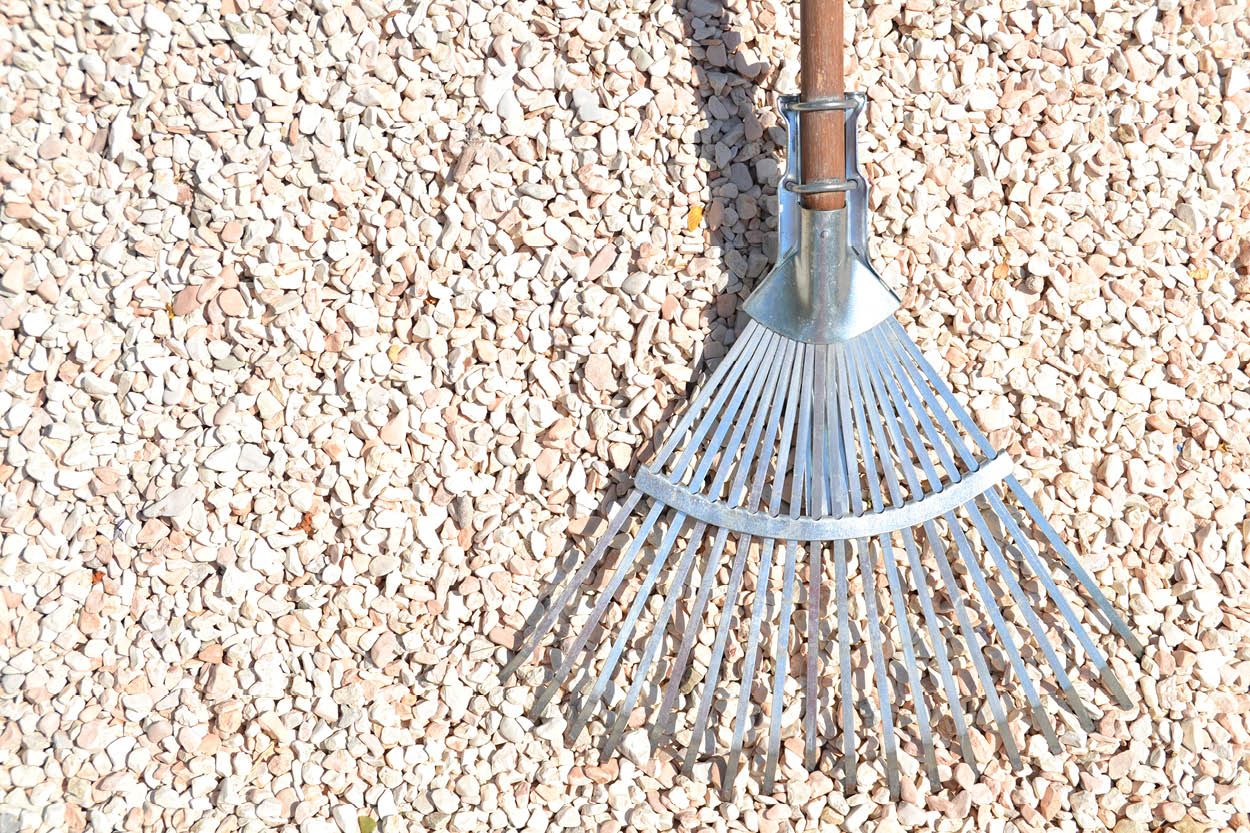
Laying a base on soil and concrete
Before laying the artificial grass on soil, we recommend laying a base beneath it to bind the top of your subbase so it can have an even distribution across the entire area designated for your artificial grass installation. The subbase would have to be laid onto a roughly levelled area beforehand for the best results.
If you are also planning to add a border to your new garden, make sure that the artificial grass edging is fit and installed at this stage. This is so it will prevent disrupting your already compacted and levelled subbase.
We also recommend laying a form of weed membrane on top of the subbase if you are wanting your artificial lawn to last as long possible. This process is very easy and requires no additional joining materials, as it only requires you to unroll a sheet of the membrane across the subbase. But be sure to pull the membrane as tight as possible when placing it down to ensure you get the best results.
For applying artificial grass on concrete, the same steps still apply. Make sure to prepare your concrete by swilling off any dirt or mud before placing down the underlay, which is completely optional depending on what your usage for the artificial grass is for. If it is going to be used by children, or sports will be played on it, an underlay is a definite must.
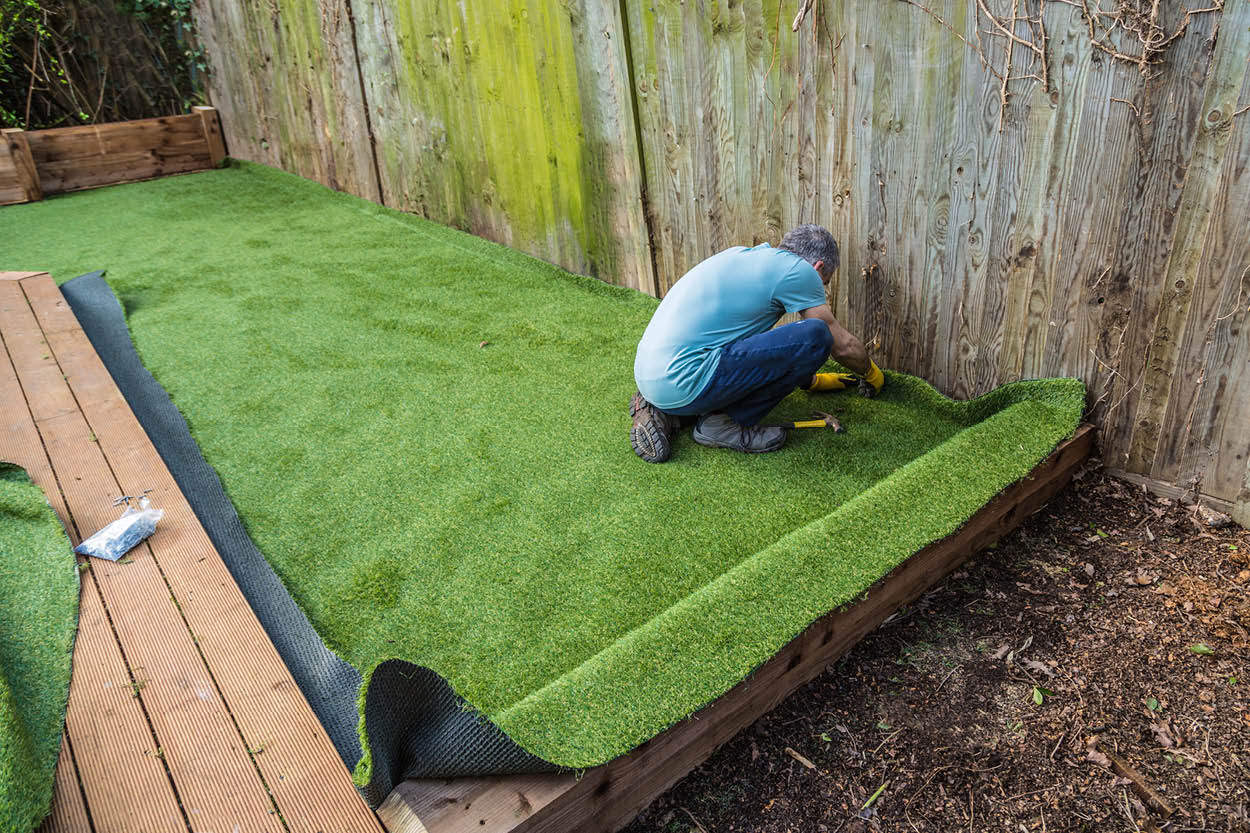
Installing artificial grass
For the next part, you will want to lay your artificial grass roll in a way that will minimise cutting too much, as this would increase the risk of waste. If you’re also having to join two or more pieces of grass, you need to make sure the grass is laid with the pile running in the same direction on each piece. Essentially, its best to lay the grass starting from the longest straight edge to avoid the most cutting. It’s also very important not to rush this process! Roll out the artificial grass and then leave for ideally 24 hours, as this will allow any creases to fall out.
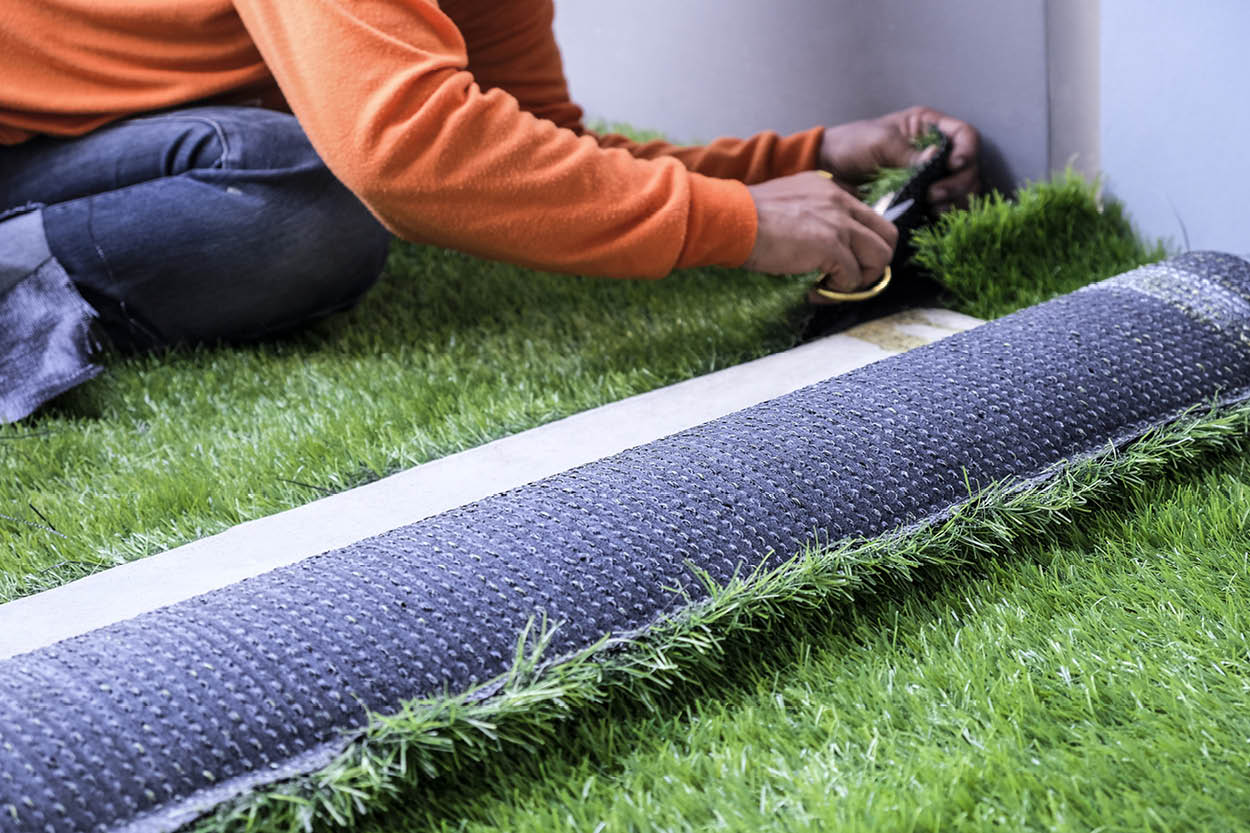
How to cut artificial grass
Once your lawn has been installed
and left for 24 hours, you will want to do a little bit of trimming. This is so
you can trim to adjust to other landscaping within your garden, such as patios,
plants, trees, and rocks.
Having the appropriate tools and safety gear is essential for when cutting your
artificial grass. When you’re cutting around large objects, like the trunk of a
tree, it’s best to make small incisions and go at a slower pace. You also may
need to make slits in your lawn so that it fits better around these objects.
Focus on making clean and neat cuts that don’t have any gaps. Work slowly so
that you’ll be able to get the job done right!
How to join artificial grass
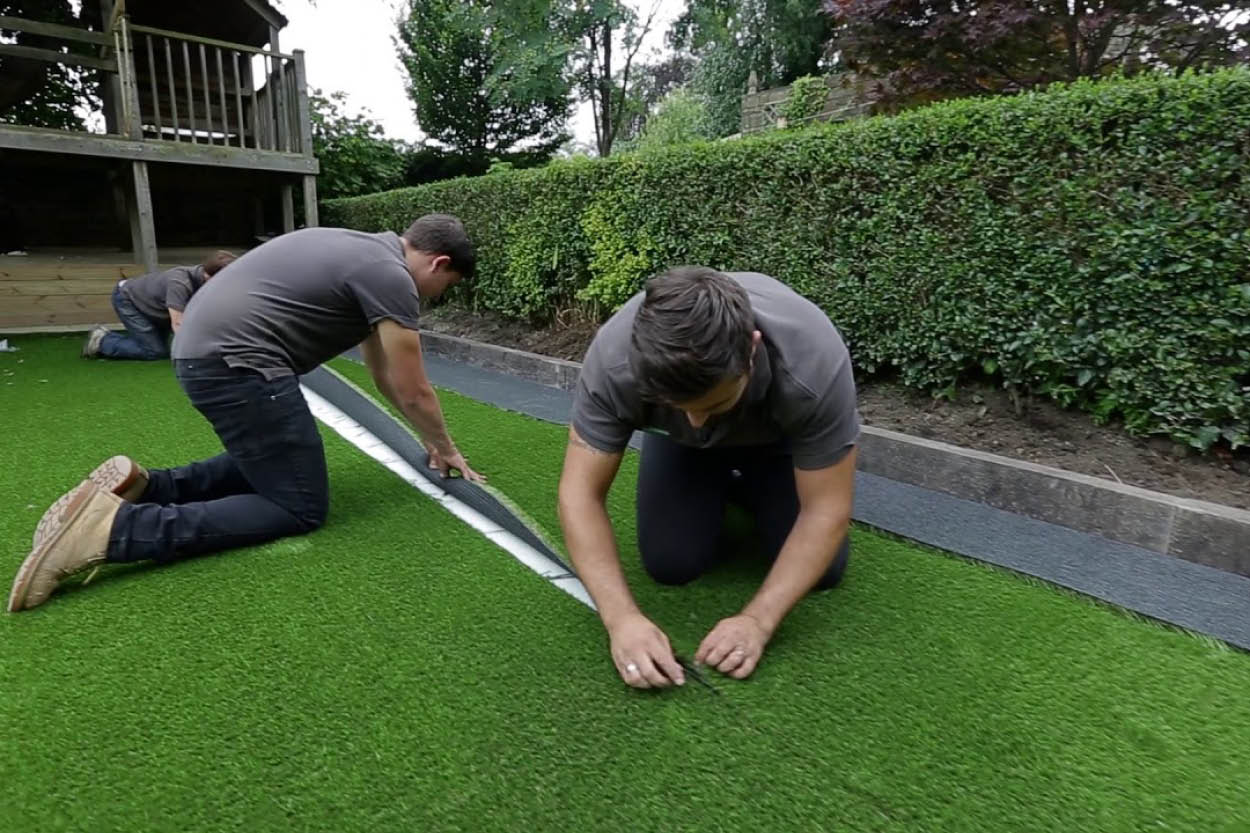
Joining artificial grass is very important in ensuring that your grass follows a similar pattern and maintains a neat and tidy appearance. The most important thing to ensure when joining two or more pieces of artificial grass is that the pile all runs in the same direction. This will stop the joins being prominent as the strands will blend well together.
Firstly, lay the two artificial grass pieces besides each other with the pile facing upwards, and then line the edges up perfectly together. Next, fold the edge of both pieces back approximately 1 inch, then carefully trim each joining edge to remove the salvage edge. Lay some tape directly up the centre of the join and apply some adhesive along the tape in a zig zag line. After that, fold one side of the artificial grass onto one half of the tape, and then fold the other side. Always ensure that your two artificial grass pieces butt up together all the way up the joining seam. Once you’ve done that, firmly press along the length of the seam to ensure the adhesive sticks correctly and leave to dry. Once dried completely, the final step is to dress your artificial lawn with kiln dried sand if needed. You can do this by brushing it into the pile with a stiff brush. This will keep the strands upright if they have been compressed during installation.
And there you have it - a perfectly installed, trimmed, and joined artificial grass for you and your entire family to enjoy!
Recent Posts
-
Garden Gate Buying Guide
Is your next project adding a garden gate to enhance, protect and secure your garden? Before you do
-
How to cut plasterboard
Whether you're a seasoned tradesperson or trying your hand at DIY, knowing how to cut plasterboard c

