How to Lay Engineered Wood Flooring
Need to know how to lay engineered wood flooring for a customer or in your own home? Have we got the guide for you. We’ll take you through every step from the tools and techniques you need to lay engineered wood flooring to advice on how to clean engineered wood floors.
But first, let’s start with the basics.
@buildingthemushroom
What is engineered wood?
Engineered wood flooring is a highly cost-efficient alternative to solid flooring that is easier to install and is more resistant and practical. Made from several layers of plywood and a top later of hardwood tightly bonded together, engineered wood has more give in it than solid wood which makes it more comfortable to walk on.
It’s perfect for kitchens, too, as it is more resilient to everyday wear and tear than natural timbers.
@glencoe_house
Types of engineered wood
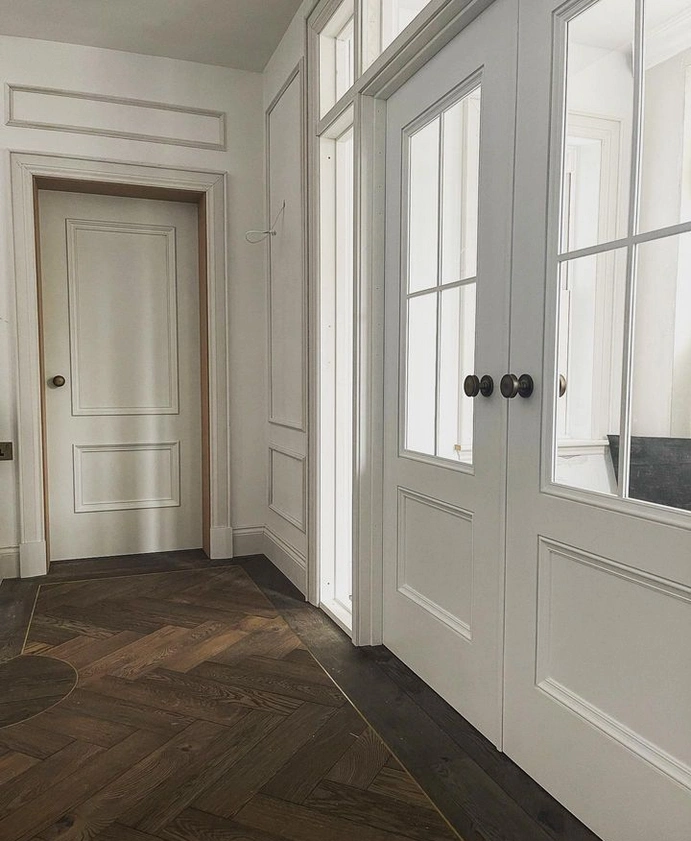
On-trend dark herringbone engineered wood flooring. Traditional oak engineered wood flooring. Contemporary grey engineered wood flooring. There are so many different types and styles of engineered wood flooring available today. And all have one thing in common… laying a engineered wood floor is relatively easy when you know how.
Wood Floor Warehouse
Plan ahead
Engineered wood flooring is often stored and transported in very different conditions, temperatures and humidities to where you want to install it. Because it is wood, the amount of moisture and heat in the planks can change a few days after it is delivered.
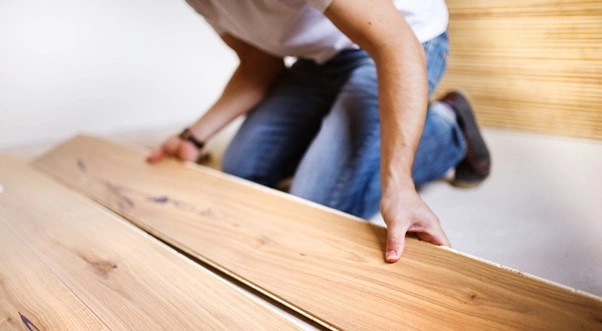
Therefore, to avoid bowing, splitting or cracking, it is essential that before laying engineered wood flooring, it is allowed to settle and acclimatise to the conditions in the room it will be installed in. That is why you should always wait at least 48-72 hours before starting to lay it. The temperature of the room should be between 18–27˚C and the floor should be above 15˚C. Use a moisture meter and check the engineered wood floor manufacturer’s product guidelines for recommendations.
Jen Woodhouse
Floating or glued-down?
There are two different methods for laying engineered wood flooring – floating or glued-down.
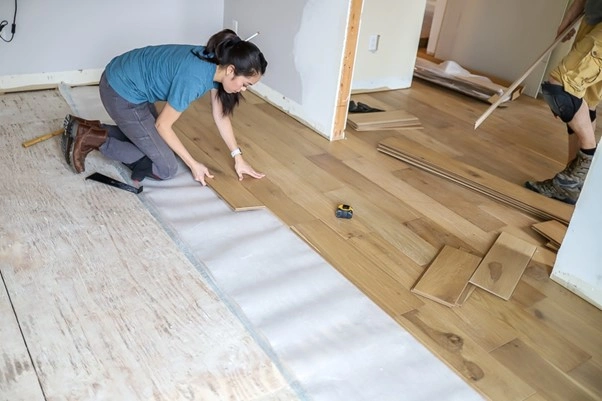
Floating involves putting down an underlay first, then the engineered wood planks are glued together and sit on the underlay.
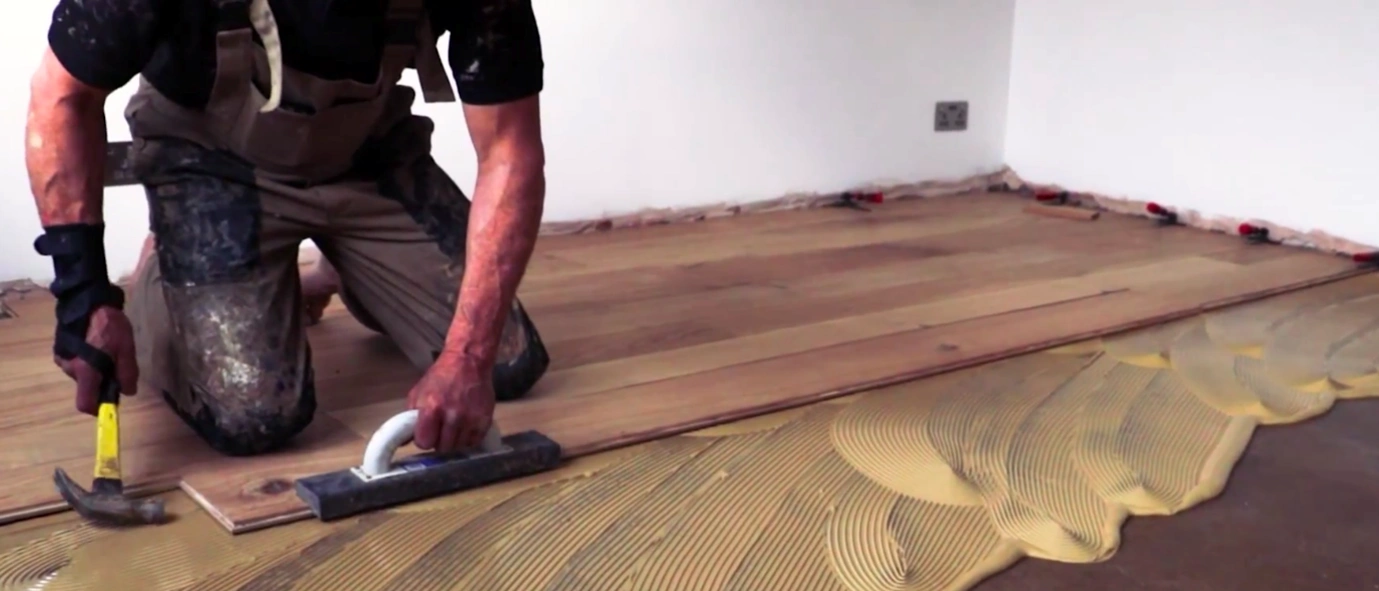
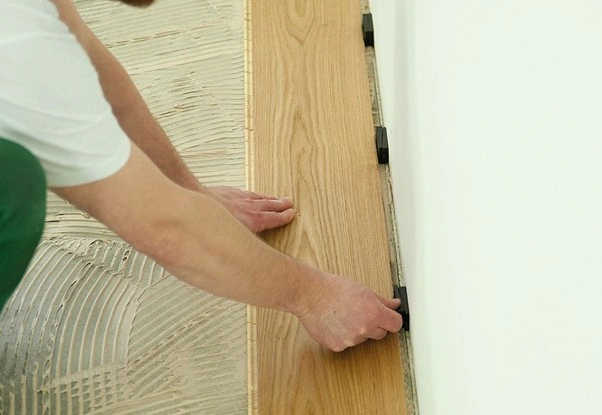
The glued-down method is where you apply glue to the concrete sub floor and then lay the boards on top of the glued surface.
Best at Flooring
Tools & Materials
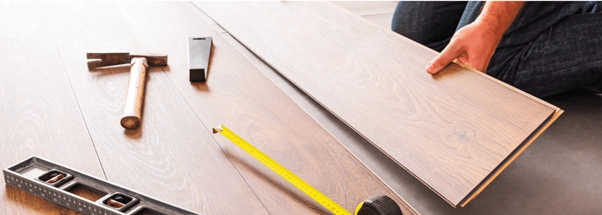
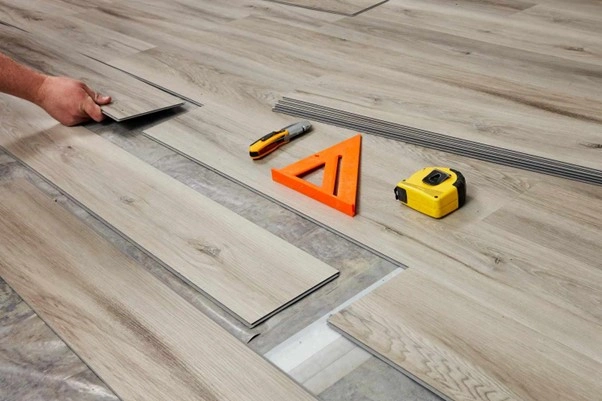
Most of the tools you need are readily available from any trade tool retailer or DIY superstore:
- Pencil
- Square
- Long spirit level
- Tape measure
- 10mm spacers
- Mitre saw
- Jigsaw
- Hand Saw or Electric Saw
- Electric Multi Tool
- Wood Chisel
- Rubber mallet
- Vacuum cleaner
- Dustpan and brush
- Cleaning products
For floating installation:
- Underlay
- PVA glue
- Sponge or cloths
- Solvent-free high tack adhesive
- Sponge or cloths
For stuck down installation:
- Solvent-free high tack adhesive
- Sponge or cloths

Forbes
Safety first
Laying a engineered wood floor will involve lots of kneeling so we highly recommend that you protect you protect your knees with knee pads. Cutting planks of engineered wood can generate lots of dust, so safety goggles and a mask should be used. If using power tools, also use ear defenders.
WoodandBeyond
Preparing the subfloor
Before laying engineered wood flooring, you will need to ensure that the subfloor is properly prepared. Here’s how:
- Take up the old existing flooring.
- Ensure the subfloor is level, smooth and clear of any debris or dust.
- If needed, install a damp proof membrane.
- If the subfloor is not level you should apply a self-levelling screed to the floor and allow it to dry out completely.
Wood Flooring
Underlay
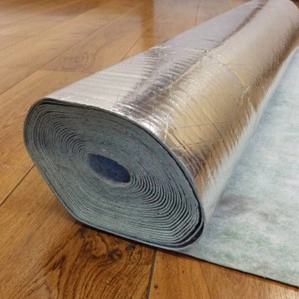
If you are fitting a floating engineered wood floor, you will need an underlay. These are available in different thicknesses and they have numerous benefits, the key ones being improvements in both acoustic and thermal insulation.
If you are laying an engineered wood floor on a concrete floor, choose an underlay with a built-in moisture barrier and a foil reflective surface. These will provide better insulation and also prevent moisture rising up from the concrete subfloor and warping your floor.
Greyspace Flooring
Practice makes perfect
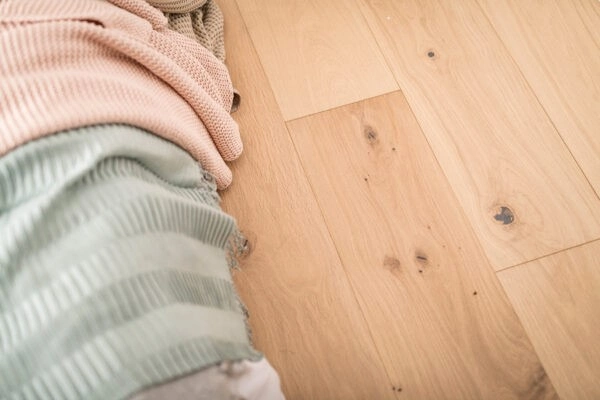
It’s a good idea to familiarise yourself with how your boards fit together. Have a few practice dry runs so you are comfortable with how they lock together. Also, the top surface layer of engineered wood is natural wood, so there will be variation in the colour, grain and knots on every board.
A good tip is to sort out the most knotted, lightest and darkest boards and put these at the edges of the room – also, spread them out so you don’t have one dark, light or heavily knotted are of floor.
Luxury Flooring
How to lay a floating engineered wood floor
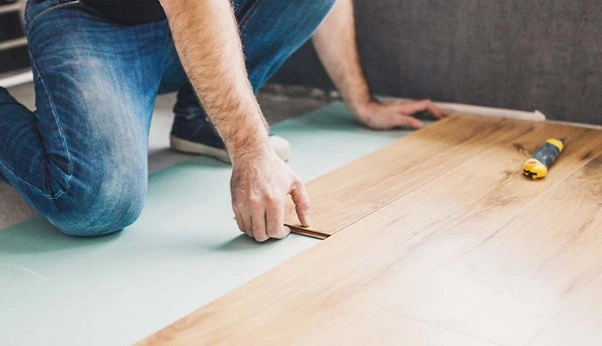
The most popular method of fitting an engineered wood floor is the floating method. Always read the manufacturer’s instructions that came with your engineered wood flooring. However, here is a general guide to laying a floating engineered wood floor.
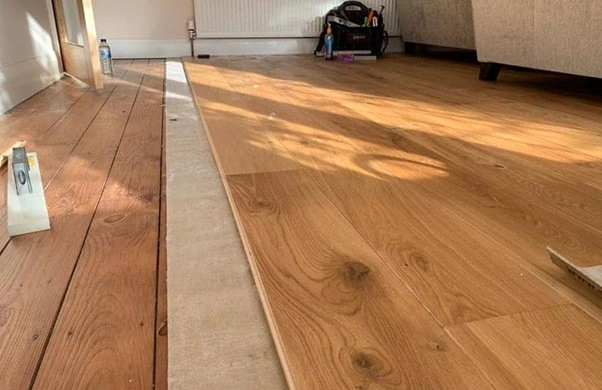
- First fit the underlay. Starting at one end of the room, unroll your underlay using spacers to ensure there is a 10mm gap at the sides where it meets the wall or skirting. Trim the opposite end with a knife or scissors, then repeat until the entire floor is covered in underlay with a 10mm space around the edges. Do not overlap underlay as it will result in an uneven floor.
- Decide whether you intend to fit the floor boards under the skirting boards (if so, you may need to remove the skirting boards, fit the floor then replace them so they sit just above the floor boards). If you prefer to board up to the skirting boards, for a neat, finished look, you need to leave a 10mm gap for expansion and then cover this gap with beading that is the same colour as your skirting boards or engineered wood boards.
- Boards are usually laid in the direction of the flow of the room. For instance, for a hall, lay them in the direction you would walk in and then continue to lay them that way if the floor continues into other rooms.
- Measure the width of your room and divide it by the width of your boards. This will tell you how many boards wide it will be. If it is for example 6 boards wide plus half a board, ensure that the narrow board is no less than 60cm wide. If it is cut one of the other boards slightly narrower. This is because boards should be a minimum of 60cm wide where they meet the wall.
- Start in a corner and work from left to right. It’s a good tip to use spacers to ensure a 10mm gap is maintained where the boards meet the wall or skirts. Always start with the tongue of the board facing the wall.
- Apply PVA glue in and along the groove of the fitted board, then holding the next board at approximately 30˚, insert the tongue into the groove and lower it. Use a piece of wood and a robber mallet to tap the board tightly into place. Wipe away any excess glue with a wipe, damp cloth or sponge.
- Once you get to the last board in a row, if it doesn’t fit, you will need to cut it down. To do this accurately, turn the board 180˚ and then mark it with a pencil and use a square to draw a line – make sure you allow for the 10mm expansion gap. Then cut the board, glue and fit it.
- For the next row, you will need to stagger the header joints where the board ends meet. This will give it a more natural look and make the floor more solid. We suggest the header joints should be staggered by a minimum of 20cm, but don’t position them at the centre of the adjoining board as wooden floors should have a random feel.
The Spruce
How to lay a glued-down engineered wood floor
If you are laying engineered wood flooring using the glued-down method with no underlay, follow the manufacturer’s instructions. In general though, the following steps normally apply:
- Ensure the concrete subfloor is prepared, level dry and clear of debris and dust.
- Follow steps 2 to 4 above.
- Using a trowel, spread a small amount of glue on to the subfloor – 2 or 3 boards in width.
- Start in the left corner by laying a board with its groove side to the wall and then completing that row along the wall using spacers to create a 10mm expansion gap, including at the top and bottom.
- Working left to right, lay rows, applying 2 to 3 rows of glue to the subfloor and wiping away any excess glue as you go.
- Follow steps 7–8 above.
Barlinek
Pipes and architraves
You now know the basics of how to lay engineered wood flooring, however, there are some tricky elements of installation that we can help you overcome.
If you need to lay your engineered wood flooring around a pipe such as a radiator pipe, simply pencil on the board where the pipe will be, drill a hole around 15mm larger than the diameter of the pipe. Carefully cut a small wedge out of the board which enables the board to fit around the pipe. Finally, glue the wedge back in behind the pipe.
If you have architraves that protrude beyond your skirting boards, for a neat finish, you need to cut away the architrave to allow the floor board to fit under. A multitool works best and to do this, simply place an upside down off cut of the floor board on the underlay next to the architrave and trim the bottom of the architrave at that height. You could also use a chisel and mallet to do this.
Woodpecker Flooring
Finishing touches
Attention to detail is everything when laying engineered wood flooring. If you opted to install your floor so that it would fit under the skirting boards to hide the expansion gap, you may have had to remove your skirting boards to do so. So, you therefore will now need to reattach them.
Preferred to leave your skirting boards where they are and board up to them? You should now conceal the gap with beading of your choice. This could either be the colour of your skirting boards or wooden beads matched to your floor. These should then be either attached to the floor at the edges using double sided carpet tape.
Where you need to bead around or into a corner, cut 45˚ mitre joints.
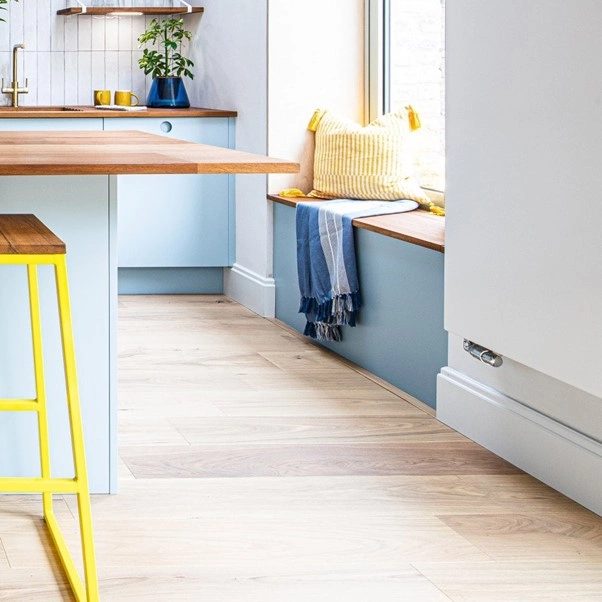
Discount Flooring Depot
How to clean engineered wood floors
For the first few weeks after laying engineered wood flooring, your floor will look fantastic, however, inevitably, you will need to clean it. Read our step-by-step guide “How to Clean Engineered Wood Flooring” and discover the secret to keeping it looking good for years to come. It features essential tips including everything from a regular cleaning routine and stain removal tips to preventative measures and things to avoid.

Twenty & Oak
Always here to help
If you’ve any questions regarding engineered wood flooring, or want any additional information about the products we sell at Howarth, please visit your local Howarth branch, or contact our customer services on the number 01472 907051.
You can also explore our wide range of engineered wood flooring here, or you can even visit us in branch for more information.
Recent Posts
-
An Introduction to Types of Paving
There are so many different types of paving out there, but which ones are right for your project? Wh
-
10 small outdoor kitchen ideas just in time for summer
As summer approaches, many homeowners are looking for ways to enhance their outdoor living spaces&md
