How to Replace Fence Panels
With the increase in unusual weather during UK winters, understanding how to replace fence panels on your own may be quite useful as even solid wooden fences can be damaged during storms.
Fence panels are a popular way of adding a boundary divide to your garden in garden design. Fences, on the other hand, are extremely high-maintenance, and replacing or repairing fence panels is one of the most typical challenges homeowners face following severe weather occurrences.
So, how do you go about replacing fence panels? Well, keep reading this article to find out!
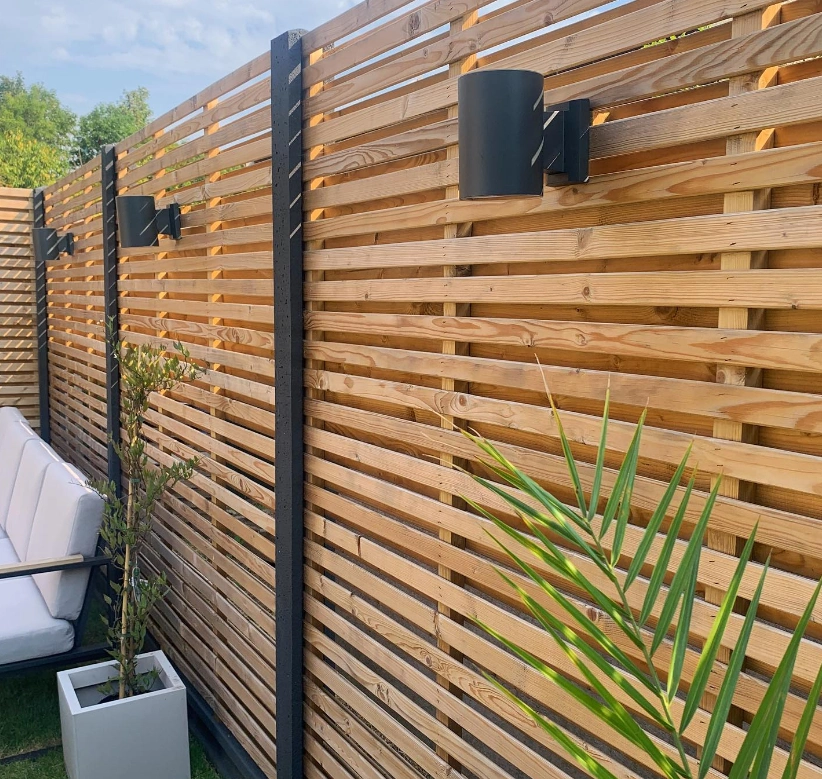
@mylifeblag
How to Replace Fence Panels and Posts
While replacing fences and posts can be done on your own, always get assistance when necessary and wear protective eyewear and gloves.
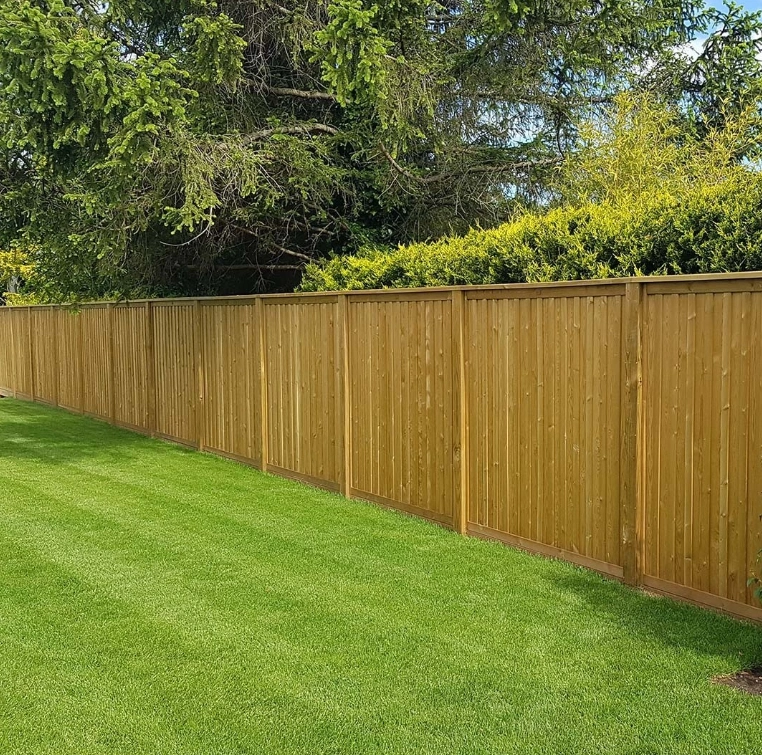
Step 1: Remove the old panel
Pull the broken fence panel and the post apart with a crowbar until the nails are revealed. Then, using a hacksaw, hammer into the wood, and pull with pliers to make the panel safe to handle. Repeat on the opposite side of the panel, then remove.
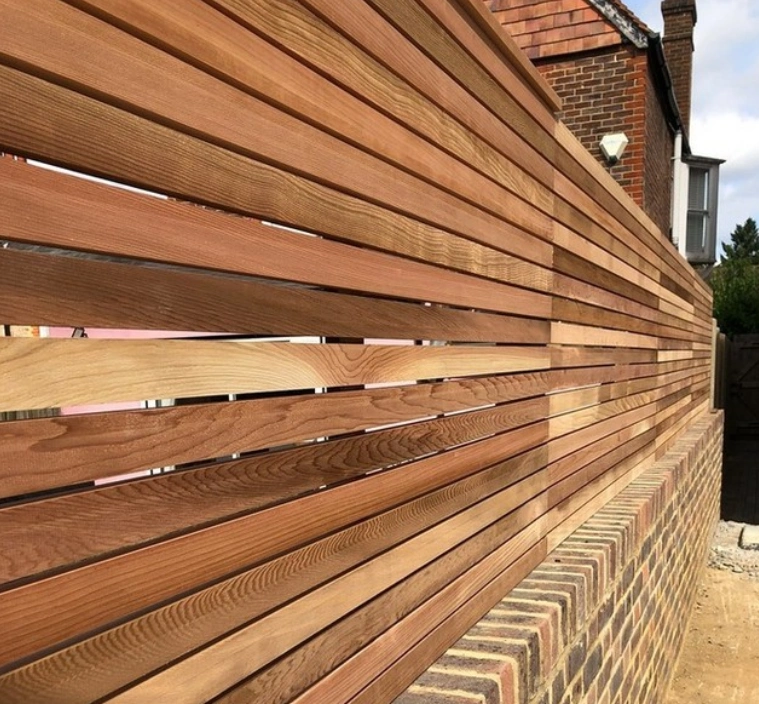
@contemporaryfencing
Step 2: Install the new panel
Fortunately, most fence panels are available in common sizes and types. So, if you discover that a new panel is a bit too big, you can use a plane to reduce it to size.
There are two primary methods for attaching a new fence panel between timber posts:
If you're using clips attach them to the poles on each side of where the new panel will sit and hoist it into position (you'll need the help of another person or two for this). The panel should be slotted into position (50-75mm above the ground), and new galvanised screws should be used to fasten it.
If you are not using clips, measure and drill six pilot holes evenly spaced down each post. Place the new fence panel and lift it 50-75mm above the ground using bricks or a second set of hands. This will aid in the prevention of moisture. Check the panel's level with a spirit level before hammering galvanised nails into the pilot holes to fix it in place.
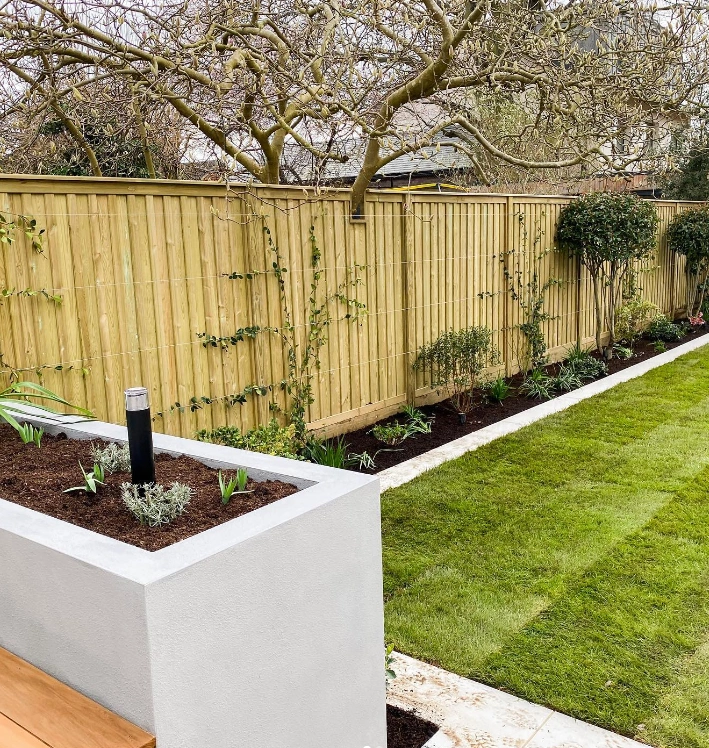
@jacksonsfencing
Step 3: Finishing the fence
To preserve the new panel and mix it in with previous units, use a decent exterior wood paint.
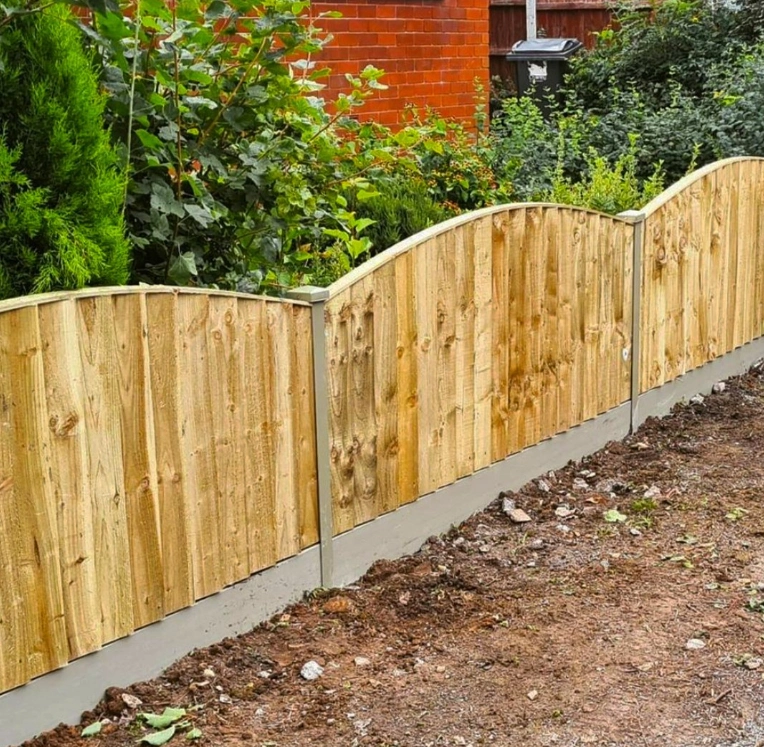
@durapost_uk
How to replace fence panels between concrete posts
Replacing fence panels between concrete posts is easy enough once you know how to do it. The idea is to position the fence panel on the legs so that it may be hoisted into position before removing the legs and lowering them. If the fence panel is dry (it hasn't been sitting on damp grass for a week), it should be quite light, making it easier to slide into position.

@perfectpanelsandfences
Step 1: Reinforce Your Fence Panel
Put the panel on the ground so that the side facing your property is facing up. Place two pieces of wood on top of the panel, going top to bottom approximately a fifth of the way in from the edges, then, fix them in place.
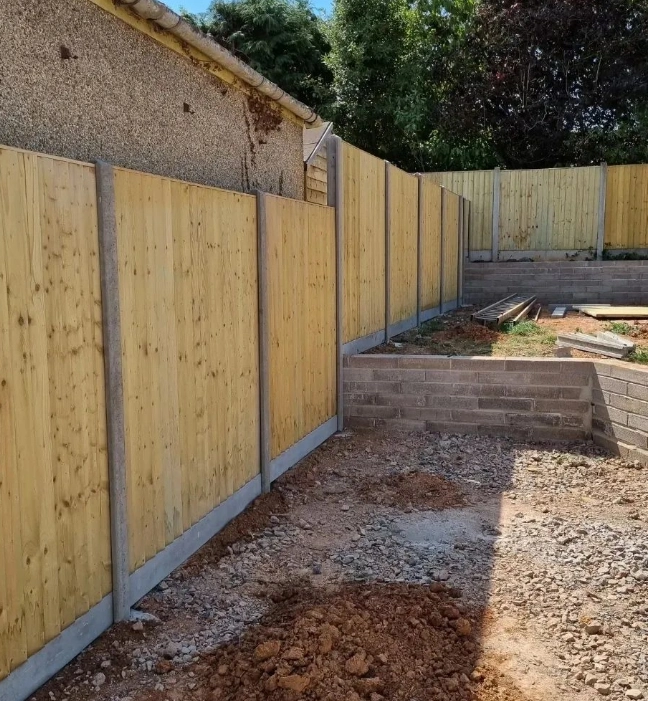
@project_landscape_and_design
Step 2: Build Legs
You should now construct some legs for your panel. These will create a H, with the panel sitting on top.
Place two more lengths of wood parallel to each other on the ground, the same distance apart as the two attached to the panel. Place your 6"-wide length over these two and nail into place. At each join, use at least two nails that are spaced apart. This avoids twisting and creates a more solid framework
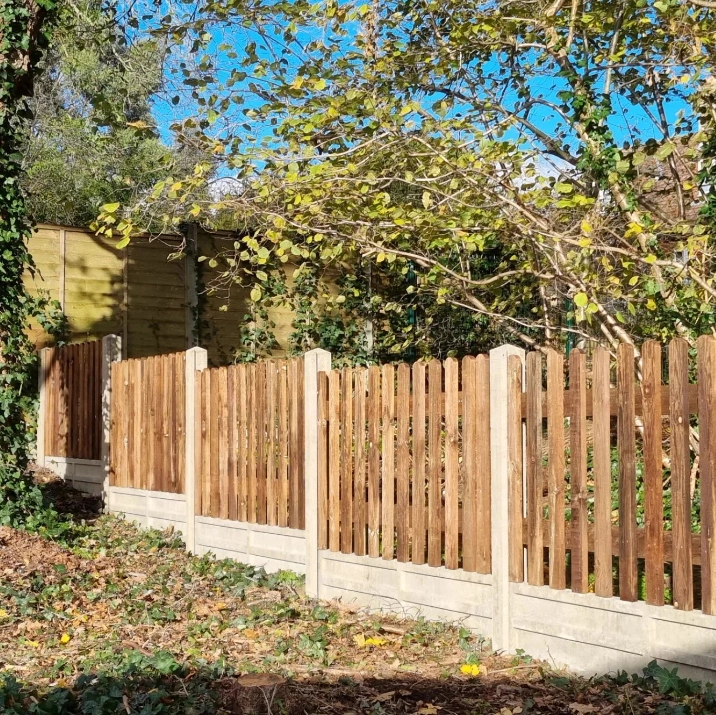
@claymillfencing
Step 3: Tighten the Legs
Clamp the H-shaped legs to the underside of the wood lengths you fastened to the panel. Remember that after the panel is back in place, the side facing up is the side facing you. Check if the clamps can be easily removed from that side.
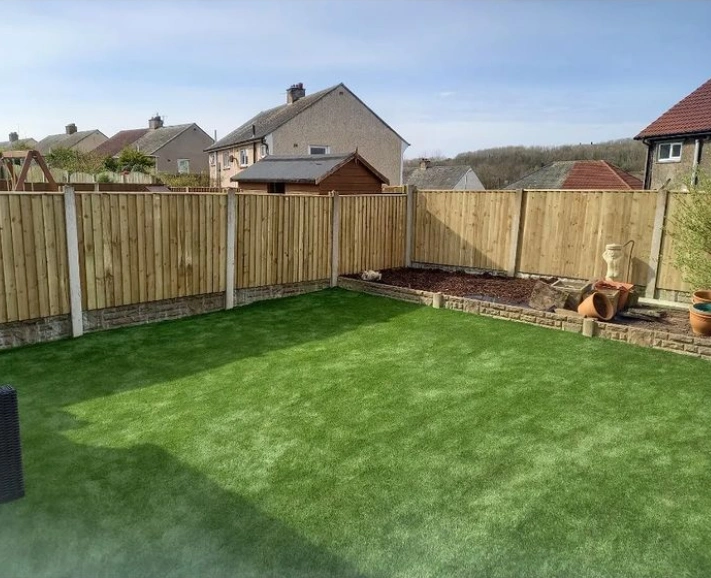
@perfectpanelsandfences
Step 4: Roll it Over
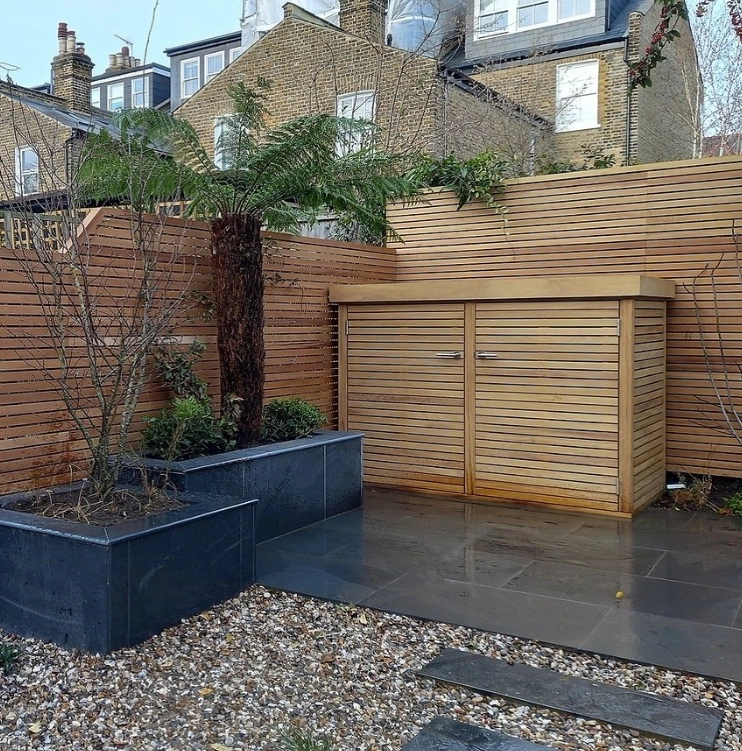
Roll the entire structure over and place the bottom of the legs in the empty space where you want your fence panel to end up.
@gardentrellisco
Step 5: Raise the Structure to a Vertical Position
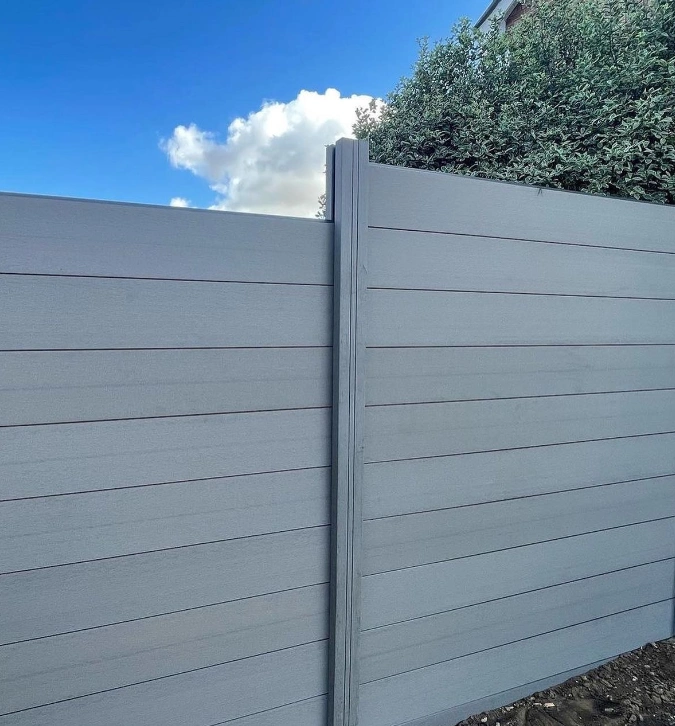
Lift the top of the panel above your head and move forward, verticalizing the entire structure. When it's fully upright, you should have a fence panel about 12 feet in the air, with the bottom just below the tops of the posts. You may be able to raise the top of the posts just enough to push the bottom of the panel between them (the posts will move significantly more at the top than the bottom), or you may need to lift it the last few inches to slot it into place.
@pgrtimber
Step 6: Remove Clamps and Wood Lengths
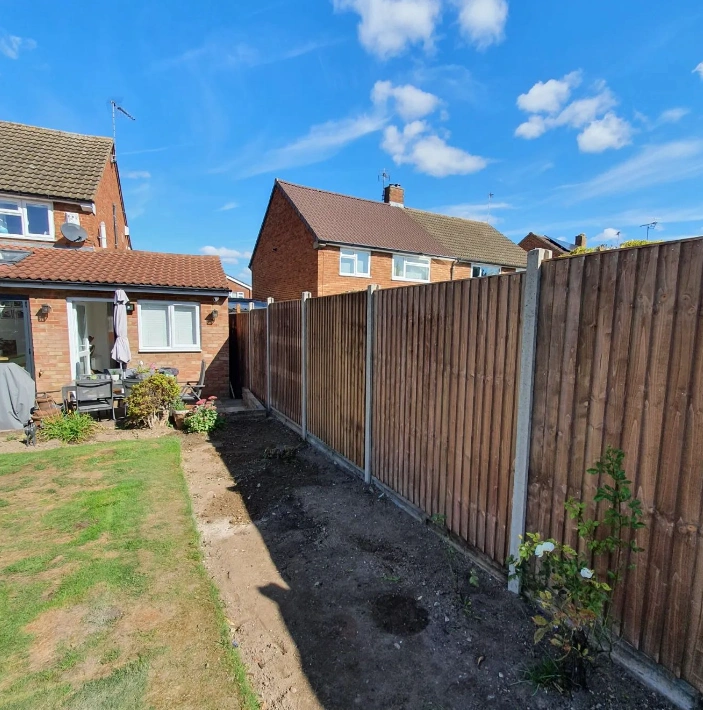
Once the bottom of the panel is neatly in between the posts, just remove the clamps holding the legs in place and lower the panel into place. Remove the two pieces of wood you nailed on in step one, and you're finished!
@m.t.d_building
This concludes the ins and outs of replacing a fence panel and post! Fence replacement may be a challenging job, so we hope our article has helped you face it head on and with confidence.
If you have any questions on how to replace a fence panel or post or would just like to know some further information about the products we sell at Howarth, please visit your local friendly Howarth branch, or contact our customer services on the number 01472 907051.
Recent Posts
-
Garden Gate Buying Guide
Is your next project adding a garden gate to enhance, protect and secure your garden? Before you do
-
How to cut plasterboard
Whether you're a seasoned tradesperson or trying your hand at DIY, knowing how to cut plasterboard c
