
How to organise your shed
A well-organised shed can make gardening, DIY and outdoor projects much easier. Instead of searching through piles of tools or moving boxes around to find what you need, the right storage solutions can help you make the most of every inch of available space!
Whether you have a compact garden shed or a larger workshop, these practical shed organisation ideas will help you create a tidy, functional space that's easy to maintain.
1. Start with a clear-out
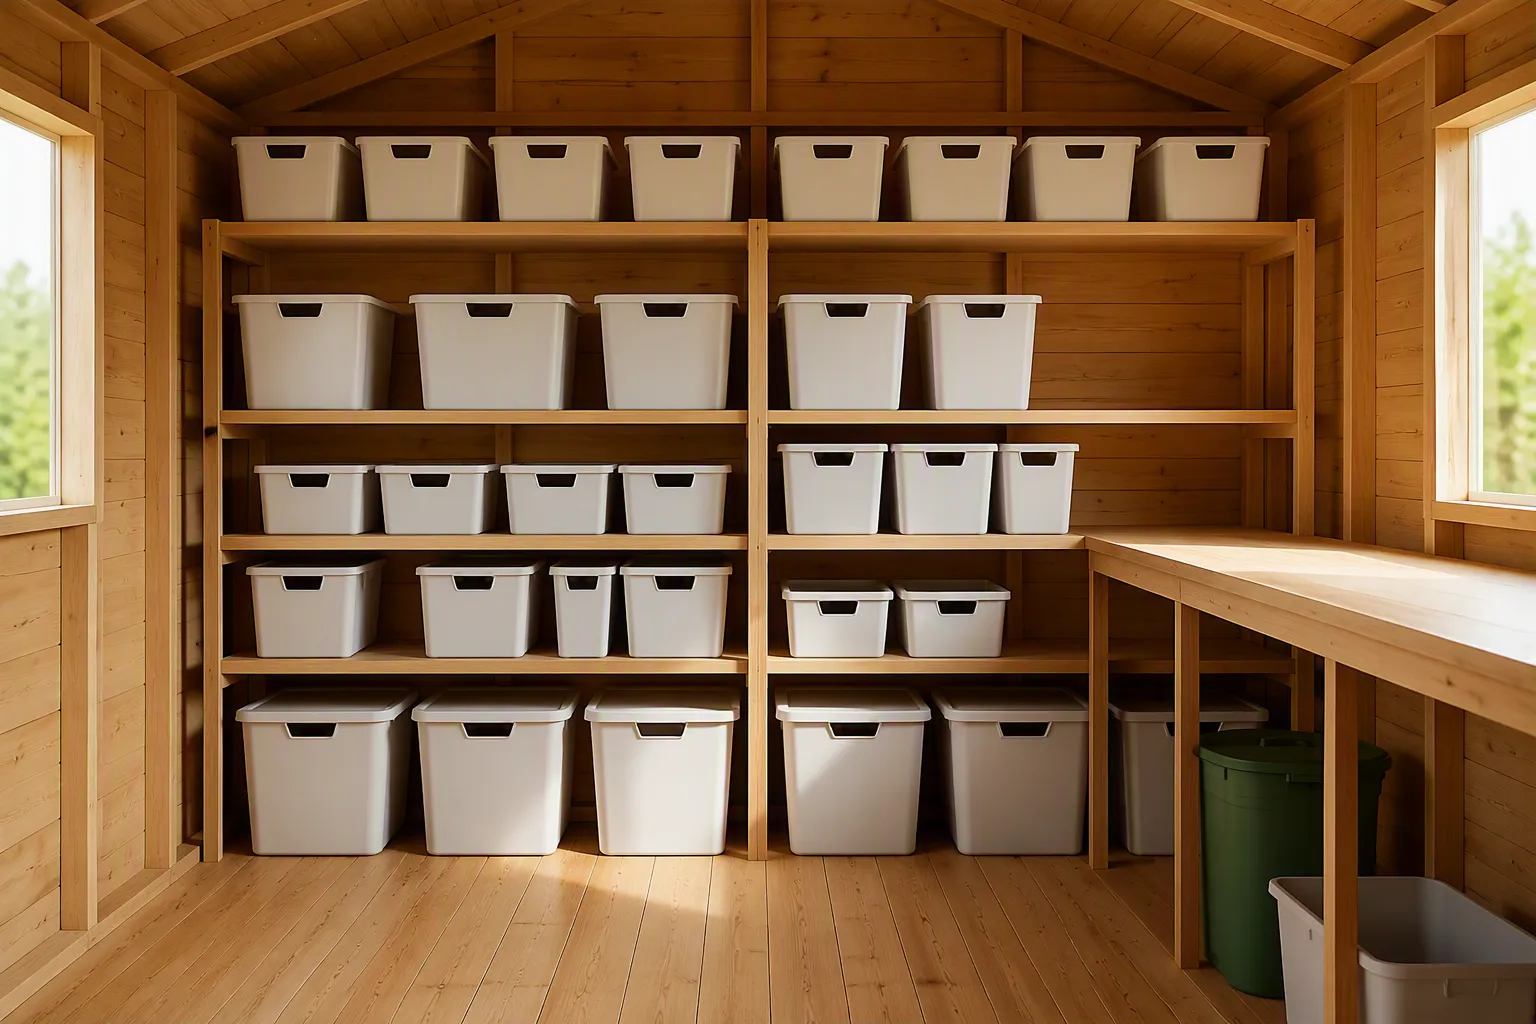
Before deciding how to organise a shed, start by taking everything out and assessing what you actually use.
Create three groups:
- Keep: Items you use regularly or need to keep.
- Donate or sell: Useful items you no longer need.
- Dispose: Broken or unusable items that cannot be repaired or recycled.
This is also a good opportunity to check the condition of your tools and gardening equipment. Removing unnecessary items will immediately create more storage space and make it easier to organise what's left.
2. Group similar items together
Once you've cleared the space, organise your garden shed belongings into categories. For example, keep gardening tools together, DIY equipment in another area and seasonal items somewhere less accessible.
Useful categories could include:
- Gardening tools and equipment
- Hand tools
- Power tools
- Decorating supplies
- Plant pots and gardening accessories
- Timber and building materials
- Outdoor furniture and accessories
- Seasonal items
- Fixings and other small items
Keeping similar items together makes it easier to find what you need and, importantly, gives everything a designated place.
3. Make use of your shed wall
One of the simplest garden shed organisation ideas is to use your shed wall for storage. Floor space can quickly become cluttered, but walls provide plenty of unused space.
Consider installing:
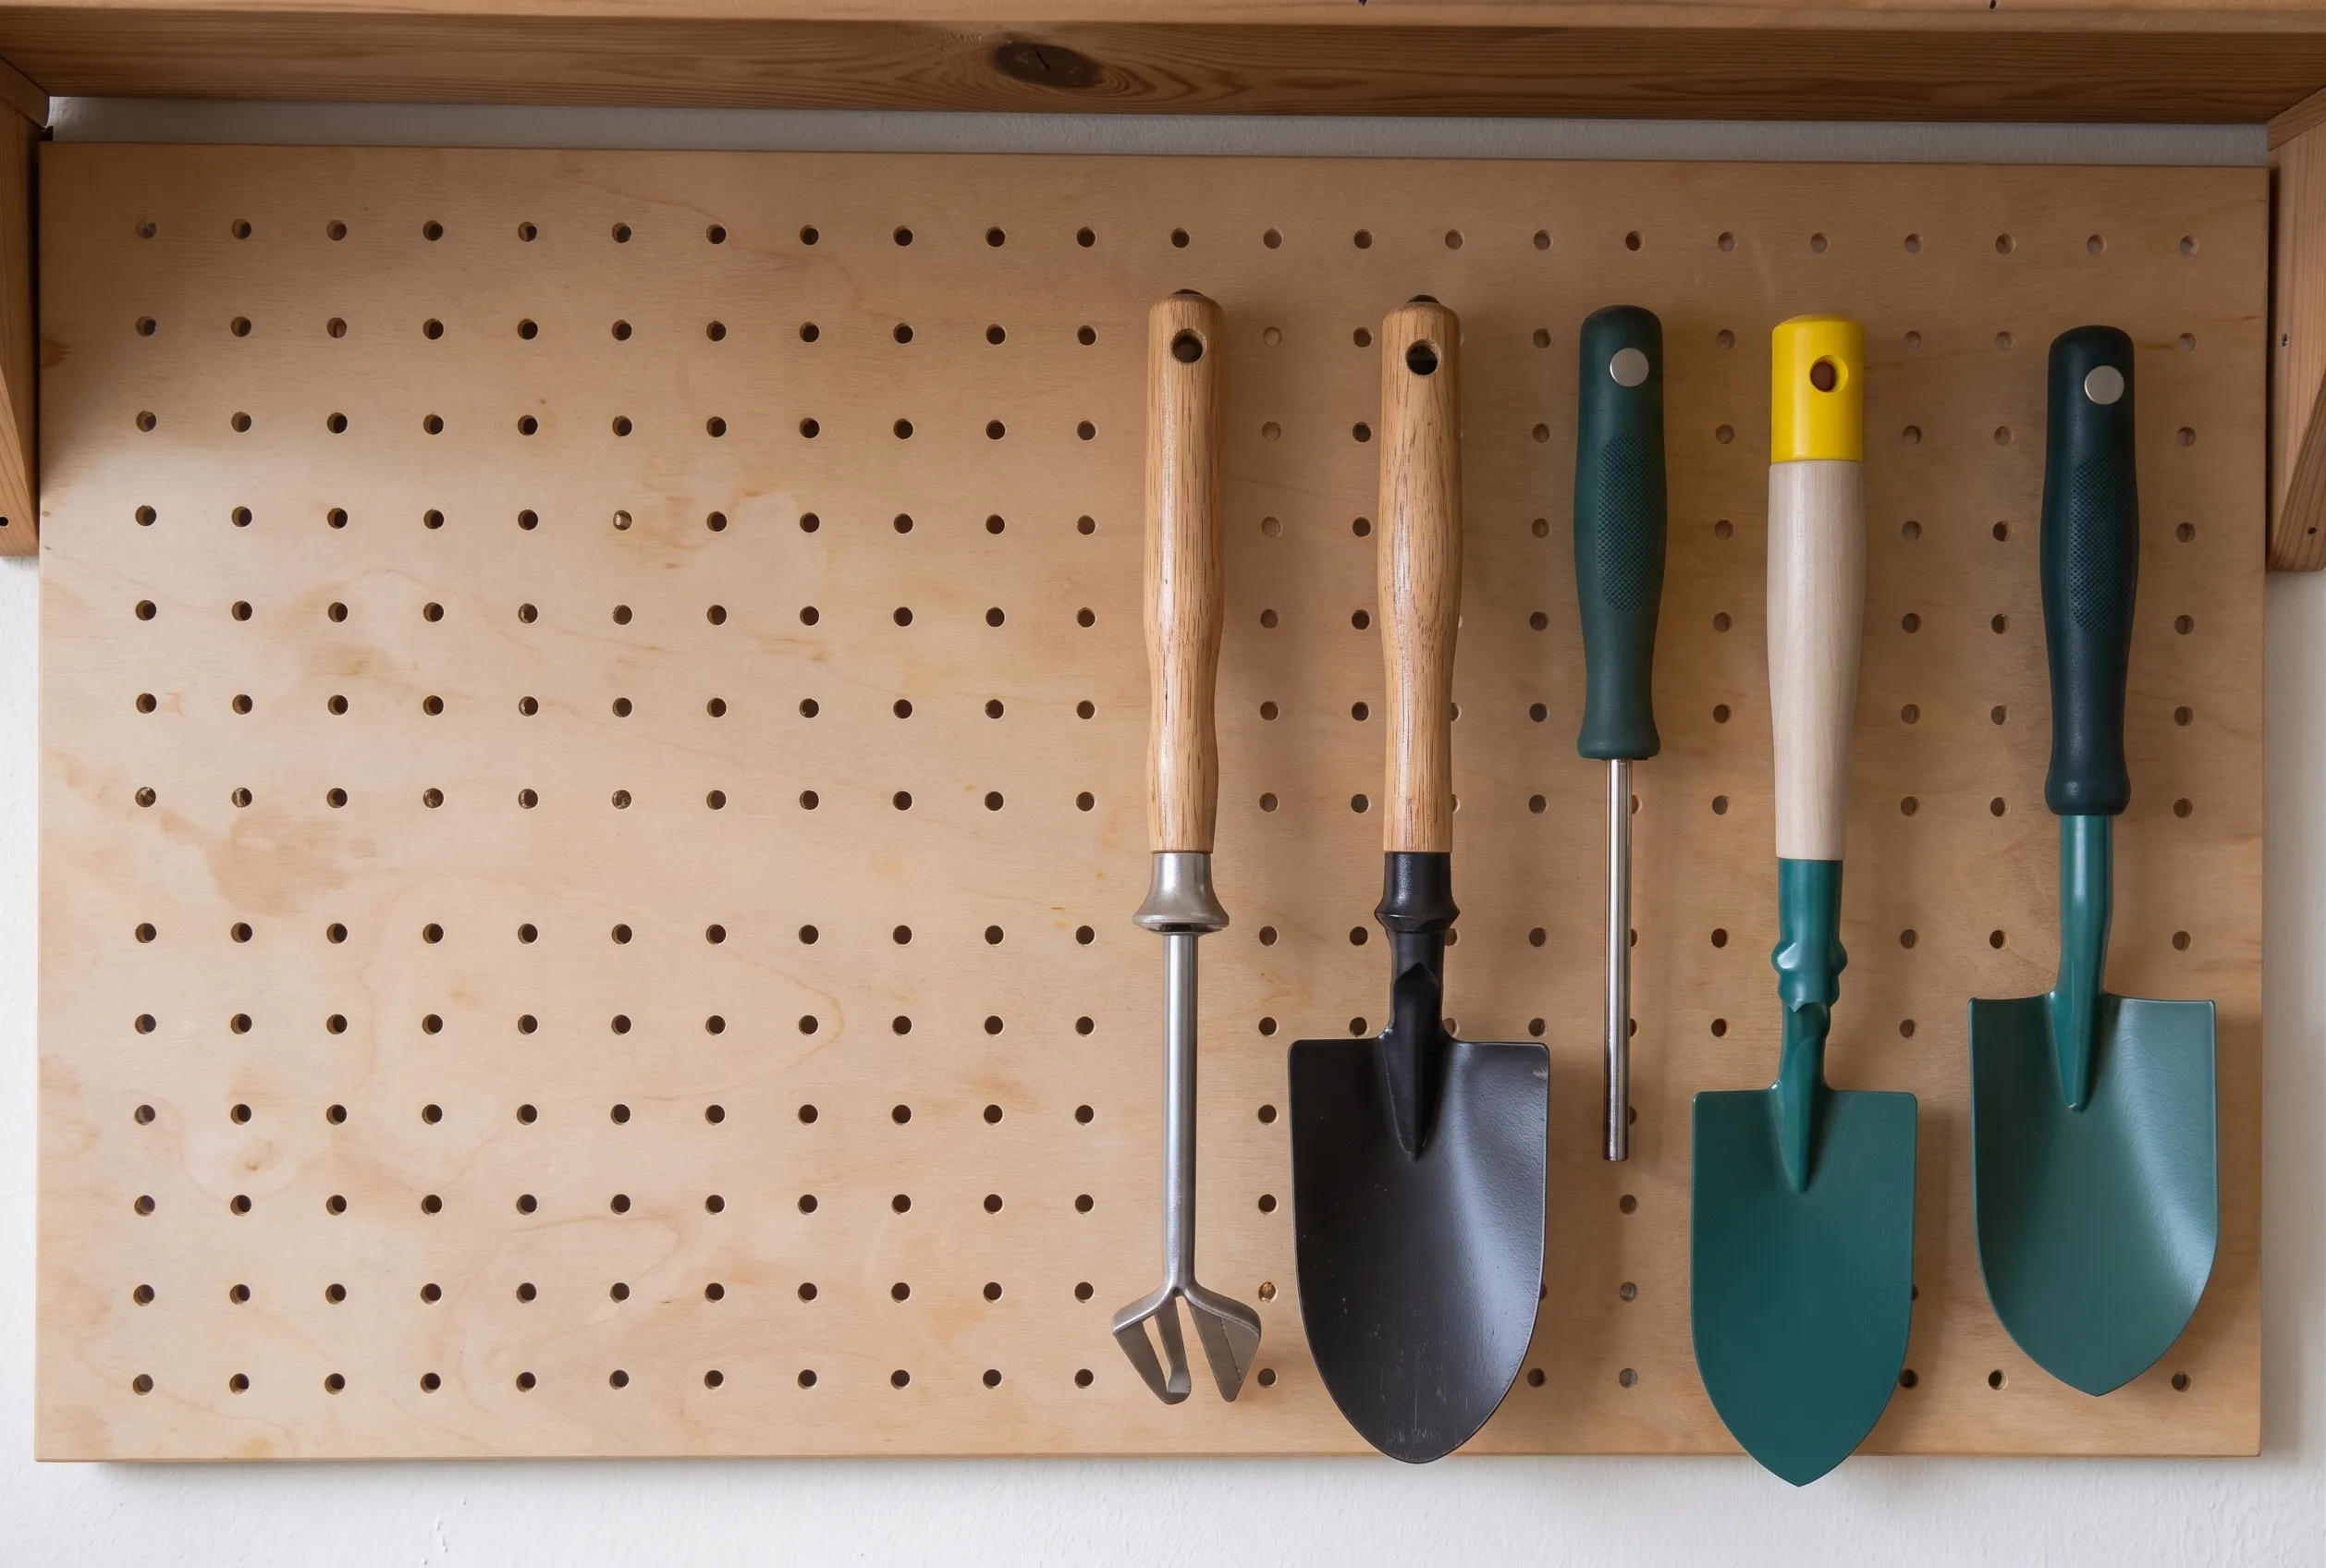
- A tool holder or tool rack
- Pegboards
- Hooks
- Mounted storage
- Shelving
- Storage rails
- Brackets for long-handled tools
A wall-mounted tool holder is particularly useful for spades, forks, rakes and other long-handled equipment. Being able to hang tools keeps them off the floor, creates more room and makes individual tools easier to find.
When choosing wall storage, make sure fixings are suitable for the wall and that any shelves or racks can safely support the items you're storing.
4. Install sturdy shed shelving
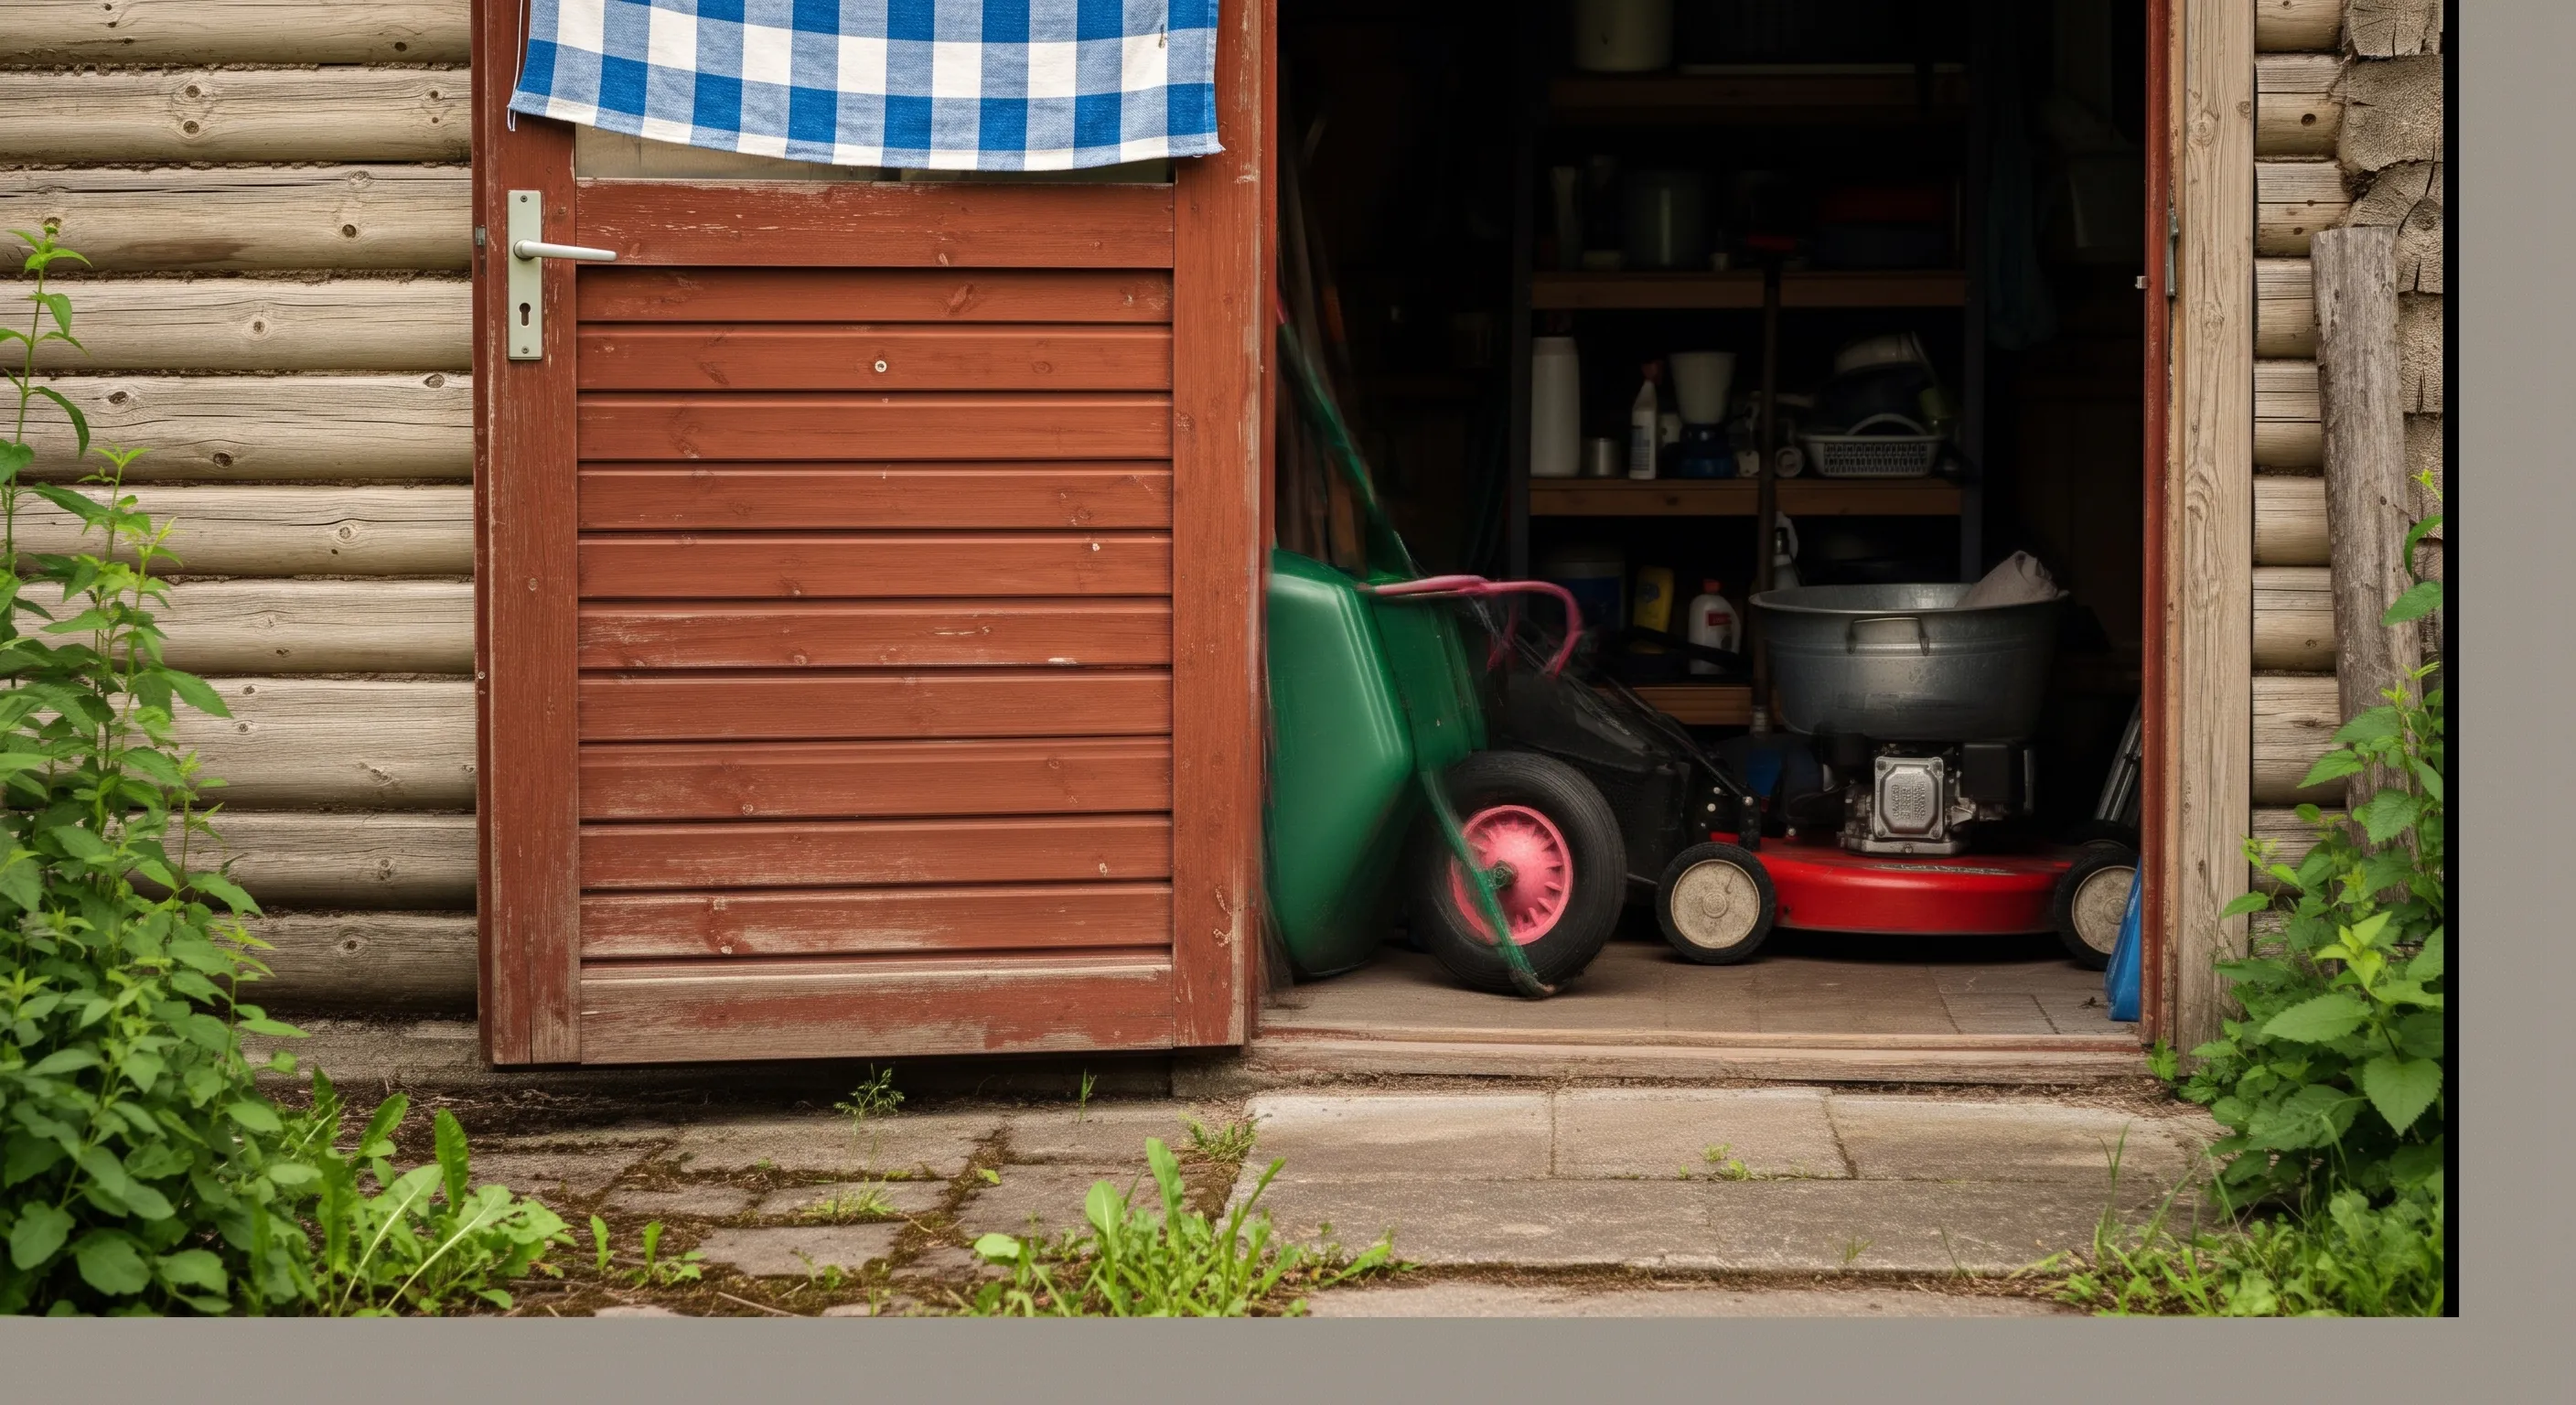
Rather than stacking boxes and containers on the floor, shelving units create several levels of storage without taking up additional floor space.
Place heavier items on lower shelves and lighter or less frequently used items higher up. If you're storing tools, building materials or other heavy equipment, choose heavy duty shelving that's designed to support the required weight.
Timber can also be used to create practical shelves that are tailored to the dimensions of your shed.
5. Use storage bins for smaller items
Small items such as screws, nails, plant labels, cable ties and gardening accessories can quickly become difficult to manage. Storage bins and containers are a simple way to keep these items together.
Clear storage bins are particularly useful because you can see what's inside without opening them. Alternatively, label opaque containers so you can quickly identify their contents.
Try to keep related items together. For example, you could have separate bins for planting supplies, fixings, decorating accessories and gardening gloves.
6. Make use of the shed door
The inside of your shed door is another valuable storage area that's often overlooked.
A mounted rack, hooks or hanging organiser can provide additional space for smaller tools, gloves and frequently used accessories. This is particularly useful in a small shed where every available surface matters.
Just make sure anything attached to the door doesn't prevent it from opening and closing properly.
7. Keep frequently used tools accessible
Good tool storage isn't simply about making your shed look tidy. It should make the space easier and safer to use.
Keep everyday items such as secateurs, gloves, hand tools and watering equipment within easy reach. A tool rack, holder or mounted storage system can make frequently used equipment quick to grab and put away.
Less frequently used items can be stored towards the back of the shed or higher up on shelving.
8. Create a dedicated work area
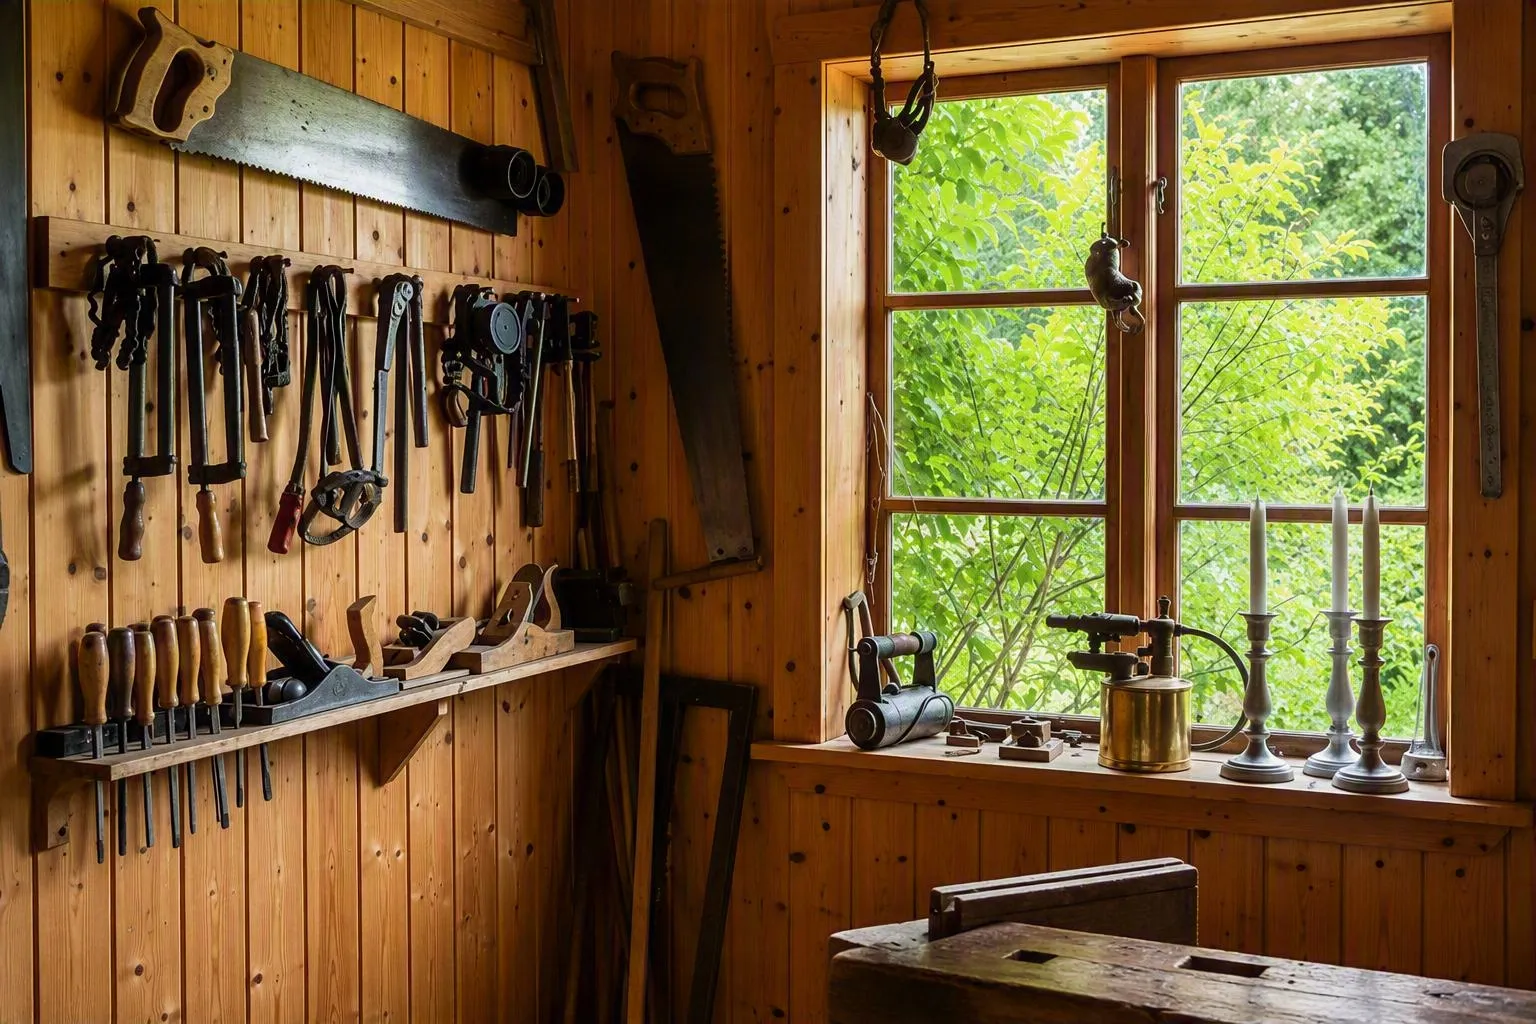
If you regularly use your shed for DIY projects, consider creating a small workbench area.
A sturdy workbench provides somewhere to complete small jobs, while drawers, shelves or a storage unit underneath can be used for tools and materials.
Keeping your work area separate from general storage can prevent the shed from becoming cluttered. In a larger shed, you could create dedicated zones for storage, gardening and DIY.
9. Store long items safely
Long-handled tools and materials can take up a surprising amount of room. Rather than leaning everything against a wall, use dedicated hooks, racks or brackets to keep them securely stored.
This helps prevent tools from falling over and makes it easier to access individual items when you need them.
For particularly heavy tools, use suitable heavy duty hooks or brackets and make sure they're securely mounted.
10. Keep a clear walkway
One of the most important parts of good shed organisation is leaving enough room to move around safely.
Avoid storing boxes, tools or materials directly in the main walkway. Ideally, you should be able to open the door and reach frequently used items without having to move several other things first.
If you're working with a small shed, prioritise vertical storage. Shed shelving, wall-mounted racks and storage bins can help you make better use of the available space without filling the floor.
How to maintain an organised shed
Once you've organised your shed, keeping it tidy is much easier when everything has a designated place.
After using a tool, put it back where it belongs rather than leaving it on the floor or workbench. Every few months, have a quick clear-out and remove anything you no longer need.
It's also worth reviewing your storage solutions as your needs change. If you buy new gardening equipment or tools, consider where they'll be stored before bringing them into the shed.
Learning how to organise a shed doesn't have to involve expensive storage systems or a complete renovation. By clearing out unused items, grouping belongings, using your shed wall, installing shelving and giving everything a designated place, you can create a shed that's practical as well as tidy!
If you have any more questions about how to organise your shed, or you just need some additional information about the products we sell at Howarth, please visit your local Howarth branch or contact our customer services on 01472 907051.
Recent Posts
-
Flat roof coverings compared: felt, EPDM, GRP and liquid roofing
In the UK, the most common flat roof coverings are EPDM rubber roofing, GRP fibreglass, torch-on fel
-
What is roof flashing?
Roof flashing is a thin, weather-resistant material installed at roof junctions and other vulnerable