Fencing – An Ultimate Guide
It's important to think about your intentions when selecting a fence for your garden. Different types of fencing provide various levels of security, privacy, and protection from the extreme British weather. You may want your fence to be installed to keep people out of your garden, or to just keep your kids and pets safe inside in it! Whatever the intention, we offer the ideal fence for you.
Therefore, we've put together this useful compilation of how-tos to cover everything you would need to know to gather the most often asked questions (and answers) in one accessible place as the landscaping season officially begins!
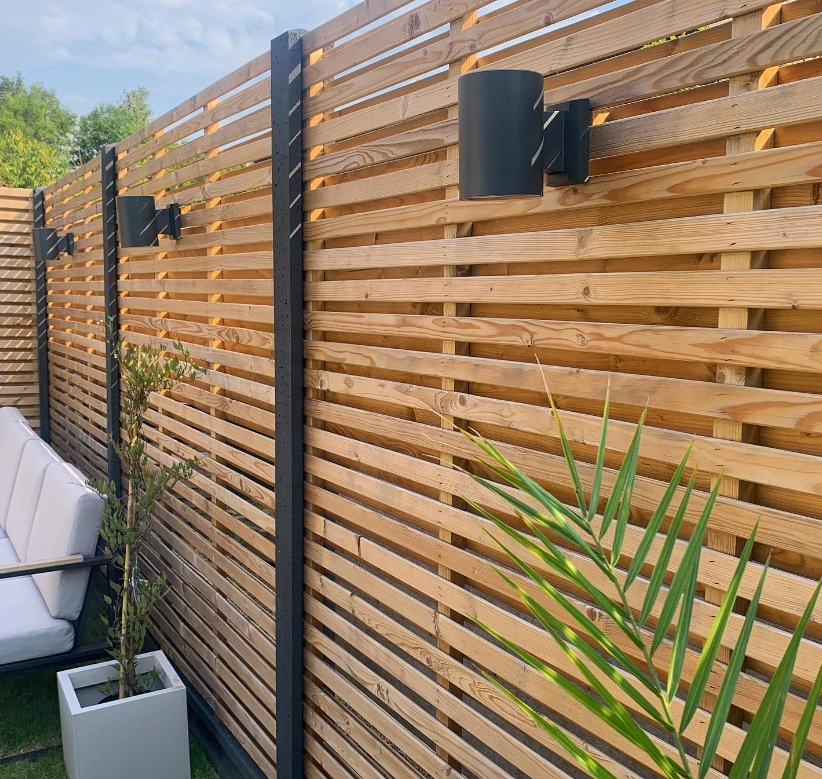
@mylifeblag
How to fix fence panels to wooden posts
To connect fence panels to wooden posts, start by first placing a gravel board at the bottom of each fence panel. Be sure to allow a small space under each panel to avoid the fence panel rotting in the long run. Then, using U-shaped fence clips and galvanised screws, screw each fence panel to the wooden posts . Ultimately, you should use more clips the taller your fence panel.
Therefore, we recommend using two fence clips on each side if your fence panel is between 2 and 4 feet in height. And if your panel is between 5 and 6 feet tall, however, we advise utilising three clips on each side. Once installed and painted, U-clips won't stand out noticeably against the colour of the fence panel since they will absorb some of the fence stain or paint's colour.
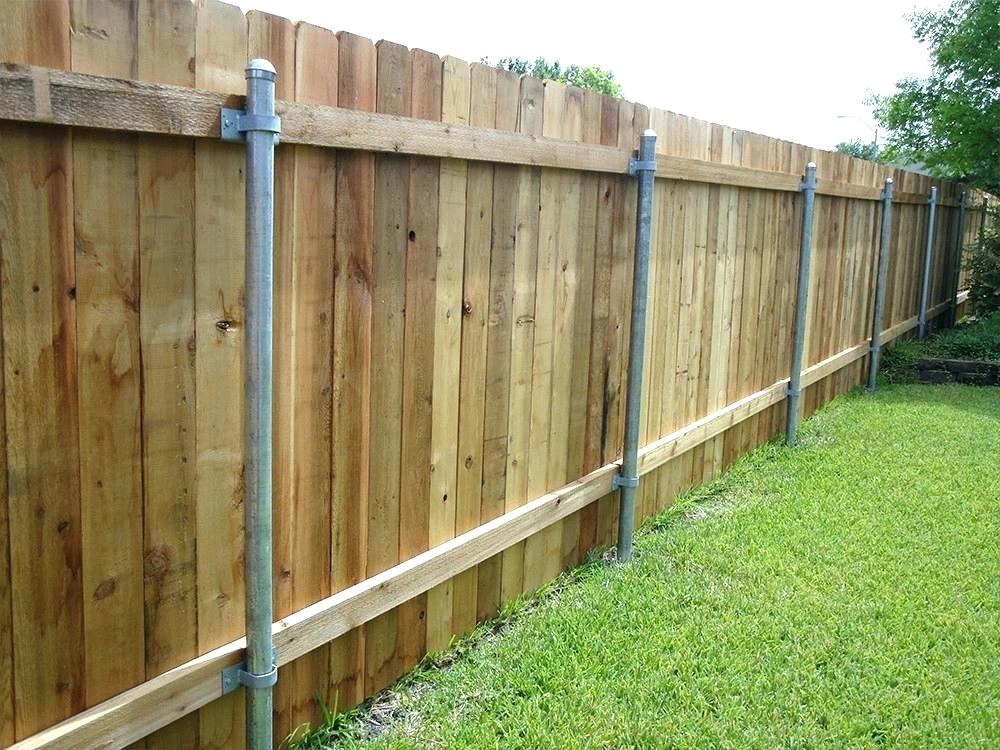
https://www.budapestsightseeing.org/how-to-install...
How to install fence panels in existing concrete posts
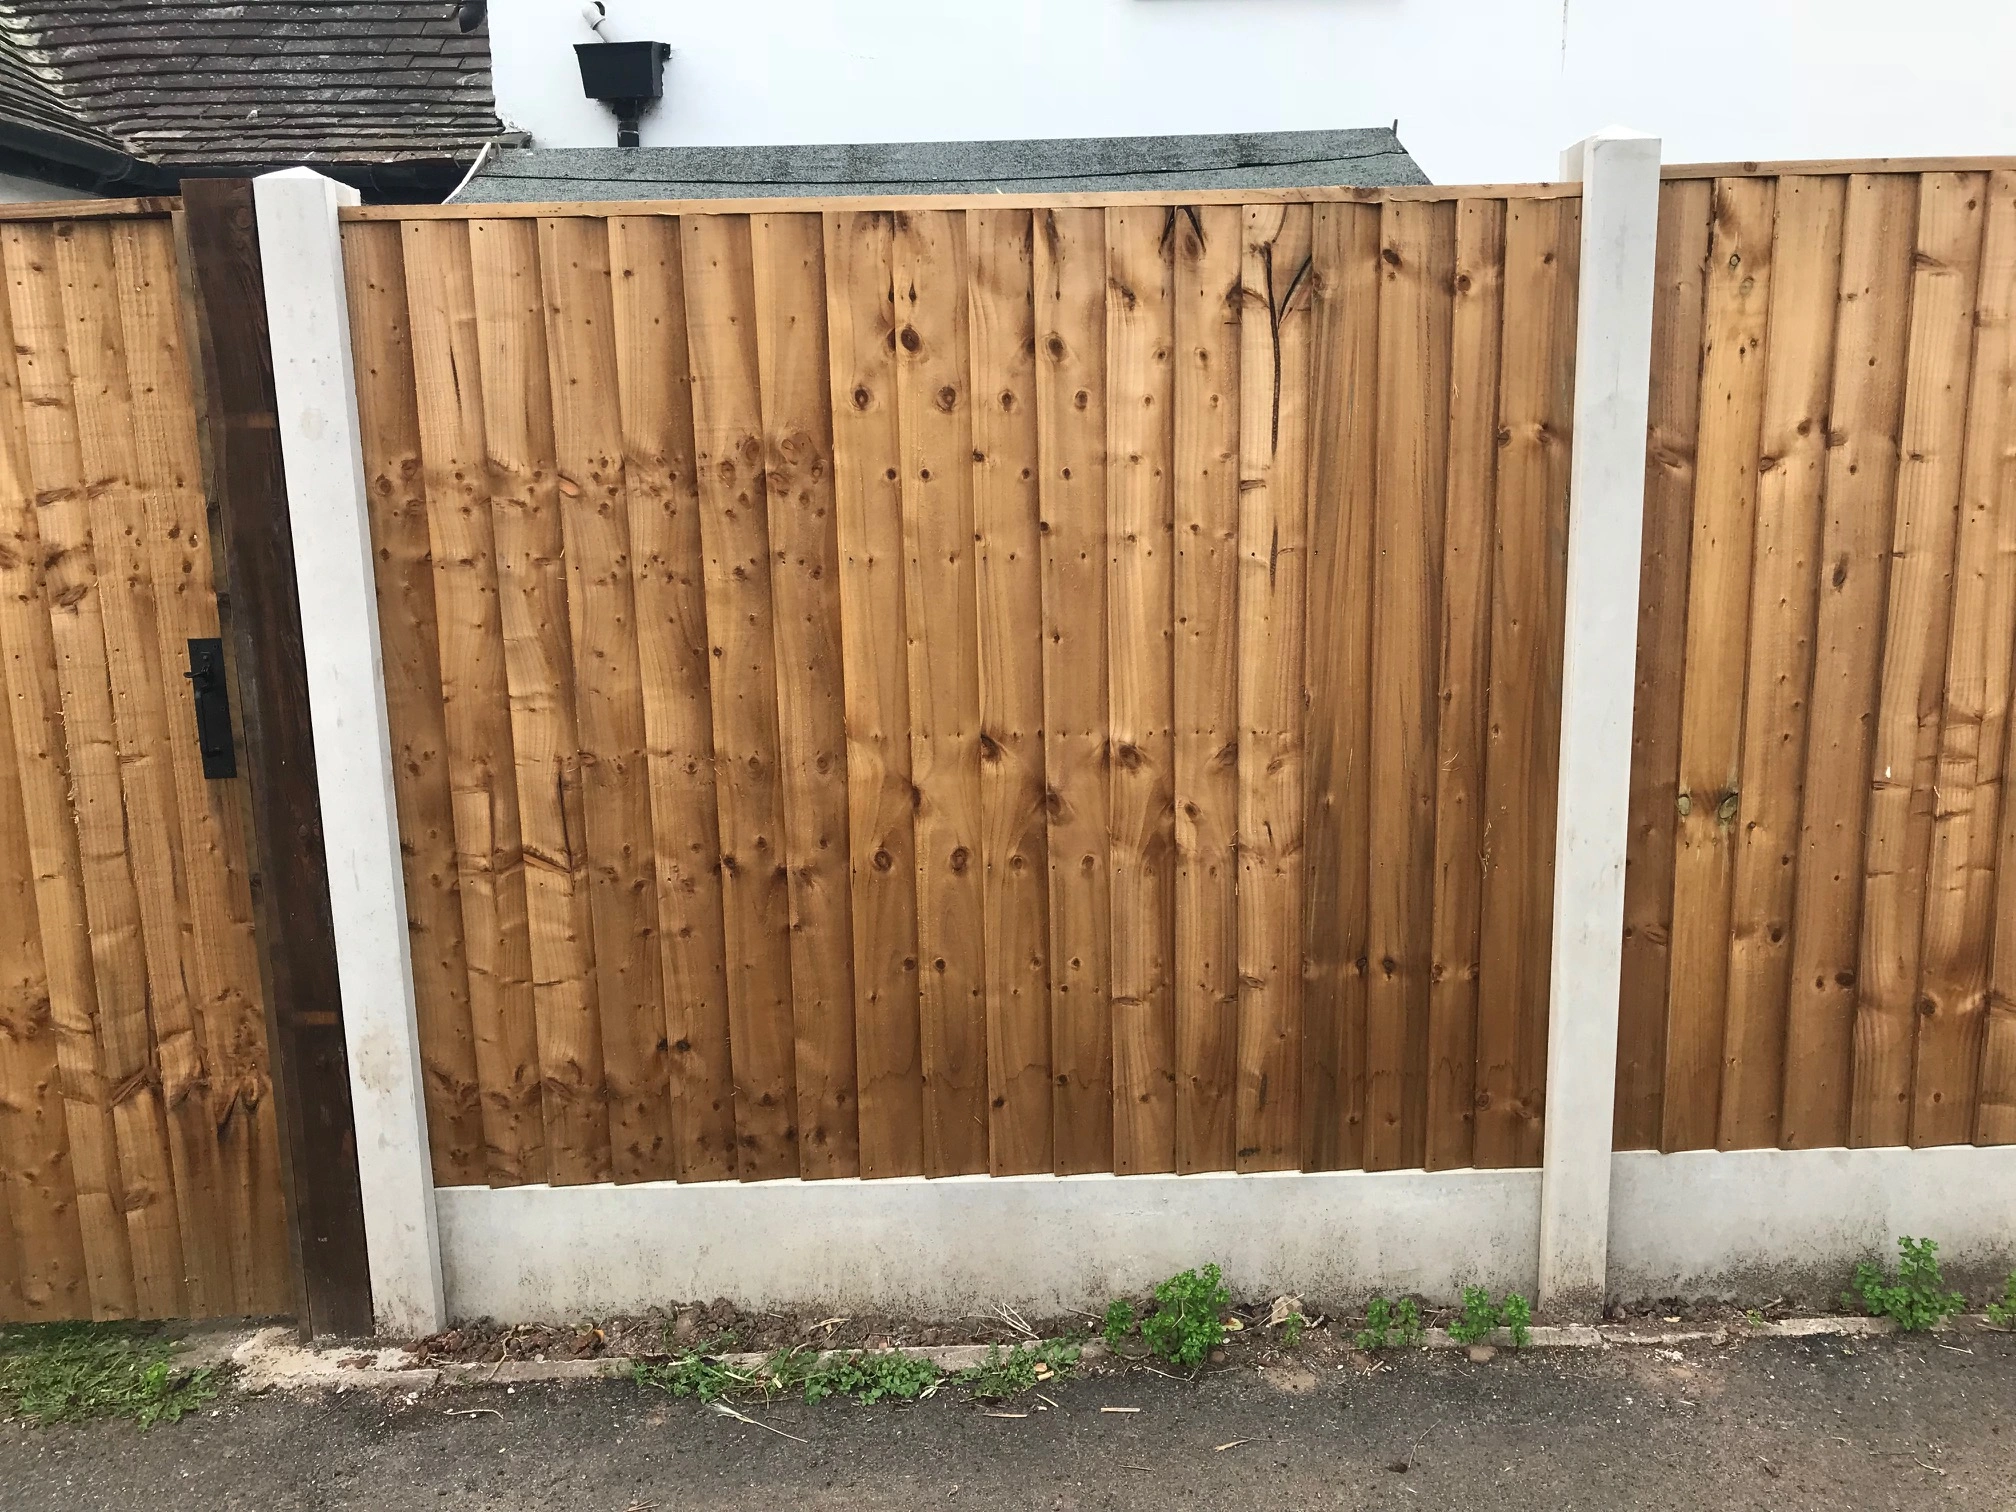
You can replace a fence panel without changing the posts if it breaks, cracks, or ages before your concrete posts. You must however follow all health and safety precautions before starting this task to avoid injury. Then, the fence panel can be slipped between the posts while making sure there are enough people to hoist it beyond the height of the concrete post. You may need a ladder for this method, and it is recommended not to try this on a windy day.
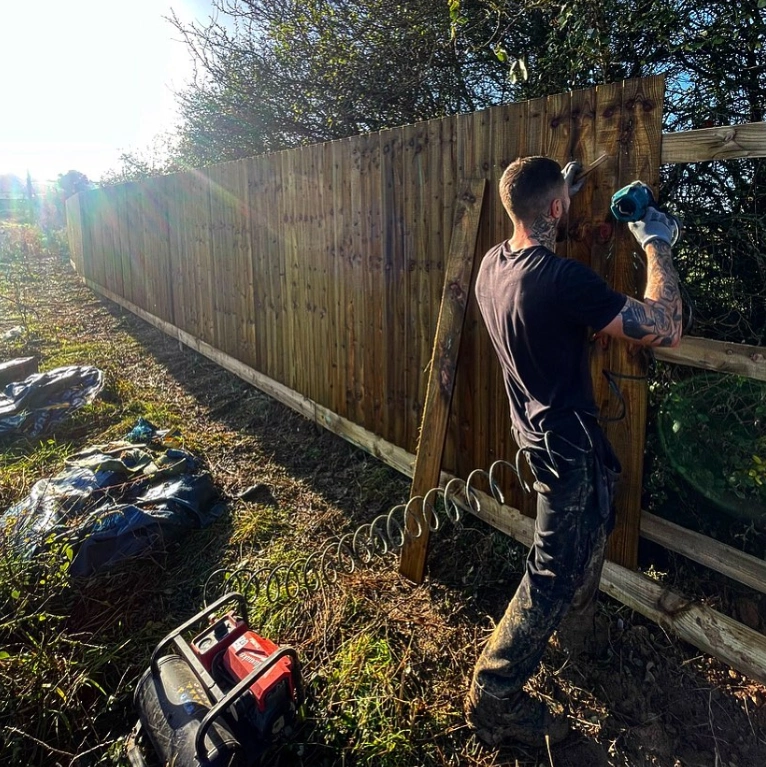
@taurusfencing
How to fix a fence panel
If a fence panel has cracked, you can fix the crack or gap by attaching a piece of material with a similar look to the affected area. In the long run, it might be advisable to think about replacing the fence panel because this is likely going to look unsightly.
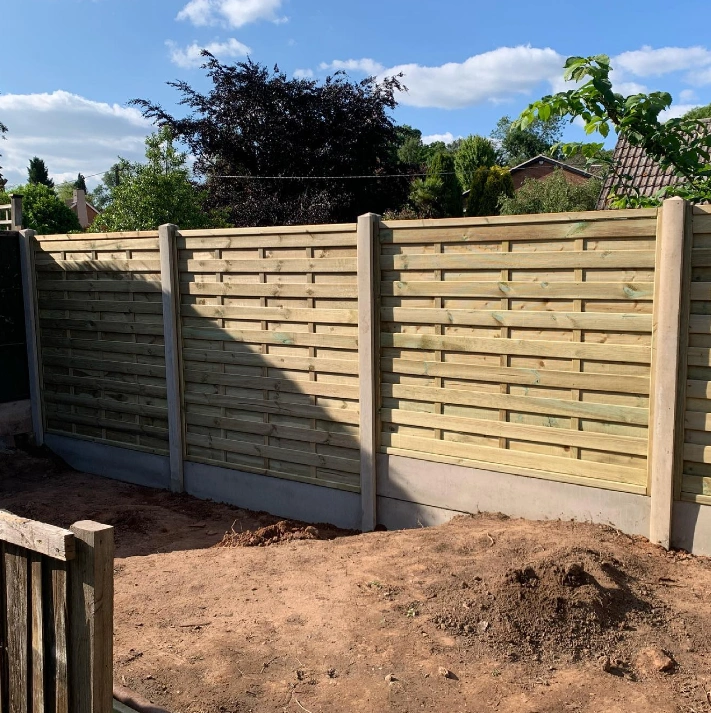
@wrights_renovating
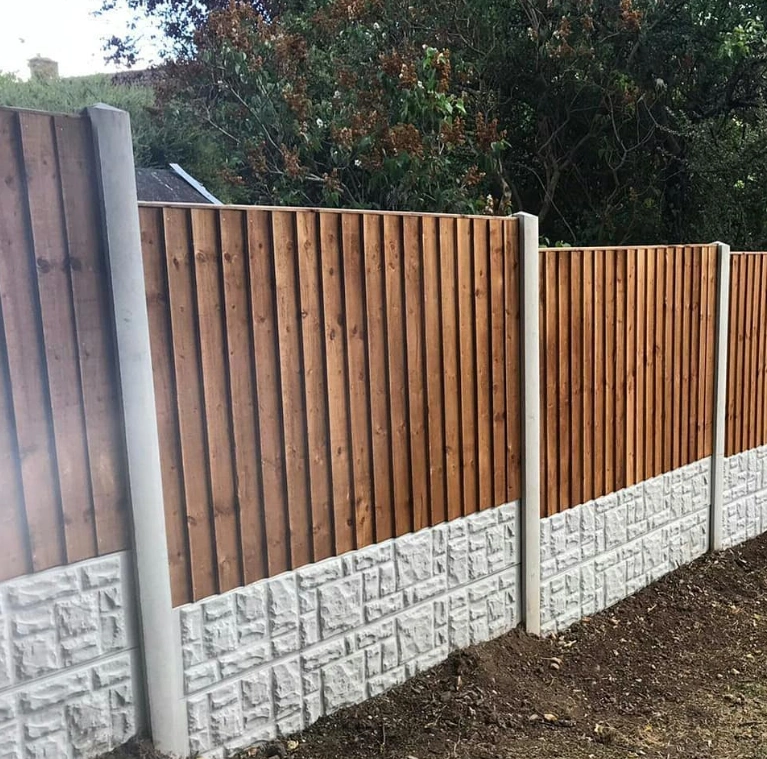
How to install a fence panel
Before installing a fence panel, please follow the safety and health advice and put on the proper PPE. We suggest placing a treated timber gravel board at the base, allowing a small gap under each panel, to prevent your fence panel from rotting.
@snapesfencing
How to fit:
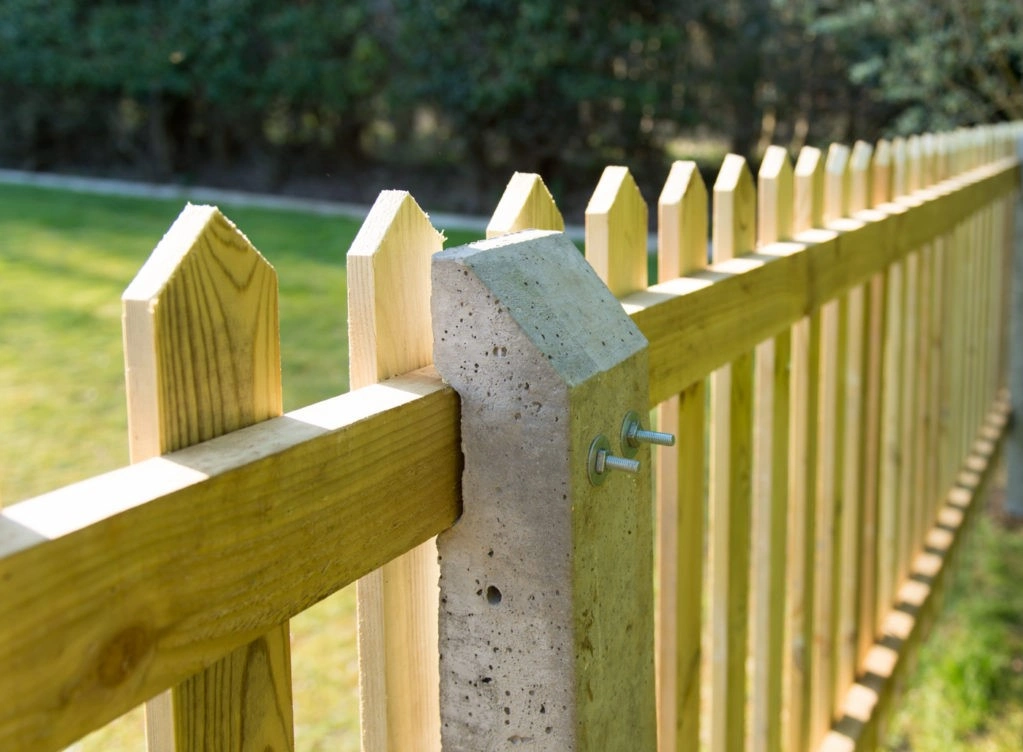
Concrete fence posts
For concrete posts , make sure to work with a suitable number of people to lift the fence panel above the height of the concrete post and slot it in between the posts.
Kudos Fencing
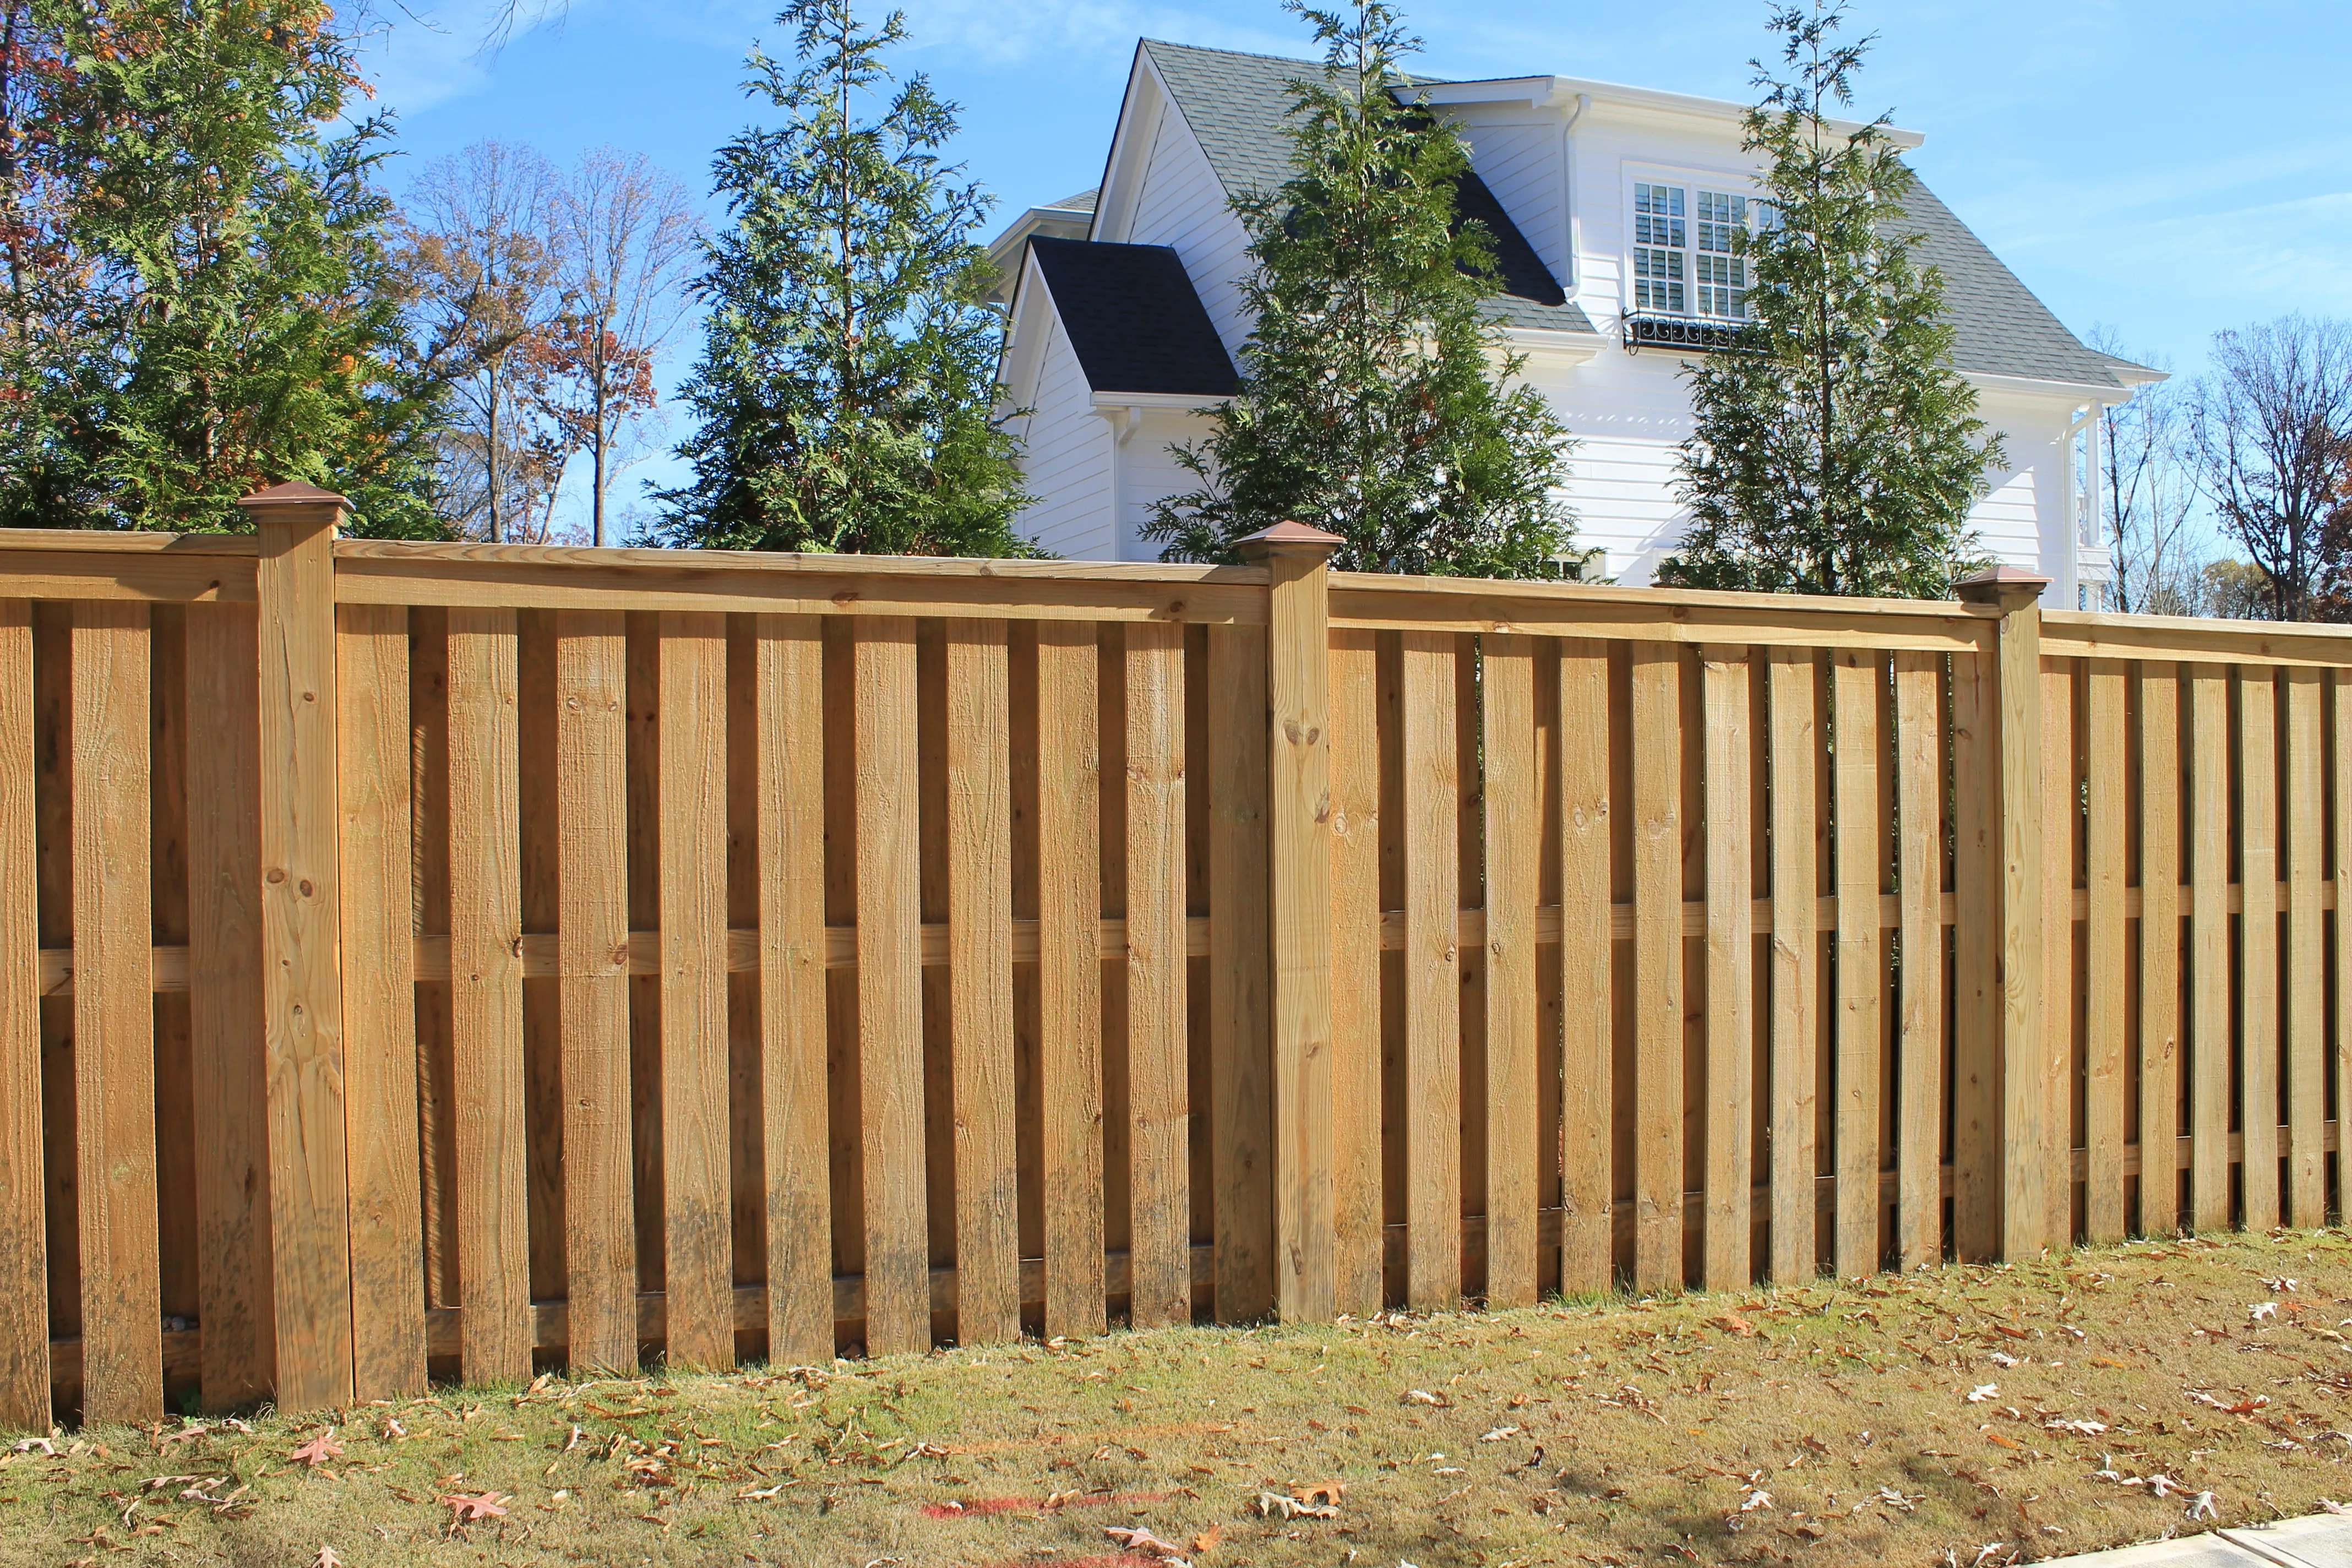
Timber posts
And to fit timber posts , insert U-shaped fence clips and galvanised screws to each side of each fence panel to secure it to the wooden posts. More clips should be used if your fence panel is taller. Typically, two to three clips each side are adequate.
http://accuratefencellc.com/wood-fences-designs/
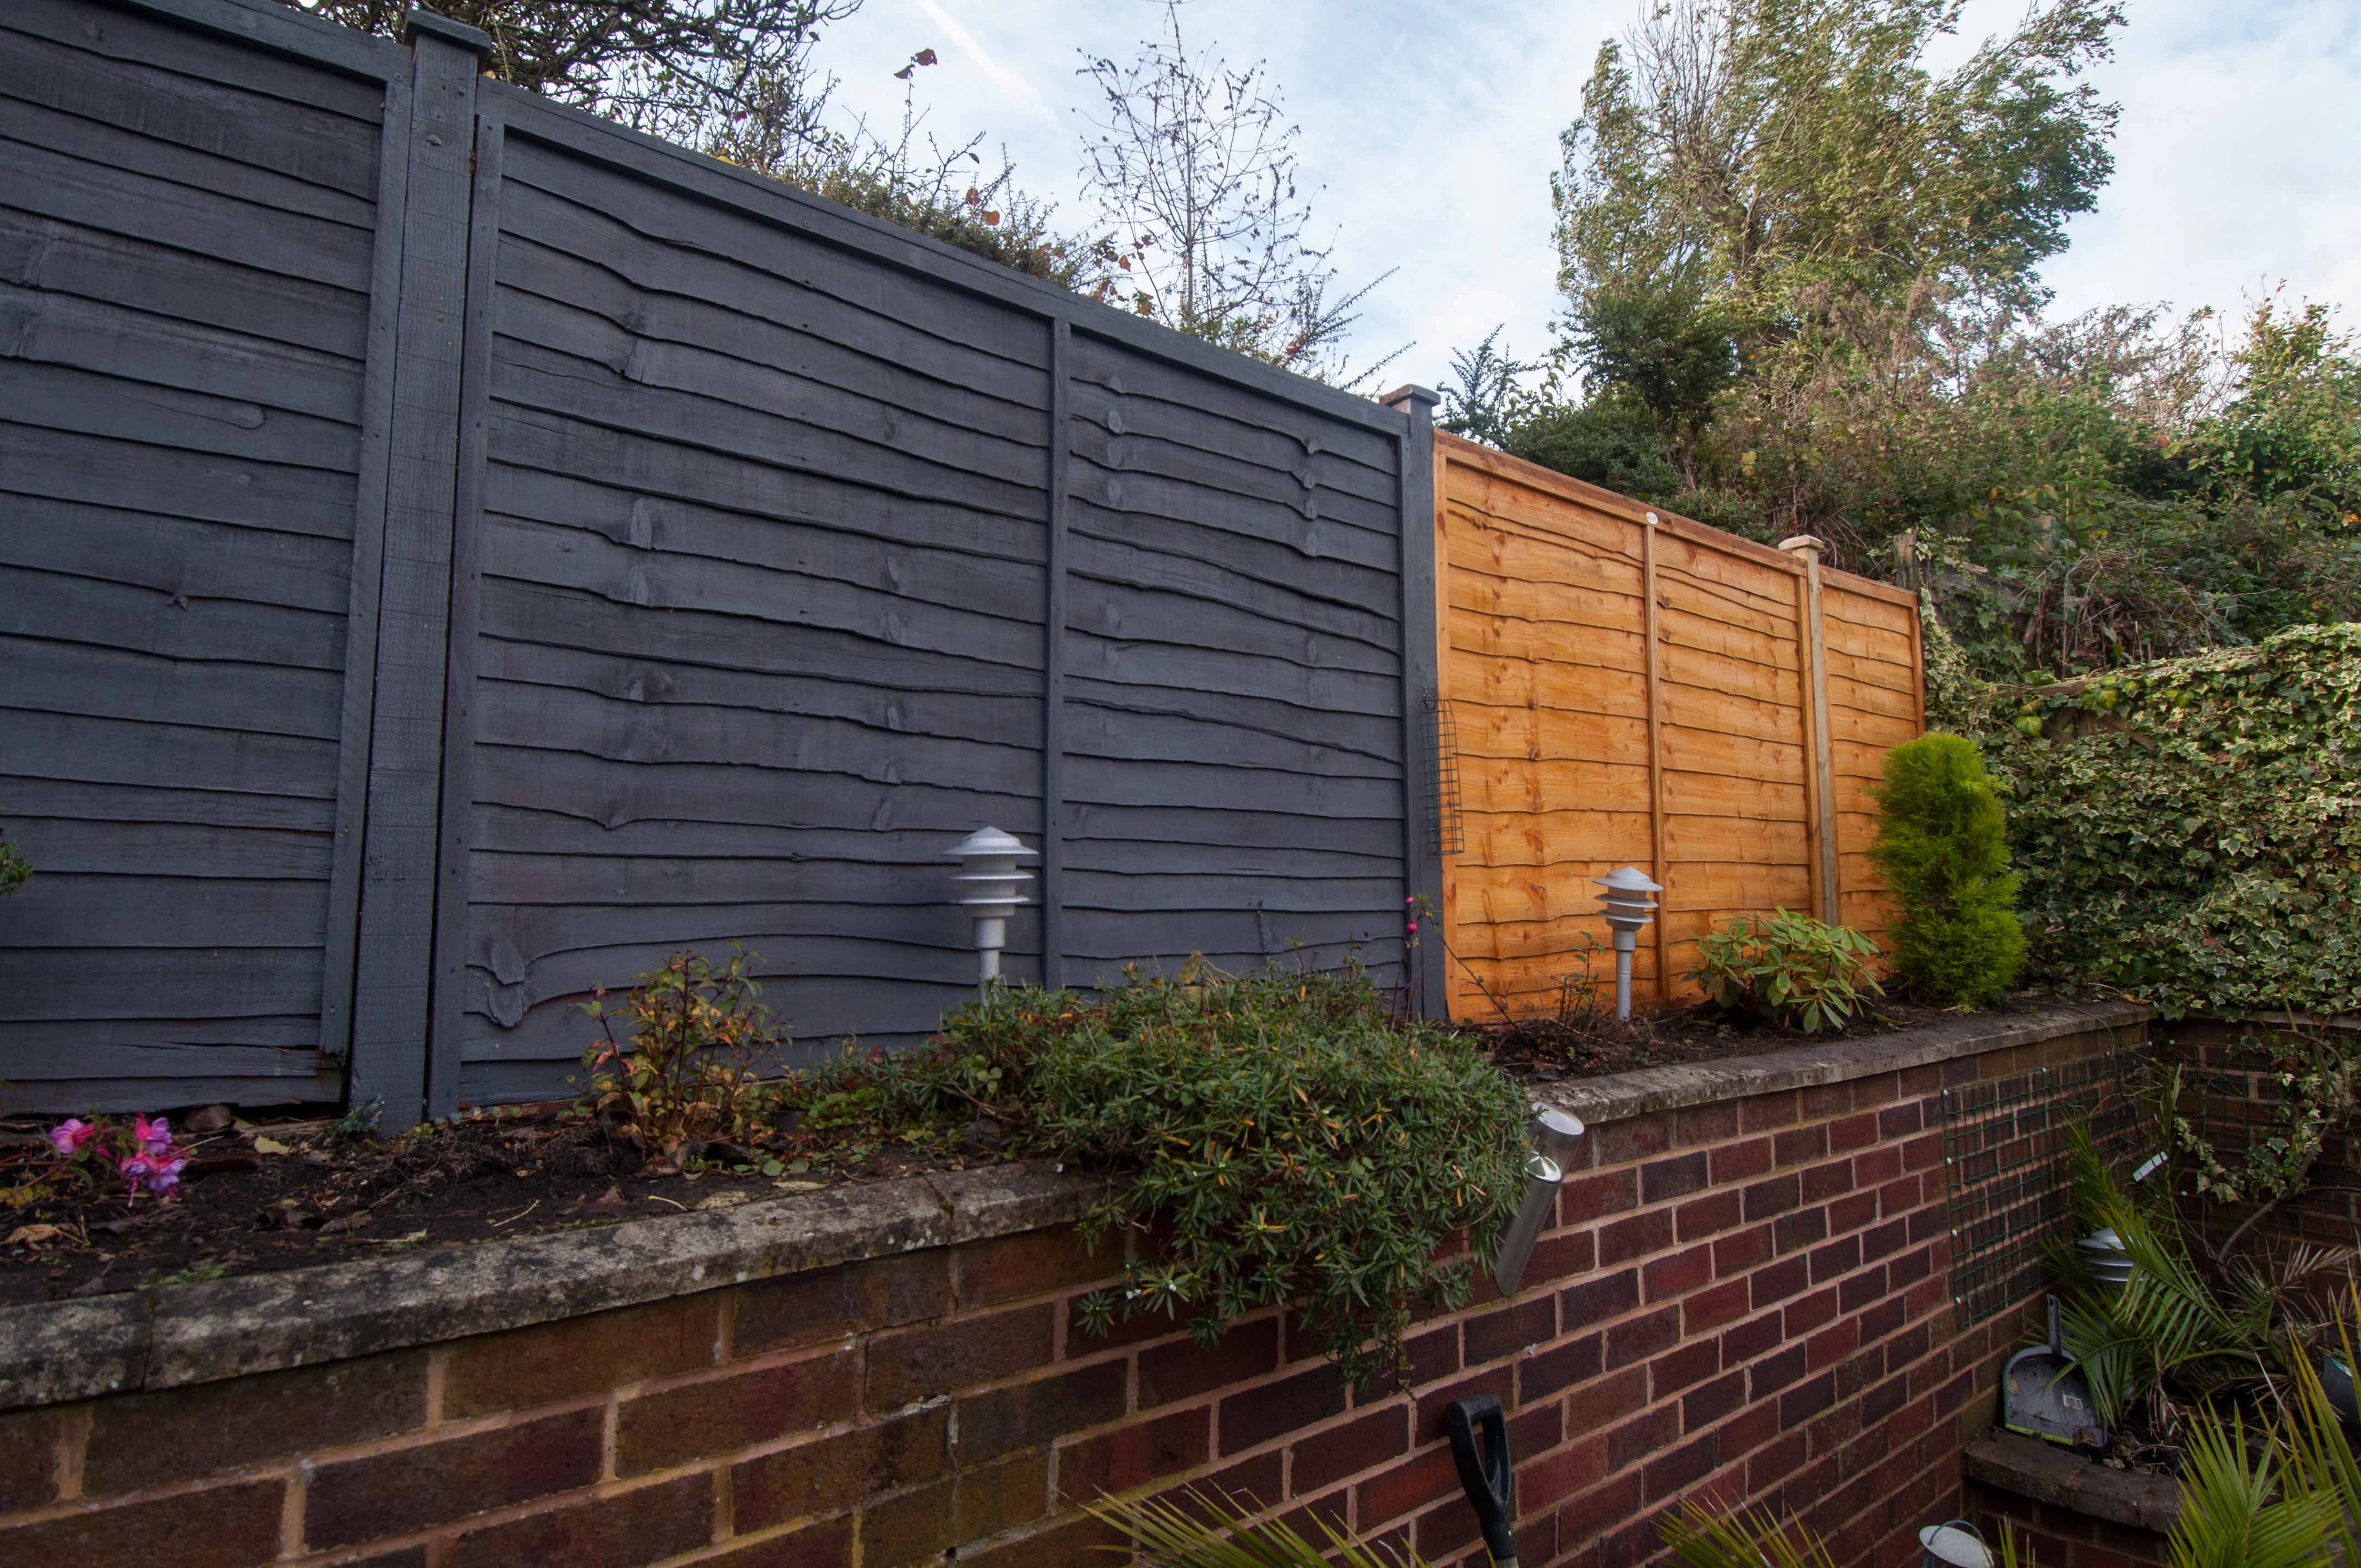
How to paint fence panels with concrete posts
The easiest way to
paint fence
panels that are to go in between concrete posts is to paint them before
installing them.
If the fence panels are already installed, cover
the post with
wide masking tape and
carefully paint the panel up to the masking tape. To prevent any paint peeling
off or breaking as the tape is being removed, remove the masking tape at a 45
degree angle while the paint is still wet.
Cover the entire fence post by attaching brown paper to it if you are spraying the panel rather than painting it. This will protect it from any mist or undesired paint that might blow onto the areas you do not wish to paint. Make sure your defence doesn't have any exposed gaps.
Top Tip!: Use a sandpaper block to smooth down the rough spots as this will make it much easier to paint the fence panel if it contains wooden splinters.
https://www.woodnewt.com/2017/10/24/bespoke-overla...
How to cut a fence panel
As always, make sure you are wearing the proper PPE and are qualified to use the necessary tools.
A garden will very rarely divide into exactly the width of full panels and posts, even though many fence panels are 6 feet wide. One of the panels will probably need to be trimmed at some point. Trimming an end panel will improve the fence's appearance.
How to cut a fence panel down to size:
- On hard standing ground, lay a piece of wood block
below the fence panel to lift it a couple of inches off the ground. This allows
you to cut the fence panel without touching the ground below.
- Using a tape measure and pencil / pen, mark a line where you need to cut.
- Select your tool. Ideal tools for cutting the panel
are a
handsaw or a circular saw. A circular saw will
be the easiest and quickest, while also leaving the smoothest edge.
- Follow the manufacturer’s instructions and ensure that you are wearing appropriate PPE.
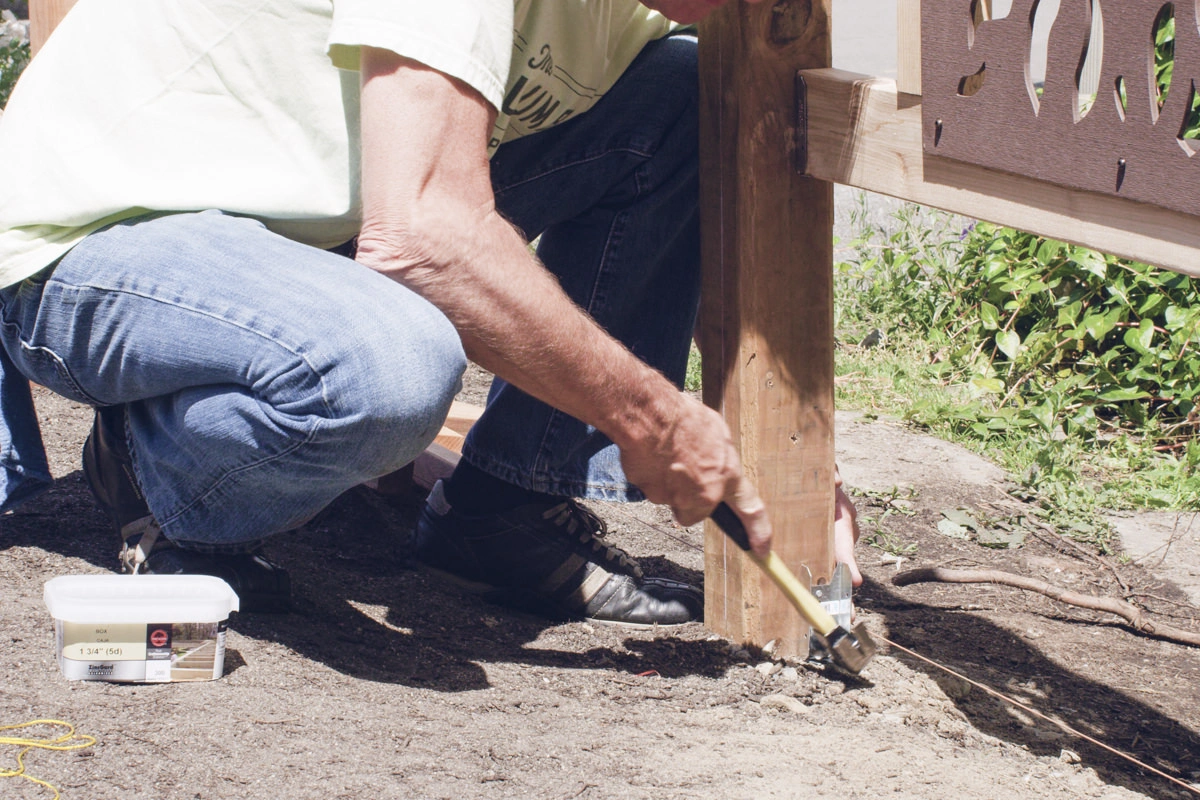
https://diy.dunnlumber.com/projects/how-to-build-a...
How to stop fence panels rattling
Fencing panels are meant to move somewhat in the wind within the fence posts as the timber also shrinks and expands in response to heat and moisture. This extra gap, which might cause them to rattle, is intended to allow for swelling when moist and to avoid damage to the panel or post, therefore decreasing normal wear and tear.
Adding a piece of silicone will enable the fence panel to move slightly but may also dampen the sound of it rattling.
People frequently add a piece of timber to fill the gap, but this leaves very little or no room for movement or swelling of the panel, which can result in damaged fence panels.
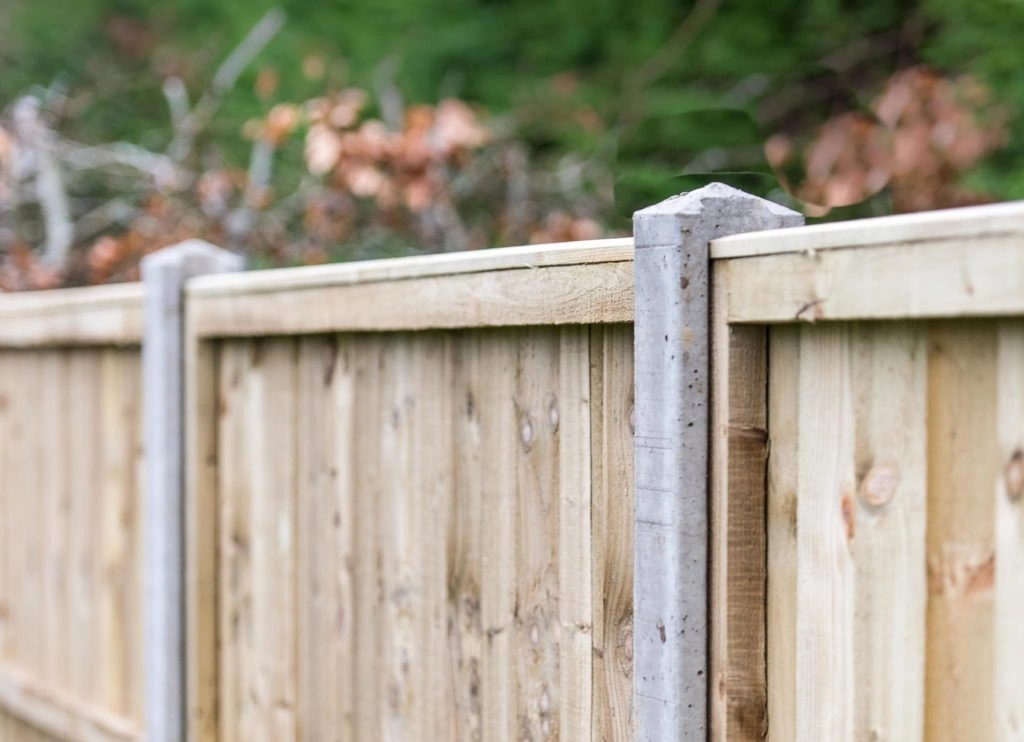
Kudos Fencing
How to use fence panel clips
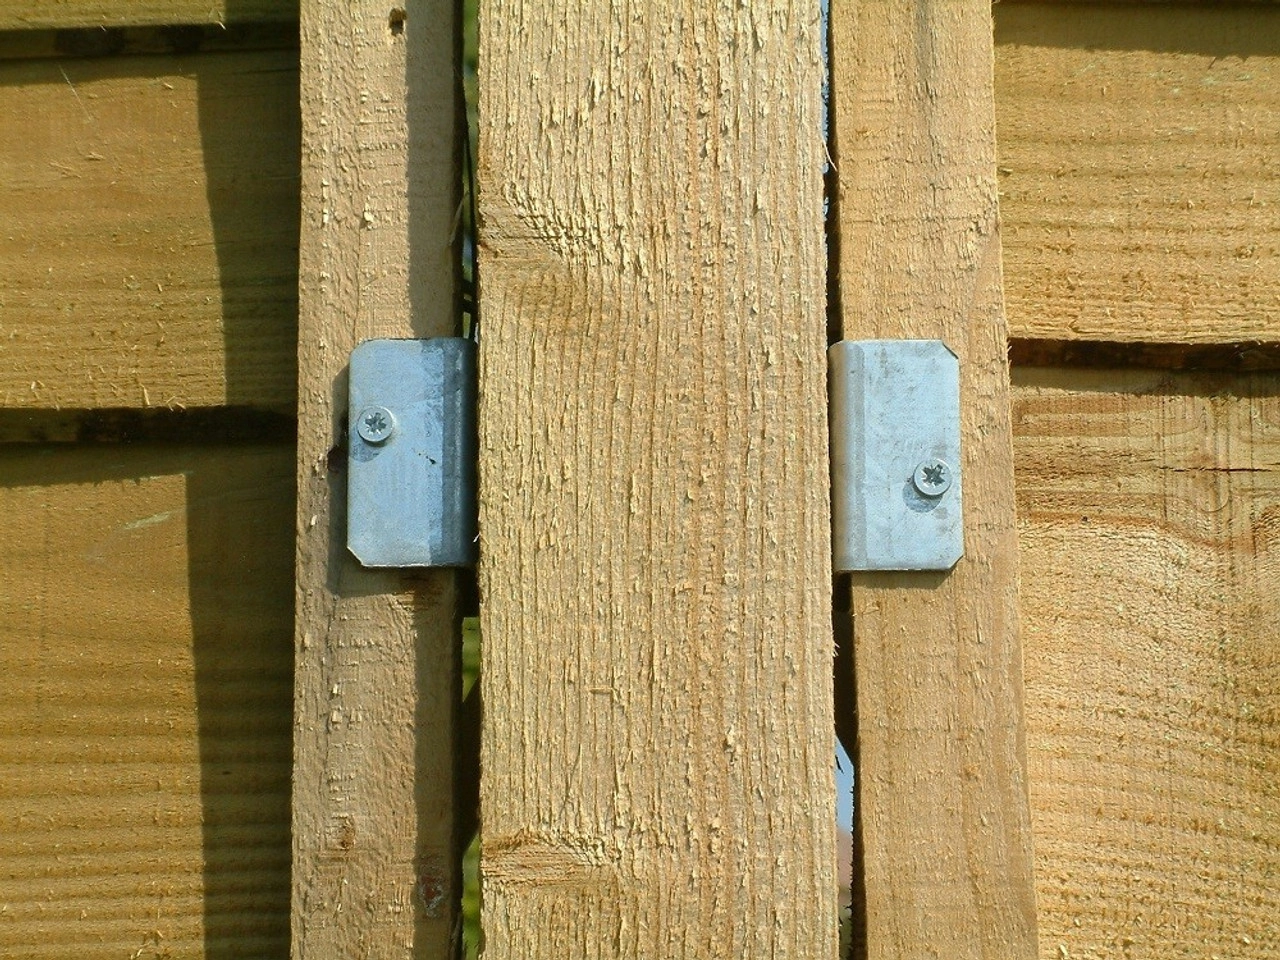
It’s incredibly easy to use fence panel clips. All you have to do is to mark the location of two U bracket clips on the inside of each post, one 150mm from the top and the other 150mm from the bottom of the fence panel. Then, fix the fence panel clips to the post with a galvanised screw using an electric drill or screwdriver. After that, lift the fence panels into place with the assistance of another person and screw through the U bracket into the fence panel.
https://www.avsfencing.co.uk/fence-panel-fixing-cl...
How to stop paint dripping through a fence panel
Tips:
- Mix the paint well before starting and keep stirring at intervals during.
- Warm, dry weather will allow your fence paint or stain to dry quicker.
- Plug holes or mask off the other side using masking tape or builder’s tape.
- Use a primer to increase the durability of your fence and give it a better finish.
- Go slowly and take extra care.
- Use a sprayer rather than a brush!
- If you do use a brush, don’t overload it. Make sure that you scrape any excess off on the tin.
- Start at the top and work your way down.
- Use a thicker paint rather than a watery paint.
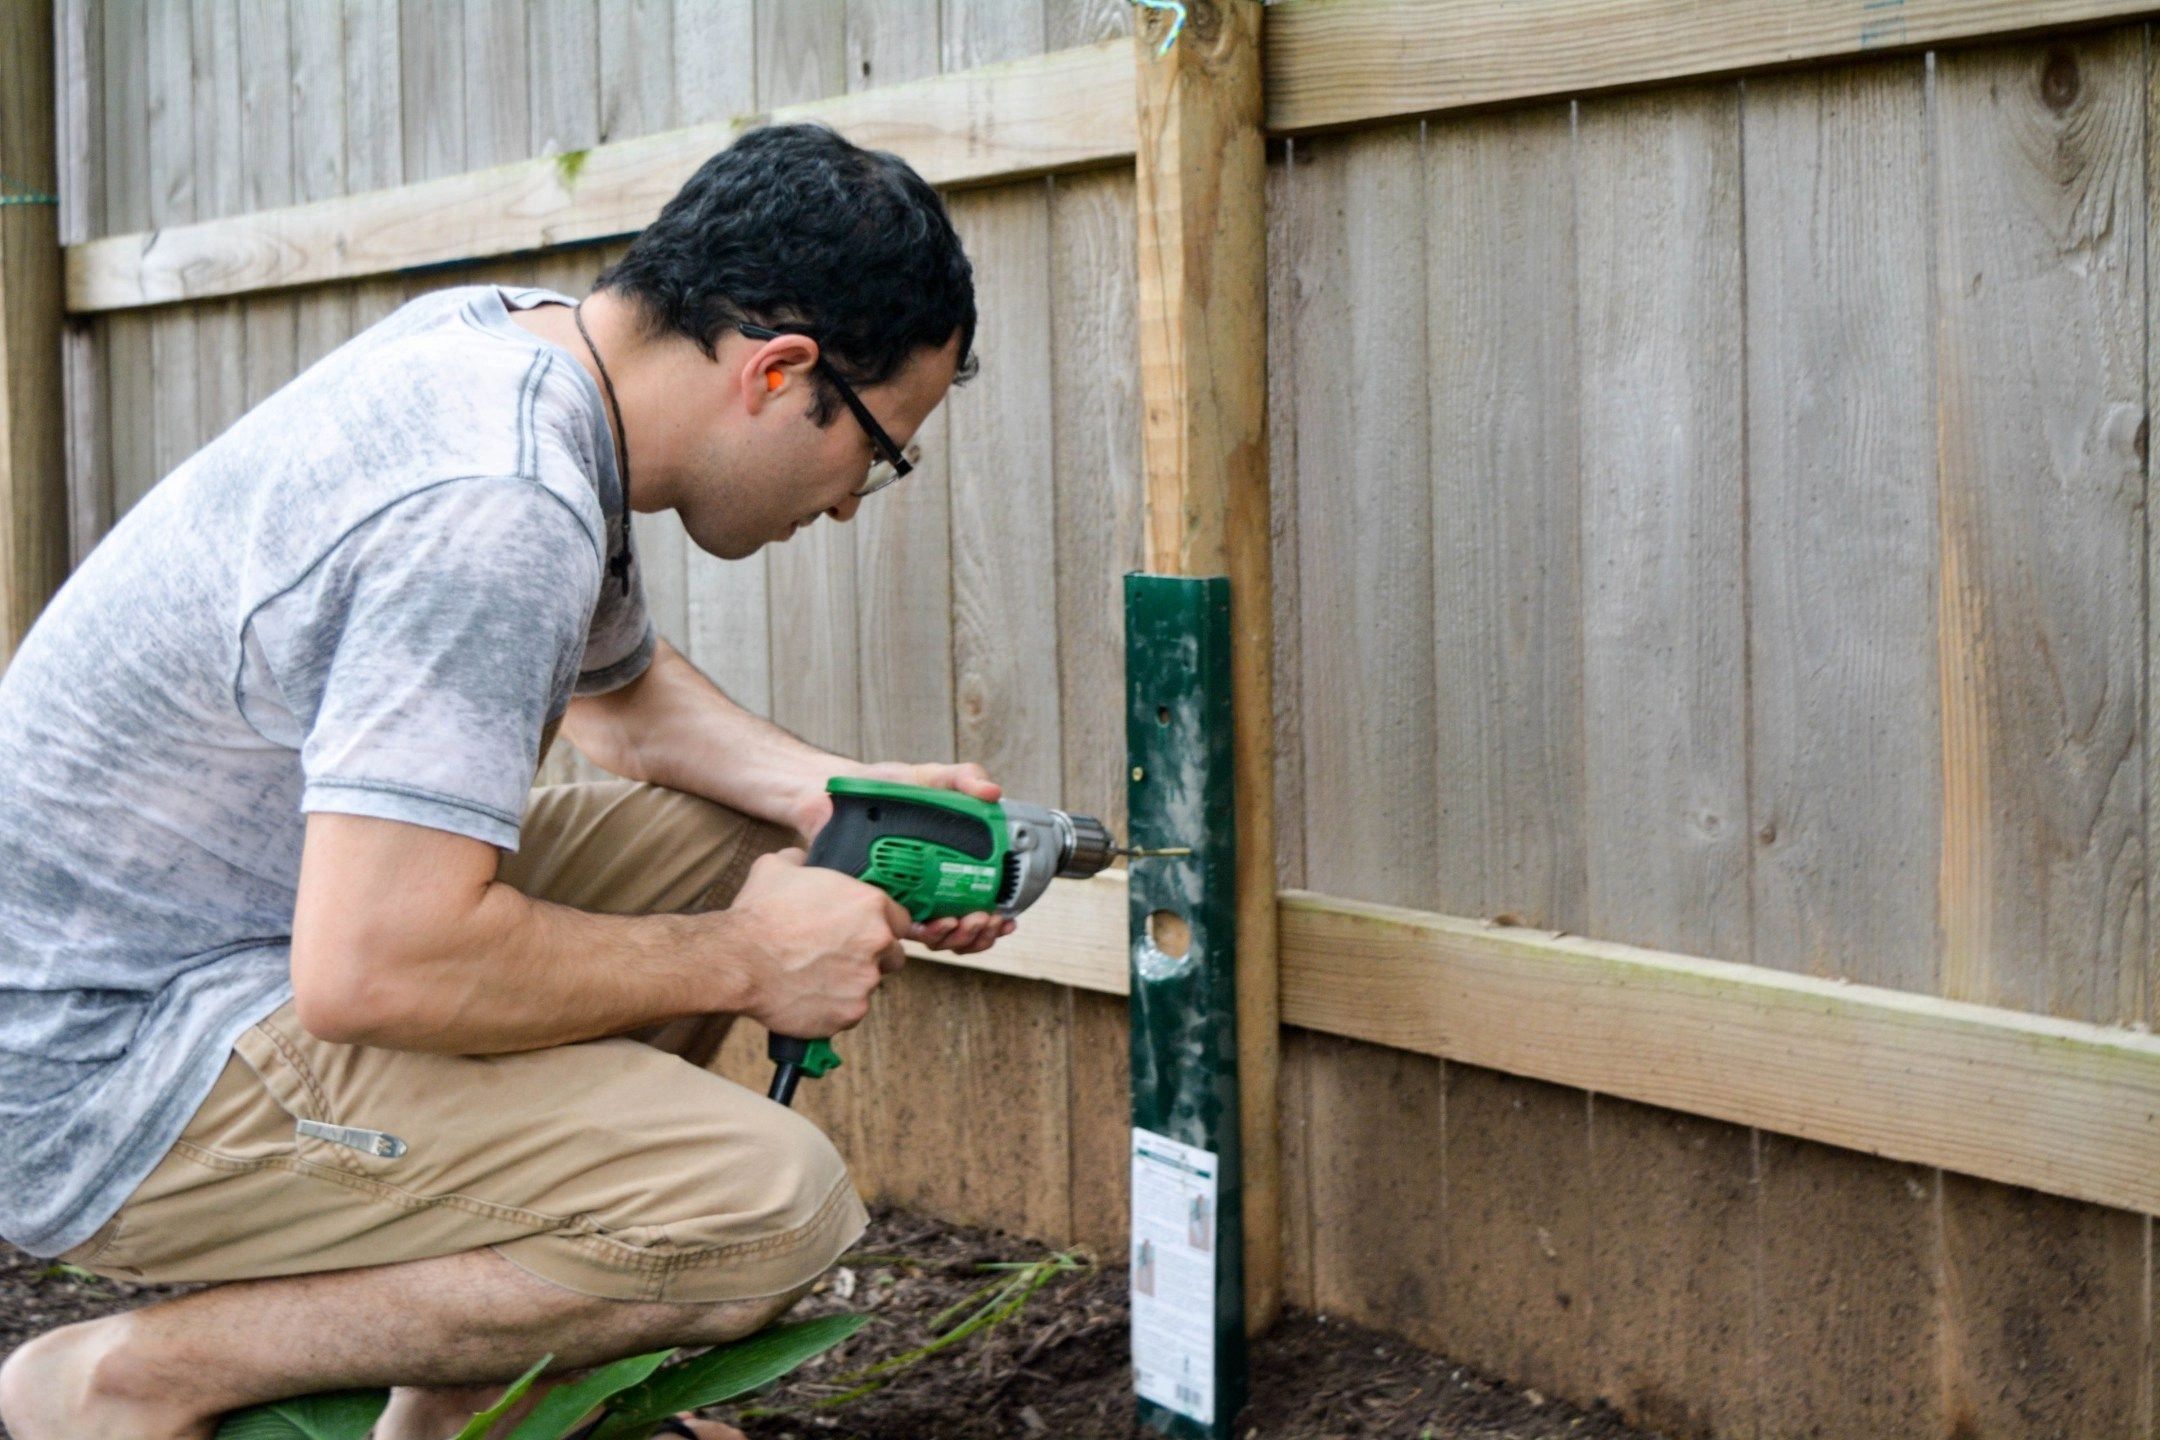
https://www.pinterest.com/pin/160722280436842486/
Fixing fence posts to walls
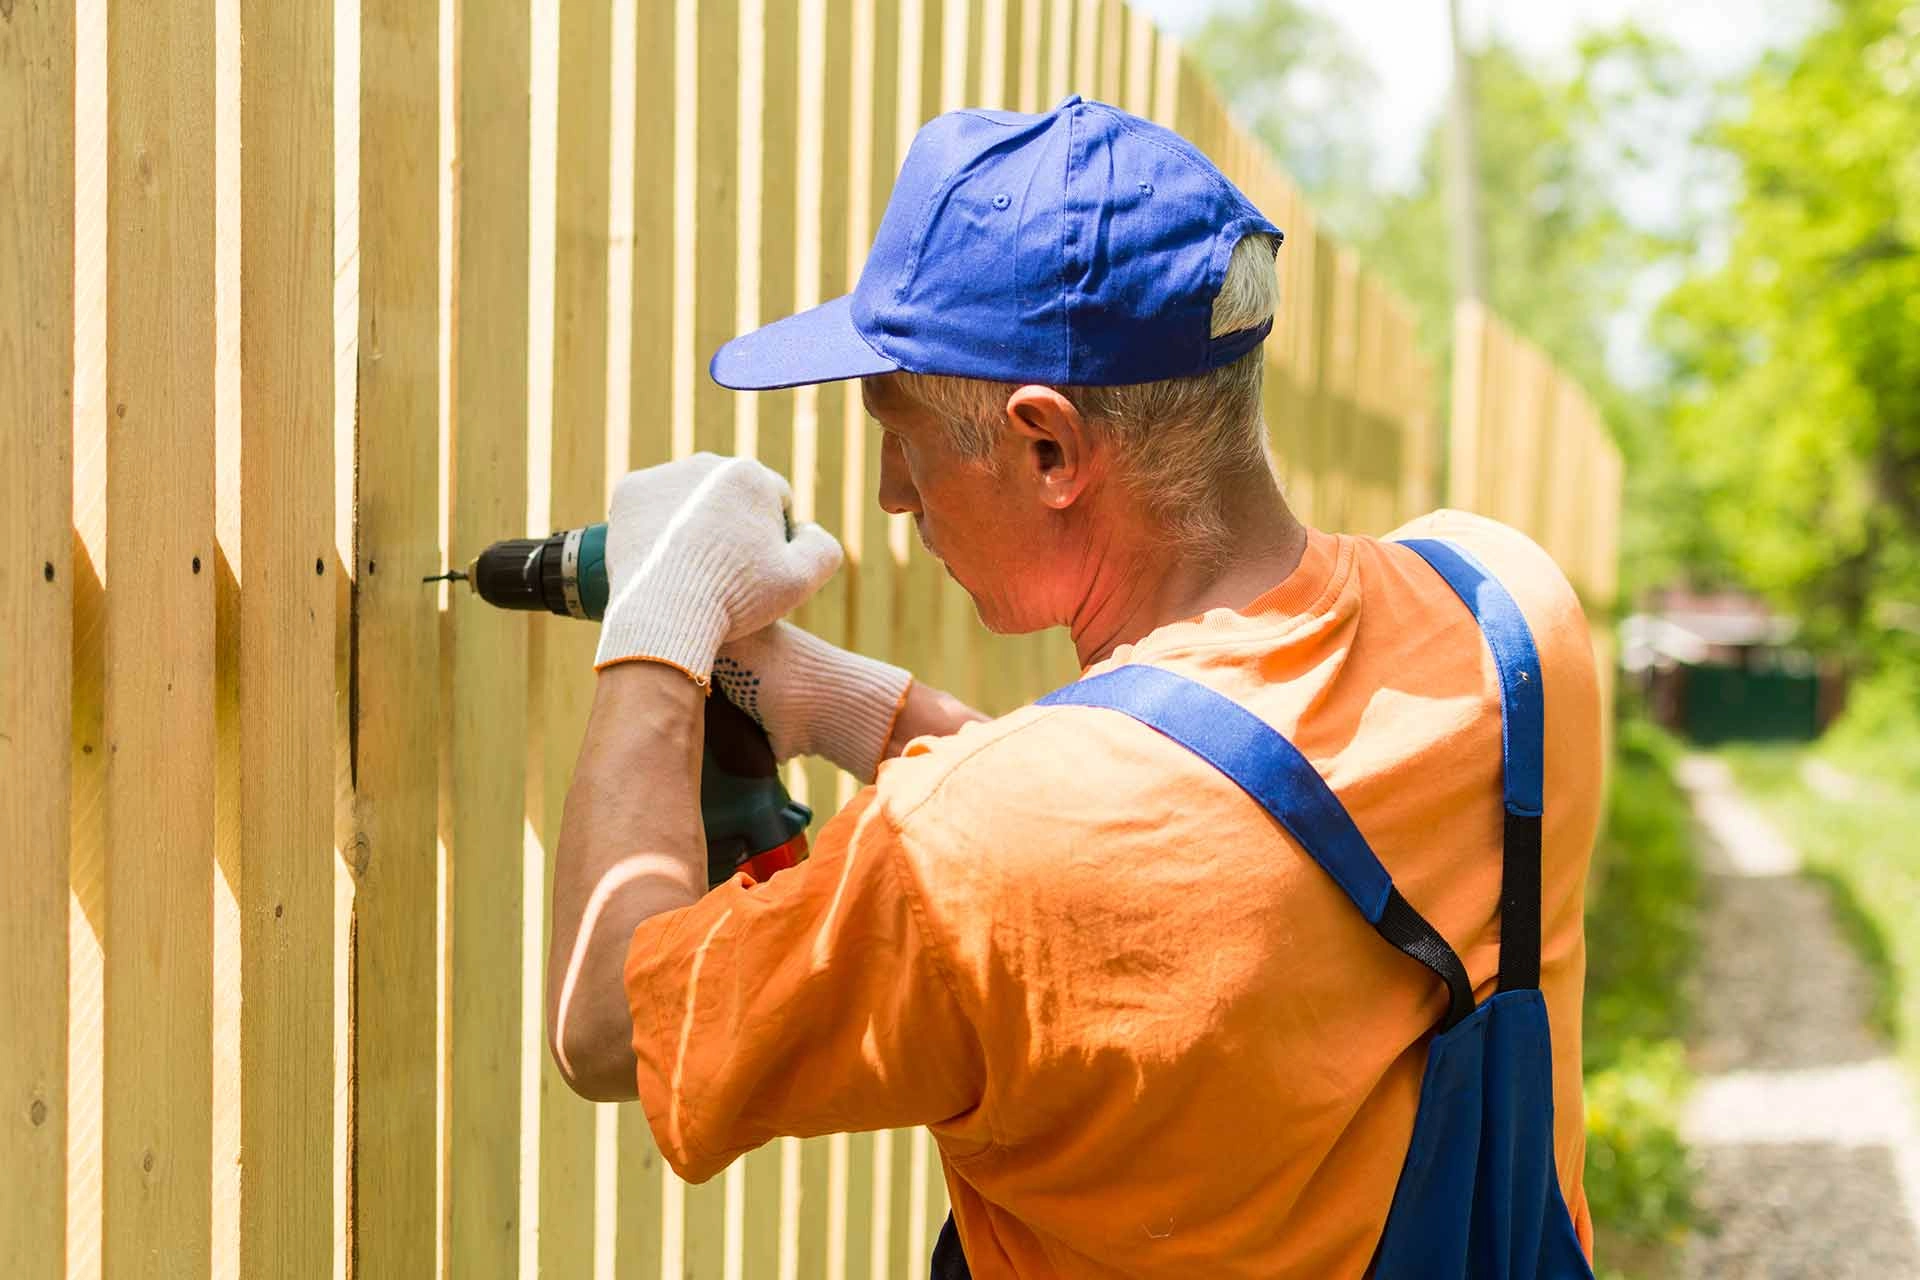
Before you begin attaching your fence post to a wall, make sure to check for electrical lines, plumbing, or gas pipes within the wall, as these must be avoided at all costs.
Step 1:
To secure a fence post to a wall, first cut a piece of lumber to size with a 30-degree angle cut at the top to enable water to drain off the timber and away from the wall. A mitre saw or crosscut saw will make quick work of this but wear protective clothing and follow the manufacturer's recommendations.
Step 2:
After that, align the post with the wall, leaving a 2 inch space above the ground to avoid the bottom of the post from becoming moist over time. You may use a tiny off-cut of timber to help support the post above ground as you secure it.
Step 3:
Next, note the locations of your drill holes. It should be secure with four holes. Make sure the drill gets into the brick of the wall rather than the mortar when marking them out. Drill through the wood with a wood drill bit, then bore into the brick using a masonry drill bit.
Step 4:
Once you've marked out where you want your drill hole to be, place your timber on a flat surface (preferably a work bench) and use a flatbit attachment on your drill to make a recess around 10mm deep for the bolt to rest in so it doesn't protrude out of the post. This will keep the bolt out of the way of your fence post or gate. When you're finished, use your wood drill bit to make a hole all the way through your wood.
Step 5:
After that, use a hammer drill with a masonry drill adapter to drill into the brick. Make sure your drill bit is long enough to create a hole large enough for your bolt to go all the way through your wood and into the wall.
Step 6:
After drilling the hole, use a socket attachment appropriate for the size of the bolt you've chosen to drill the bolt and washer through the timber and into the wall.
Step 7:
Then, run a level down the side of the timber to check it is straight before inserting the bolt and nut into the other holes.
https://www.checkatrade.com/blog/cost-guides/insta...
How to install fence posts
Step 1:
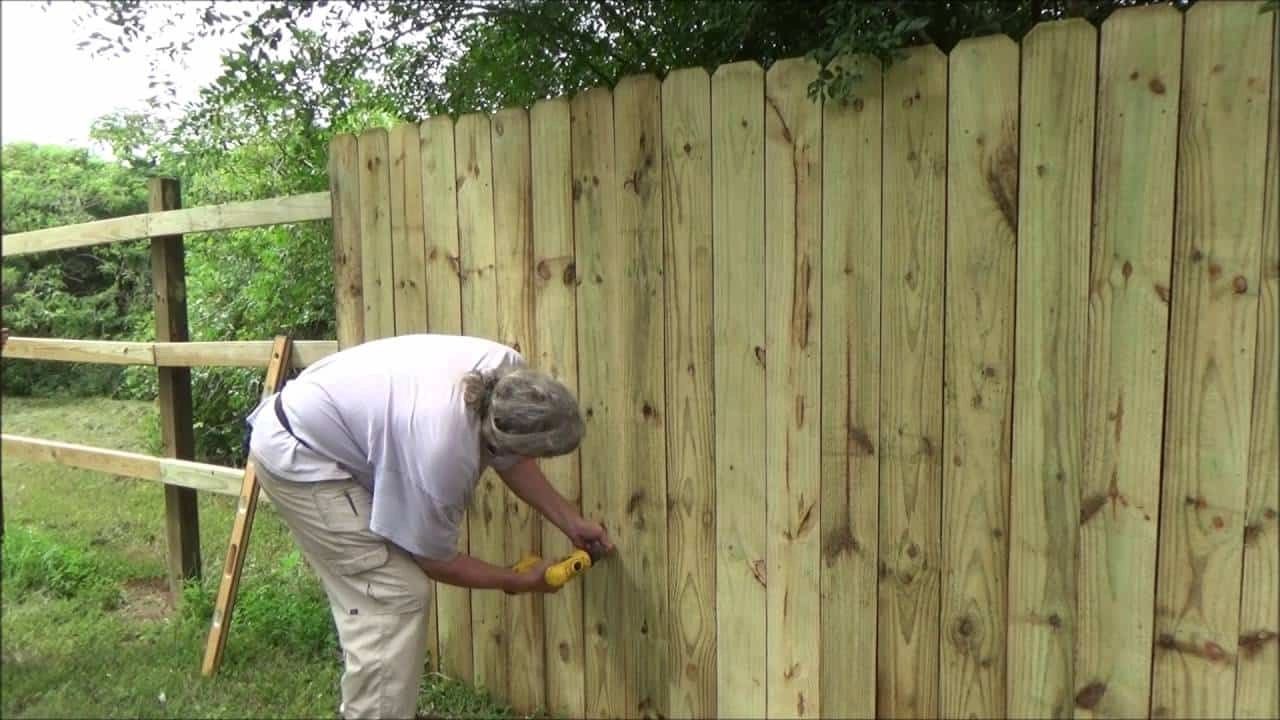
Using a spade, dig a 600mm deep and 300mm broad hole for your post to sit in. The depth of the hole is determined by the height of your fence and the length of your fence post; ideally, a quarter of the post should be buried.
Step 2:
Fill the bottom of the pit with gravel or pebbles about 1 inch deep, as t his will assist in the drainage of water away from the post.
Step 3:
Insert the post into the hole. To keep the post upright, screw a couple of batons at an angle from the ground. Check the straightness of the post with a spirit level.
Step 4:
Fill the space around the base of the post with half of your dry-mix cement. Remember to make sure that everything you add around the fence, such as turf, fake grass, or decking, is level. Pack the mix down and use a spirit level to examine the straightness of your post.
Step 5:
Pour water over the cement gently. Allow water to distribute through the cement mix by inserting a rod firmly into it.
Step 6:
Repeat steps 4 and 5 with the remaining dry-mix cement.
Step 7:
Once the cement has dried, cover it with soil.
Step 8:
Once the cement has hardened, remove the batons. Please keep in mind that certain items may vary in their instructions.
https://thehousingforum.com/how-to-install-a-wood-...
How to fix fence panels to timber posts
Step 1:
Place the fence panel against the timber post and prop it up with bricks or wood offcuts. Leaving a space between the fence panel and the ground will keep the panel from absorbing water and decaying. Check the panel's straightness using a spirit level and make any required modifications.
Step 2:
Attach two equally spaced u-clips to each post to which the panel will be connected. Drilling the hole before inserting the screw or nail will keep the wood from breaking.
Step 3:
Slide the panel between the u-clips and fasten it to the post. Screw through the u-side clip's and into the fence panel structure.
Step 4
Repeat for each u-clip until the fence panel is secure.
https://www.beechdalefencing.co.uk/product/vertila...
And this concludes the ins and outs of our Fencing Ultimate Guide! If you have any questions on how to replace a fence panel or post or would just like to know some further information about the products we sell at Howarth, please visit your local friendly Howarth branch, or contact our customer services on the number 01472 907051.
You can also look at our wide range of fencing products on our website, or you can even visit us in branch for more info.
Recent Posts
-
Build a Garden Structure
Building your own garden structure is easier than you may think and so rewarding. Deciding w
-
Forest Garden’s top tips for bringing style to small outdoor spaces
Spring is finally here, and homeowners are keen to transform even the smallest of outside areas


