Cladding: An Installation Guide
Timber is a natural product that will maintain its appearance and last a lifetime if cared for according to the manufacturer's instructions. As a result, the installation instructions stated below are additional variables to consider when selecting and installing your external cladding to guarantee that it retains its desired quality. Please refer to the manufacturer's guidelines for more information.
Note: all
advice on installation meets or exceeds those currently provided in BS
8605-PART 1.

Gale Construction
Part 1: The basic rules for installing cladding
Softwood
- For softwood cladding, stainless steel annular ring shank/round head nails are recommended.
- The nail length should be at least 50mm or 2.5 times the thickness of the board being fastened, whichever is larger, and should be punched just below the wood's surface.
- Boards wider than 100mm should have twin fastening, and butt joints should always meet on a suitable batten support width (see below).
- Stainless steel nails are desirable for all species, but notably those with a high tannin content, and are required for green-installed timbers.
- If using battens, we recommend a minimum size of 38mm x 50mm to avoid persistent discoloration caused by the interaction of the tannin on mild steel or galvanised nails (finished size).
Hardwood
Stainless steel screws/annular ring shank nails are the preferred method of fixing for hardwood boards. Stainless steel screws are preferable, and essential for timbers installed ‘green’:
- Slight over-drilling of the screw holes will allow for any movement in the wood and prevent splits. Countersinking screws is also recommended.
- Where ‘green’ wood is used, it may be necessary to fit washers to the screws to maintain the fixing security. This can become a design feature.
- Metal clips, which also provide a ‘secret fix’ effect, may also be considered. Screw fixings should be minimum40mm or half the width of the board, whichever is the great, from the end of the boards to avoid splitting.

Ultimately, timber cladding must be able to fulfill several roles:
- An aesthetic role: It is the finishing touch to a new build or an advantageous solution to a renovation project.
- A mechanical role: Resistance to knocks and to eventual abrasion: the choice of species, the profile, the finish, and style of installation are determining factors.
- A functional role: Waterproofing in conjunction with the waterproof membrane, thermal insulating because of the natural timber, and the air gap.
Battens: Secondary frame
Timber battens generally need to allow for a fixing length which is minimum 50mm or 2.5 times the thickness of the board being fixed.
We recommend minimum batten size of 38mm thickness, and for these to be pressure treated with suitable preservative.
Fixing of battens:
- Stainless steel wood screws
- Stainless steel nails
- Anchors (Concrete walls)
Treatment:
- Minimum Class II – Class 3 in the case of a louvre type installation
Fixing of cladding
- Stainless steel
Annual ring shank nails
Small round headed
Stainless steel screws - 2 fixings over the height of the board except:
- oBoard cover width < 100mm (1 secret fixing 25mm from lower edge of the board).
- oArborclad pre-finished traditional and prime 1 secret fixing at the top
Joints
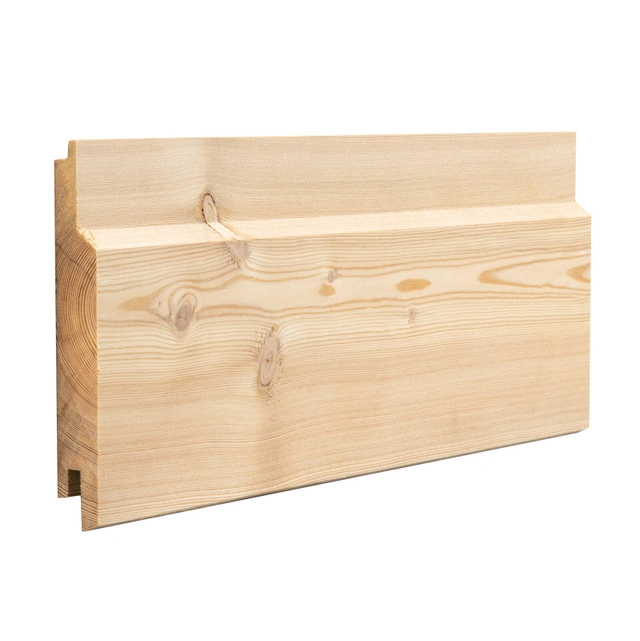
ArborClad pre-finished products are assembled by means of tongue and groove on the edges. In such cases, a joint can be located between battens without any problems. All other ArborClad products are square edge.
Air Gap
- Minimum thickness: 1cm
- Ventilation (1 opening for 2 floors minimum).
- Non-restricted air entry and exit, minimum section 50cm2 per metre of cladding
- The timber battens must not restrict the circulation of air
Waterproof membrane
Compulsory (except on poured concrete walls or walls already waterproof).
- Minimum permeability: 0.5g/m2.h.mm Hg
- Fixing by means of timber batons
- Minimum overlap: 5cm horizontal joints, 10cm vertical joints
- Foresee a UV resistant waterproof membrane in case of a louvre type installation.
NB: Waterproofing
is not the primary function of cladding.

Building Centre
Part 2: Types of cladding installation
Board sizes
Horizontal boards:
- Shiplap or feather edge boards should have a minimum of 10mm overlap, with 2mm gaps between the upstands to allow for movement in the timber.
- Tongued and grooved boards should have a maximum face width of 150mm and a 2mm expansion space above the tongue. These tolerances will be included in most commercially manufactured profiles. Install with the tongue facing up.
- The 'water face' of open joint boards should have an 8-15mm gap. Chamfered edges allow the boards to gently overlap, limiting cavity exposure.
Vertical boards:
- Vertical boards' face width should not exceed 150mm. Board on board is the most adaptable way of fastening. Any overlap should be at least 20mm.
Diagonal boards:
- Should be supported by battens, like with vertical boards, considering the information above about overlaps or tongue and groove styles.

Howarth Timber
Using battens:
NOTE: We recommend a minimum batten size of 38mm x 50mm (finished size).
Use preservative-treated and structurally graded battens to guarantee they can support the weight of the board material. Fix horizontal boards to vertical battens, paying attention to where the boards are joined to ensure they lie firmly on sufficient batten width. To help with drainage and ventilation, fasten vertical boards to horizontal battens using vertical 'counter' battens. Support battens should be attached at 600mm intervals, whether vertical or horizontal. And for diagonal boards, no more than 400mm.
These spacings will maintain the overall stability of the cladding.
The timber cladding you're attaching to the building acts as an exterior layer of weather protection. However, a cavity beneath the cladding should be made to allow any water or moisture that may penetrate the cladding to escape, so remember to keep the cavity in mind. This maintains a same moisture content on the interior and exterior surfaces of the wood, decreasing the possibility for movement and distortion and permitting airflow between the inner and outside surfaces.
The cavity should be at least 19mm wide, although it can be bigger depending on how thick the anchoring battens are. A waterproof membrane is normally necessary to protect the building, while masonry may not require one. Additionally, if not sealed a fly scree membrane should also be used to prevent insect infiltration.

Part 3:
Precautions for bottom fixing

The spray of water risks keeping the lower boards constantly humid. It is advised to leave the ground uncovered (at the foot of the wall) or to cover with stones/gravel.

Regardless of the system used to finish off the lower cladding board, it is necessary to have at least 50cm2 of air inlet per metre on a façade covered in cladding.
Part 4: Cladding details
Window and door openings
Openings within a wall require special attention to avoid the need to notch or split the boards. These openings need to be dimensionally compatible with the cladding to provide a good appearance as well as allowing for fixings. Thought also needs to be given to the 3-dimensional relationship of any flashings, sills etc. to allow for adequate drainage of water from the cladding surface and board ends.

Corner details
This is a crucial area of fixing detail, not only aesthetically but also functionally, to guarantee proper water protection. Mitring boards at corners is not suggested for pre-finished products because natural movement of the timber allows the joint to open, resulting in surface coating failure and water infiltration.
Mitring the ends of boards is an option, but it is best to leave a space between any neighbouring surfaces and pre-finish/treat all exposed ends. Vertical boarding allows for more intricate internal and exterior corners. These can be joined together by 'tonguing and grooving' to provide additional stability and protection.

Part 5:
Profile lay and coverage per sqm (finished sizes
).
|
|
Cover Size |
Imt/m2 |
|
|
|
15 x 119mm shiplap |
109mm |
8.90 |
|
|
15 x 119mm shiplap |
109mm |
9.10 |
|
|
19 x 117mm shiplap |
100mm |
10.0 |
|
|
19 x 117mm offset |
95mm |
10.5 |
|
|
19 x 117mm T&G |
112mm |
8.90 |
|
|
19 x 140mm shiplap |
125mm |
8.00 |
|
|
19 x 140mm offset |
120mm |
8.30 |
|
|
19 x 140mm T&G |
135mm |
7.40 |
|
|
19 x 147mm secret-fix |
122mm |
8.19 |
|
|
19 x 190mm shiplap |
175mm |
5.70 |
|
|
19 x 190mm offset |
170mm |
5.88 |
|
|
23 x 145mm offset |
120mm |
8.30 |
Please note: All offset profiles allow
for installation by secret-fixing or secret-fix offset.
Our cladding products:
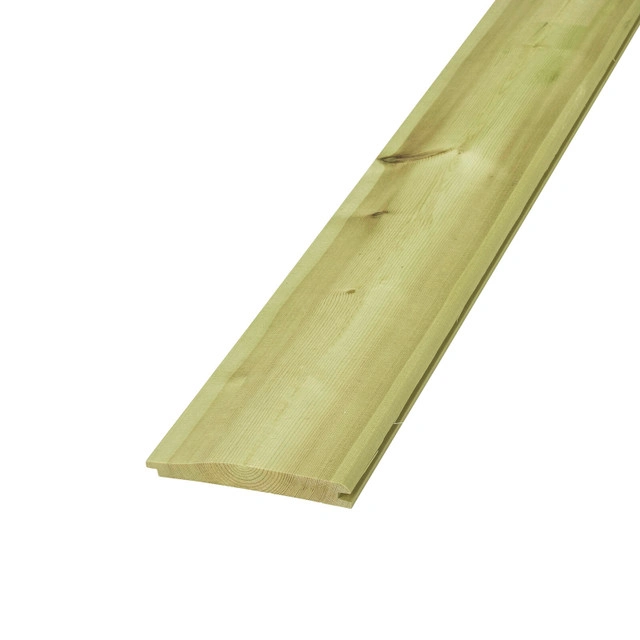
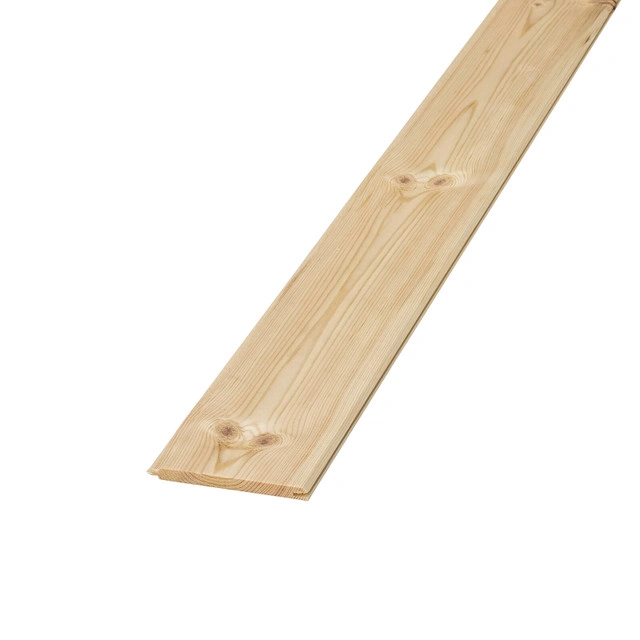
Shiplap UC3u Green Treated Fencing Cladding FSC 15 x 119mm
Planed Tongue & Groove Green UC3u Treated Timber Cladding PEFC 15 x 119mm
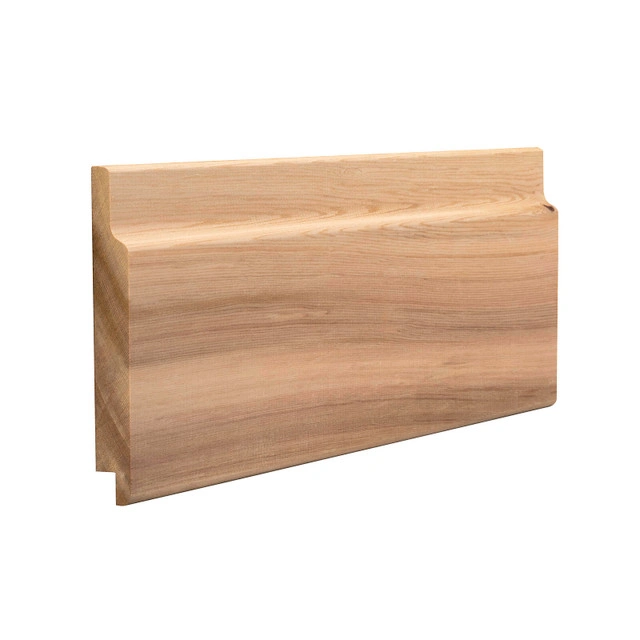
Planed Tongue & Groove Matchboard Redwood Untreated Cladding FSC 8 x 94mm
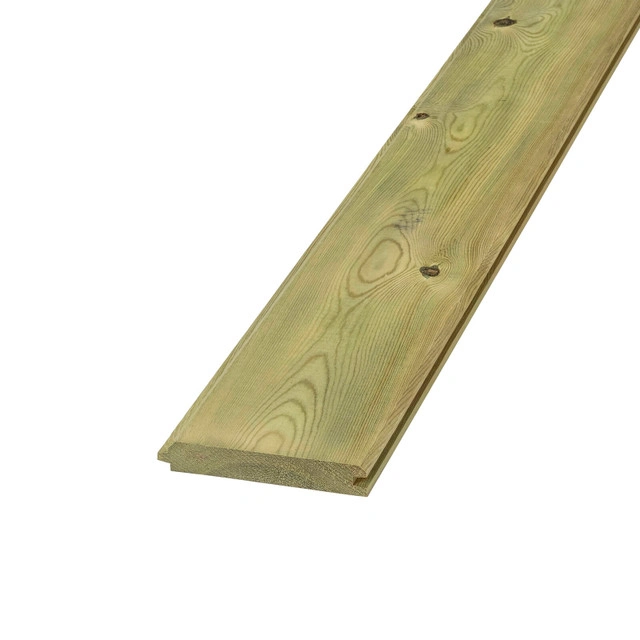
Arborclad Timber Cladding Traditional Cedar Shiplap 25 x 150mm
Larch Offset Arborclad Cladding 25 x 150mm
And that concludes this cladding installation guide! We hope this has helped in providing more helpful information about the ins and outs of installing cladding.
If you have any more questions about cladding, or would just like to discuss any product or project options with one of our friendly Howarth staff members, you can contact our customer services on the number 01472 907051.
Recent Posts
-

Build a Garden Structure
Building your own garden structure is easier than you may think and so rewarding. Deciding w
-
Forest Garden’s top tips for bringing style to small outdoor spaces
Spring is finally here, and homeowners are keen to transform even the smallest of outside areas
